
Sewing on blazer buttons might seem like a simple task, but doing it correctly can make a significant difference in the appearance and functionality of your blazer. Whether you’re replacing a lost button or adding a new one, knowing how to properly sew on a button ensures your blazer looks sharp and stays secure. This guide also covers similar tasks like attaching button coats and buttons for jackets, making it versatile for different types of outerwear.
In this guide, I’ll walk you through the entire process of sewing blazer buttons, offering practical tips and tricks to help you achieve a professional finish.
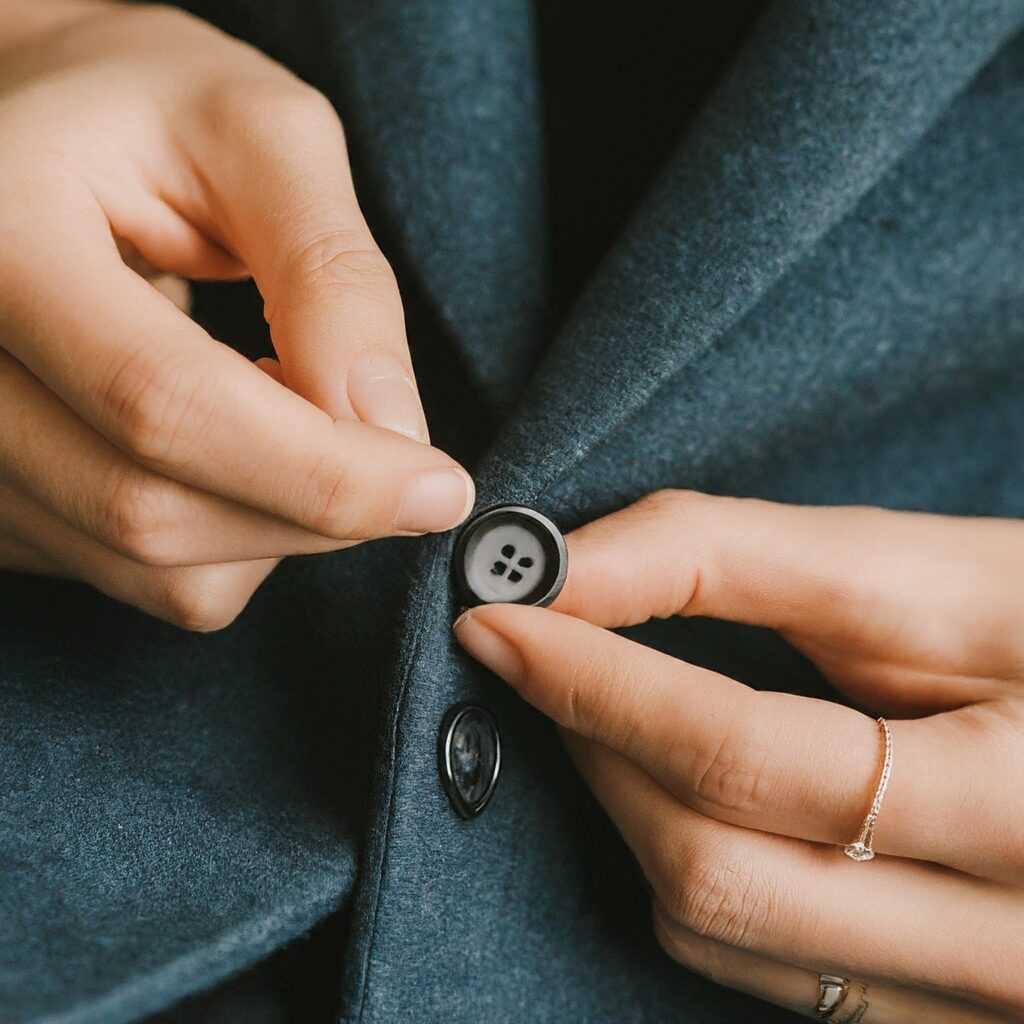
Table of Contents
- Tools and Materials You’ll Need
- Preparing Your Blazer for Button Sewing
- Step-by-Step Guide to Sewing Blazer Buttons
- Tips for a Professional Finish
- Common Mistakes to Avoid
- Conclusion
Tools and Materials You’ll Need
Before we dive into the actual sewing, let’s gather the necessary tools and materials:
- Blazer Buttons: Choose buttons for jackets or specifically for blazers that match or complement your garment. Ensure they are the right size and style.
- Needle and Thread: Opt for a strong, matching thread that complements the color of your blazer. A needle with an appropriate size for the thread is also essential.
- Buttonhole Opener (if needed): If your blazer doesn’t already have buttonholes, you might need a buttonhole opener to create them.
- Tailor’s Chalk or Fabric Marker: For marking button positions on your blazer.
- Scissors: To trim excess thread.

Preparing Your Blazer for Button Sewing
Before you start sewing, it’s essential to prepare your blazer properly:
- Inspect the Area: Check the spot where you’ll be sewing the button. If there was an old button, remove any remnants and threads.
- Mark the Position: Use tailor’s chalk or a fabric marker to mark the exact position where the button will go. Ensure it aligns with existing buttonholes or the intended placement.
- Create Buttonholes: If your blazer doesn’t have buttonholes, carefully create them using a buttonhole opener or a sewing machine, if you’re comfortable with that.
Step-by-Step Guide to Sewing Blazer Buttons
Here’s a detailed guide to sewing your blazer buttons:
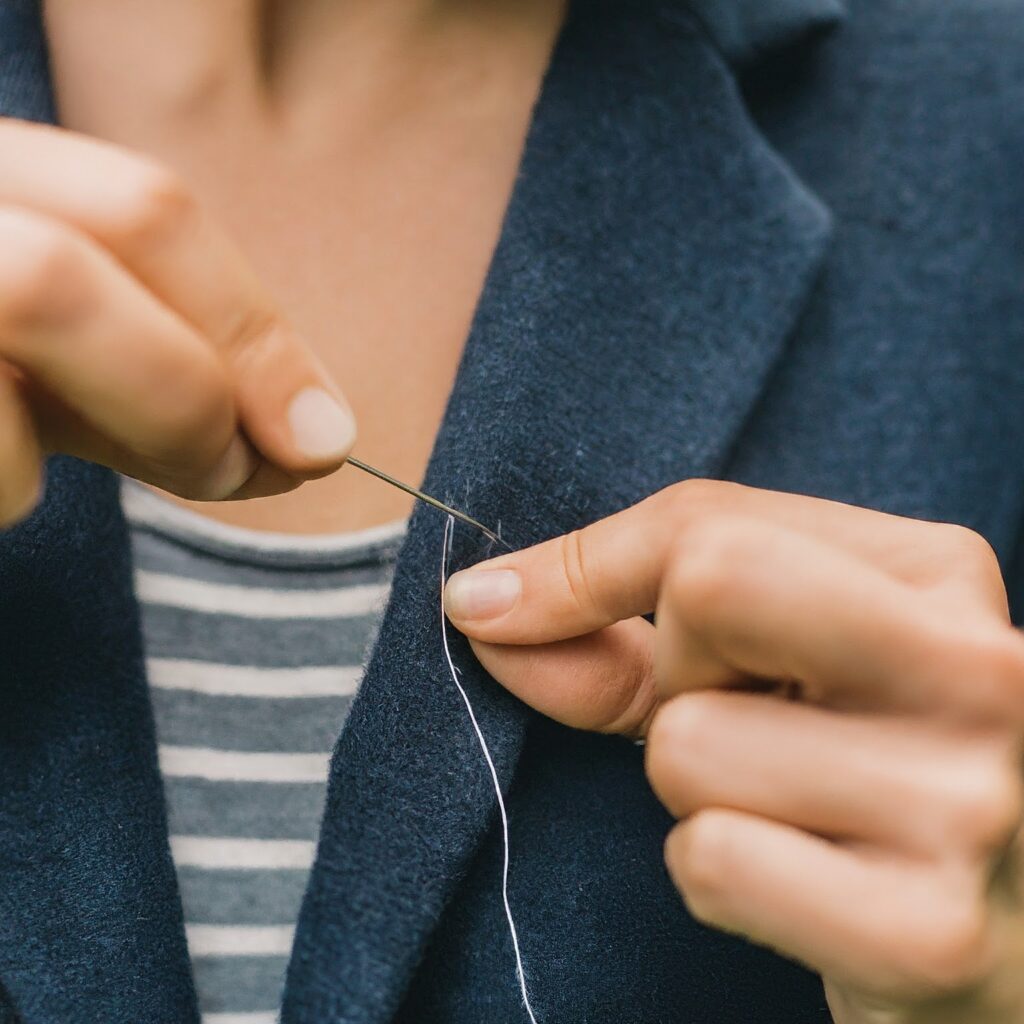
1. Thread the Needle
- Cut the Thread: Cut a length of thread about 18 inches long. This is manageable and helps avoid tangling.
- Thread the Needle: Pass the thread through the needle’s eye and tie a knot at the end of the thread.
2. Position the Button
- Align the Button: Place the blazer button over the marked position on the blazer. Make sure it’s centered and aligned with any existing buttonholes.
- Insert the Needle: Start from the back of the blazer fabric and bring the needle up through one of the button’s holes.
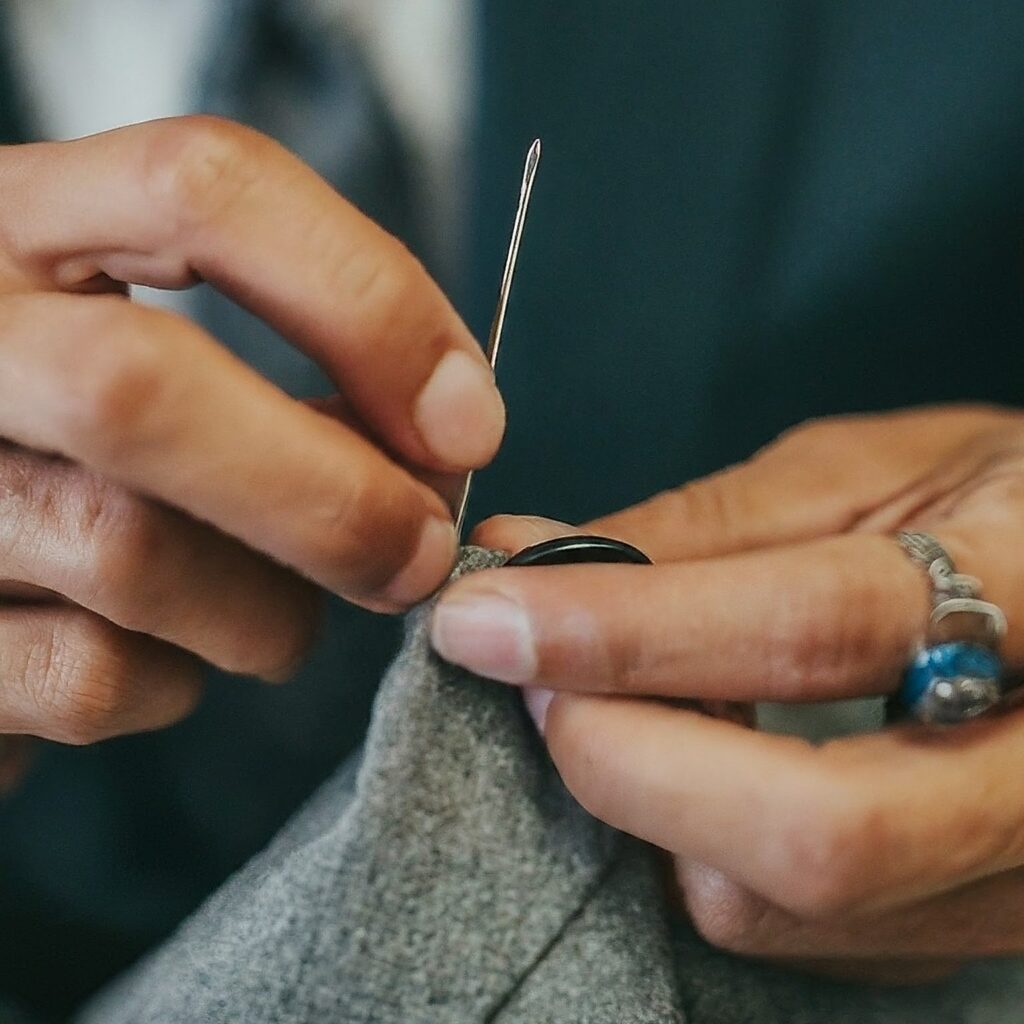
3. Sew the Button
- First Stitch: Pull the thread tight and push the needle down through the adjacent hole of the button. Repeat this process for each hole of the button, sewing through all the holes.
- Create a Shank: For a more secure attachment, especially on thicker fabrics, create a shank by placing a small piece of thread or a matchstick between the button and the fabric. This adds space between the button and the fabric, allowing for easier buttoning and unbuttoning.
4. Secure the Button
- Cross-Stitching: To strengthen the attachment, especially for button coat and blazer buttons, cross-stitch over the button by sewing diagonally across the button’s holes. This creates a crisscross pattern, adding stability.
- Tie Off the Thread: On the backside of the fabric, make a few small stitches to secure the thread. Trim any excess thread with scissors.
5. Check the Button
- Test the Fit: Ensure the blazer button is secure and doesn’t wobble. Test it in the buttonhole to make sure it fits properly.
Following these steps will ensure your blazer buttons are sewn on securely and professionally.

Tips for a Professional Finish
To achieve a polished look when sewing on blazer buttons:
- Use Matching Thread: Choose a thread color that matches your blazer for a seamless appearance.
- Keep Stitches Even: Make sure your stitches are even and consistent in length to enhance the button’s appearance.
- Reinforce the Button: For added durability, sew through the button’s holes several times to ensure it stays firmly in place.
Common Mistakes to Avoid
Avoid these common pitfalls when sewing on blazer buttons:
- Incorrect Thread Length: Using too long or too short a thread can cause problems. Aim for about 18 inches of thread for optimal control.
- Misaligned Buttonholes: Ensure that the button is correctly aligned with the buttonholes. Misalignment can make buttoning difficult.
- Skipping the Shank: Not creating a shank can cause the button to sit too close to the fabric, making it hard to button or unbutton.
By avoiding these mistakes, you’ll ensure a smoother and more effective button sewing process.
Conclusion
Sewing on blazer buttons is a simple yet essential skill for maintaining and enhancing your wardrobe. By following the steps outlined in this guide and applying the tips provided, you can ensure that your blazer buttons are securely attached and professionally finished. Whether you’re working with button coats or buttons for jackets, these techniques will help you achieve a sharp and stylish look for all your outerwear.
Link of related Articles
- How to sew with woven interlining
- Different Styles of Buttons for Jackets: Classic, Modern, and Decorative Options
- How to Style a Button Coat: Casual and Formal Tips for Every Season