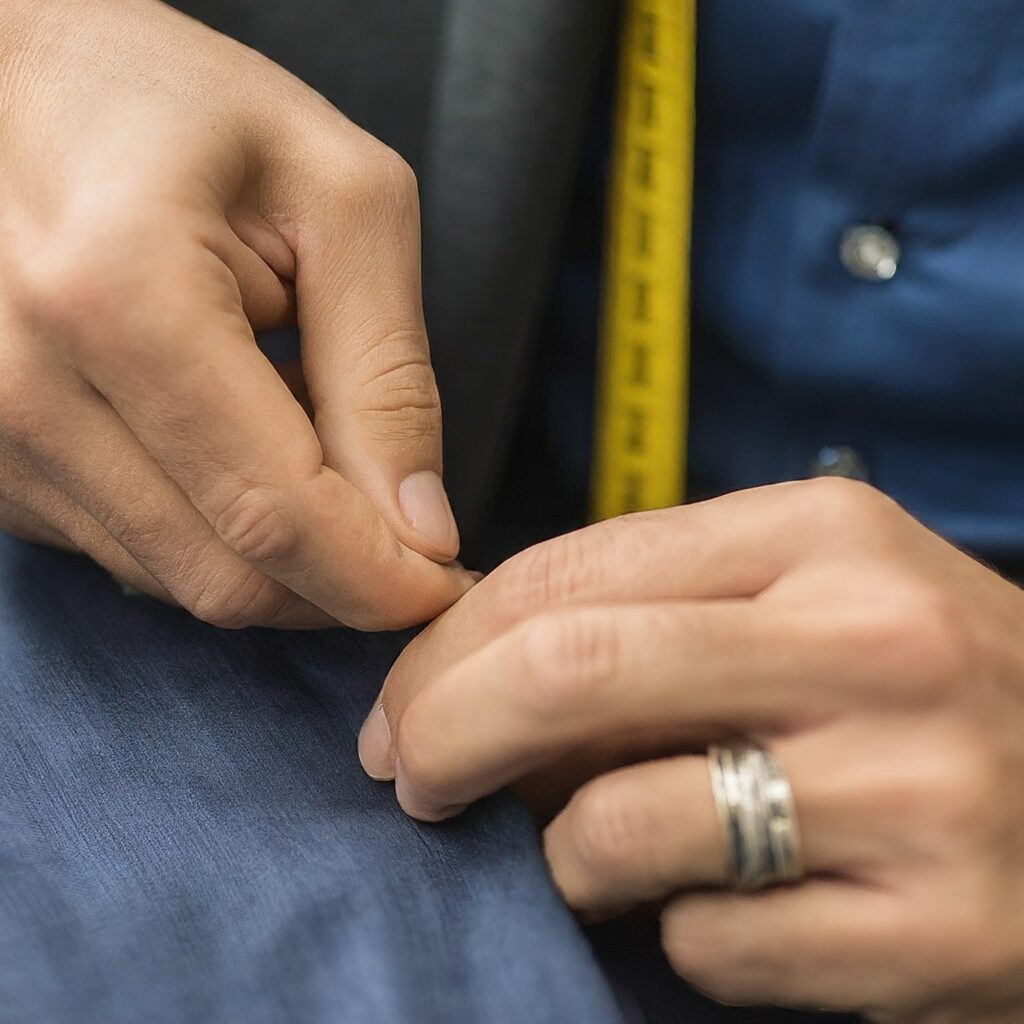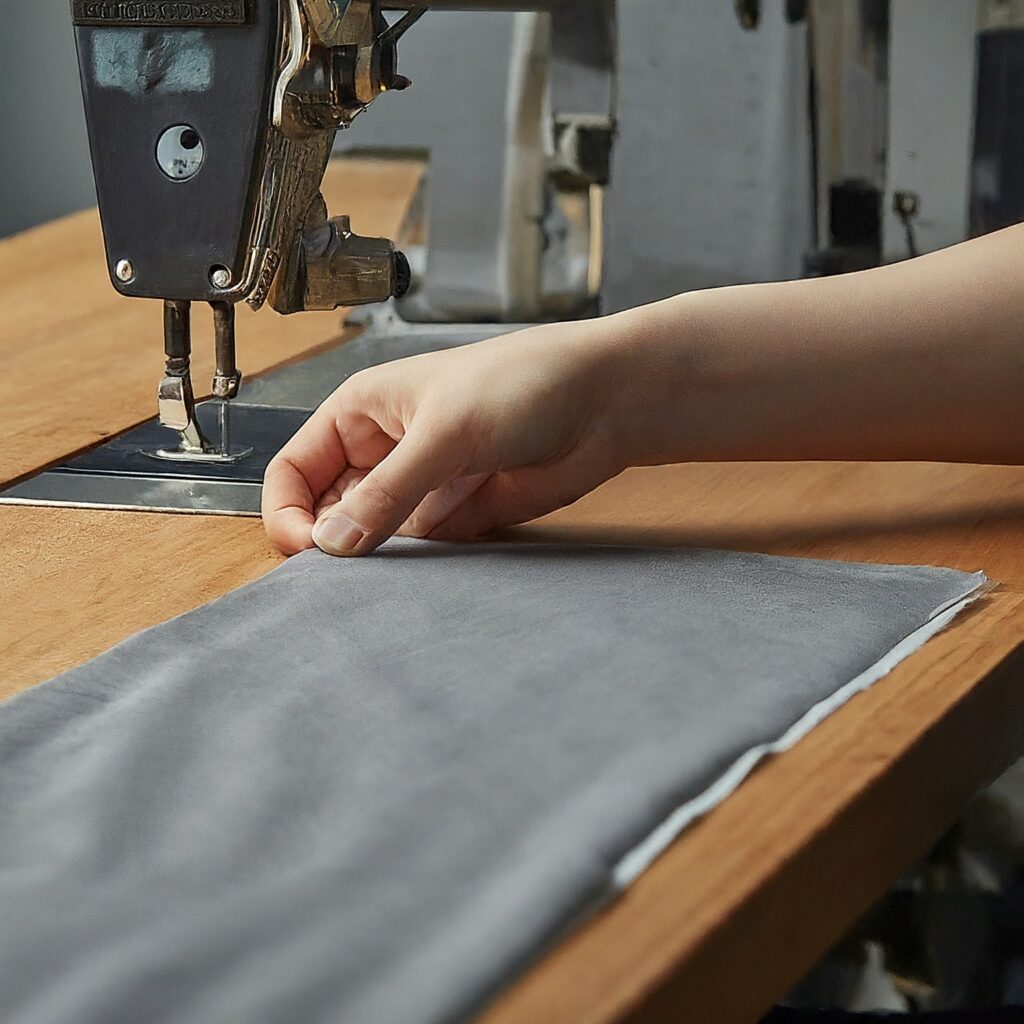
If you manufacture suits, sherwanis or blazers, you already know that the outer fabric gets all the attention, but it’s the layer underneath that decides whether the garment actually holds up. Your buyers notice a jacket that keeps its shape at the shoulder. They notice a sherwani front that stays crisp through a full day of wear. What they’re really reacting to, without knowing it, is the interlining.
At Double Ghoda, we work with garment manufacturers at wholesale scale every day, and we see how the choice between a premium woven fusible interlining and a cheaper alternative is never a small procurement decision. It’s a production decision that affects your rejection rates, your reorder cycles, your tailor feedback and, eventually, your relationship with the brands you supply. In this guide, we break down exactly why premium interlining earns its place in serious garment manufacturing, and how you can choose the right grade for your product line.
Table of Contents
- Why the Interlining Layer Decides How a Garment Performs
- Premium vs Ordinary Interlining: What Actually Changes on the Factory Floor
- How the Right GSM Grade Protects Your Margins
- PA Double-Dot Coating: The Detail That Separates Good Fusing From Bad Fusing
- Sherwani, Suit and Blazer Manufacturing: Matching Interlining to the Garment
- Choosing an Interlining Supplier You Can Reorder From Without Worry
Why the Interlining Layer Decides How a Garment Performs
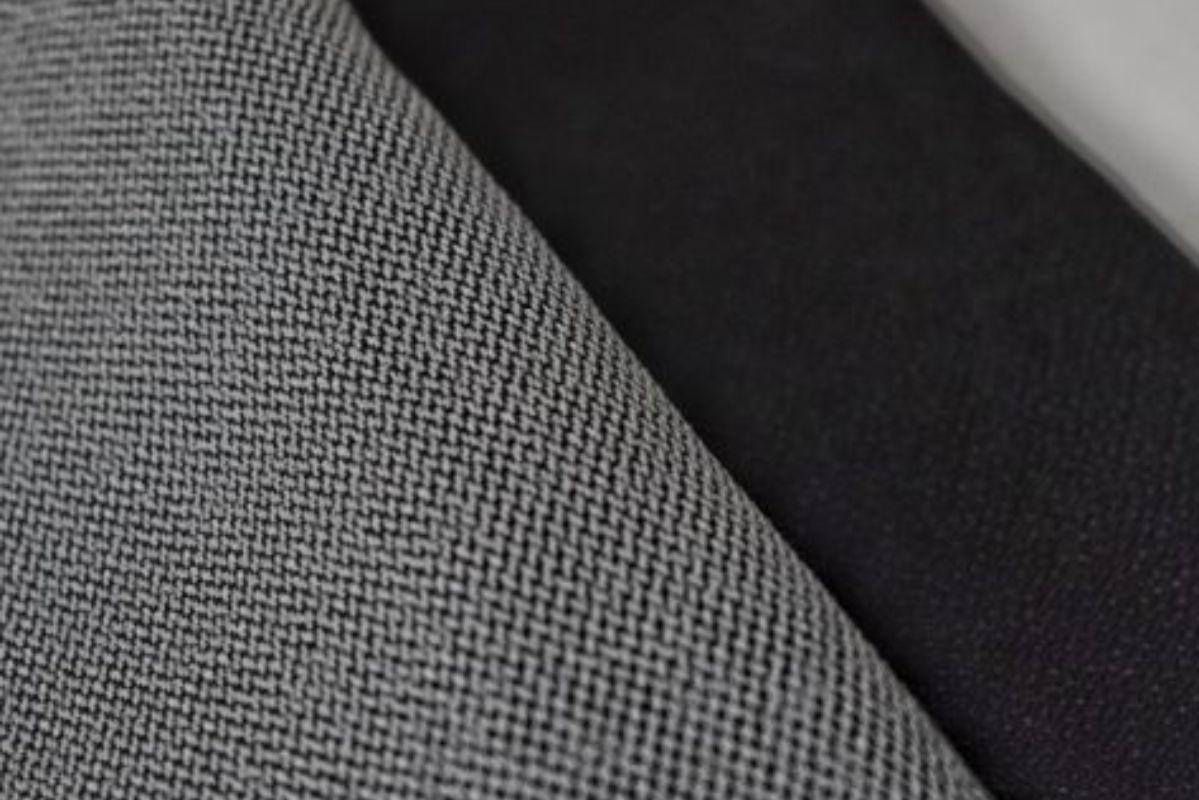
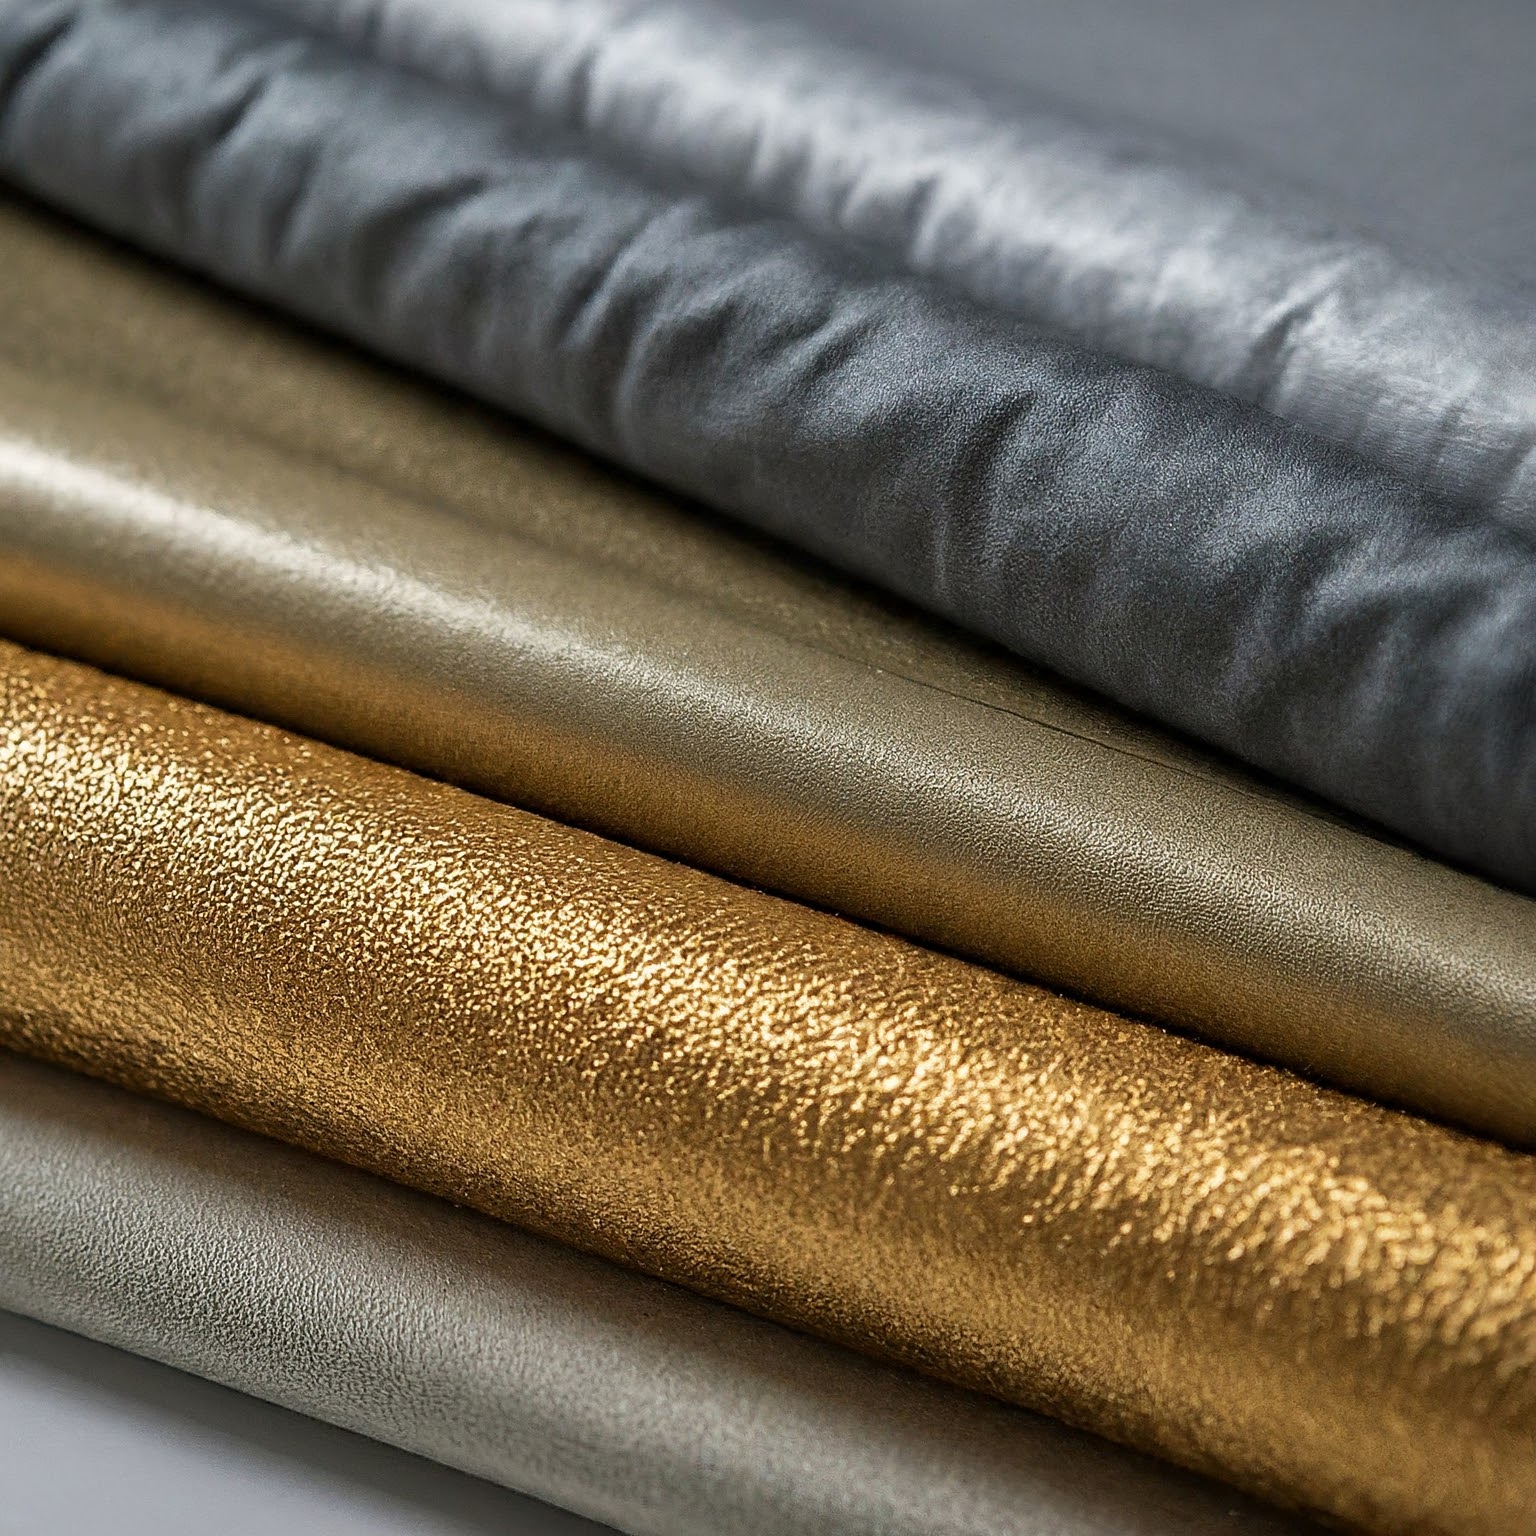
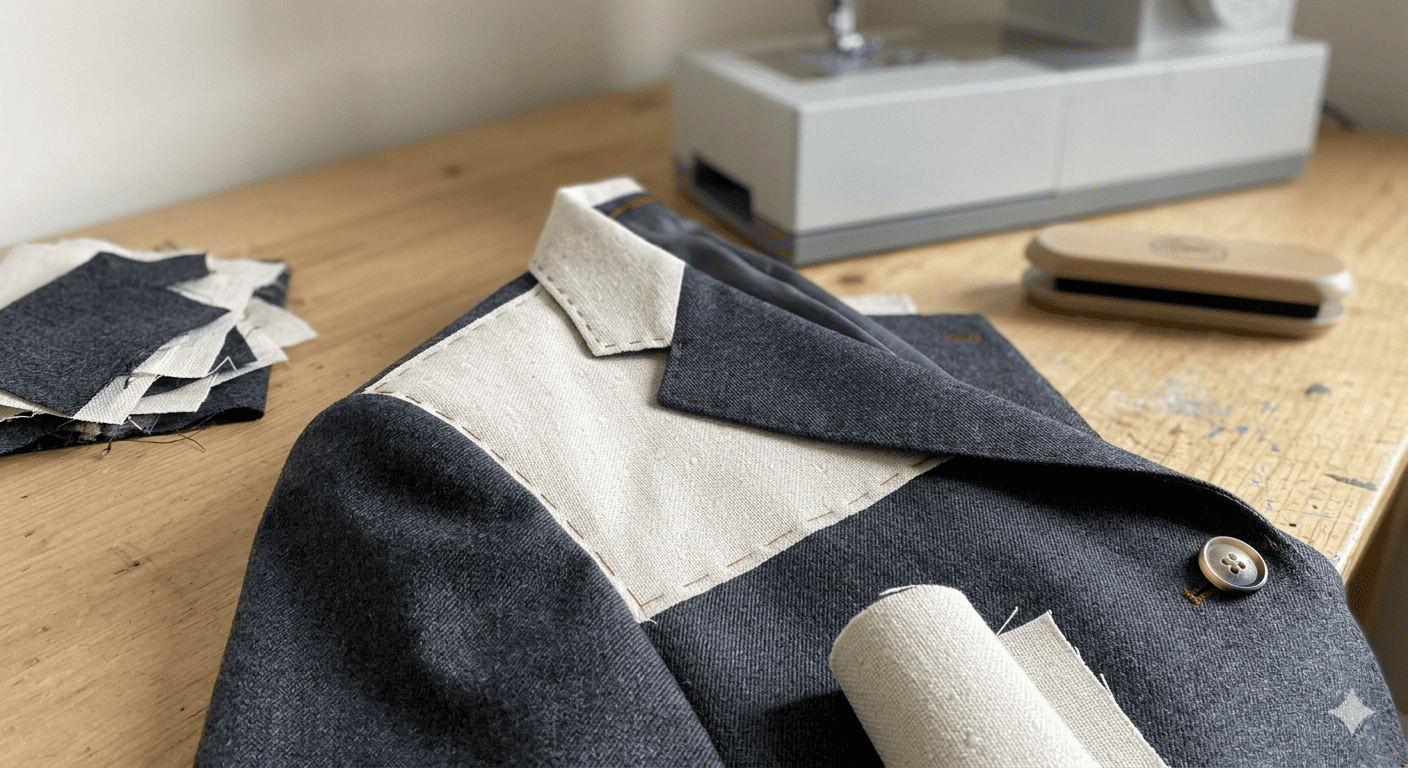
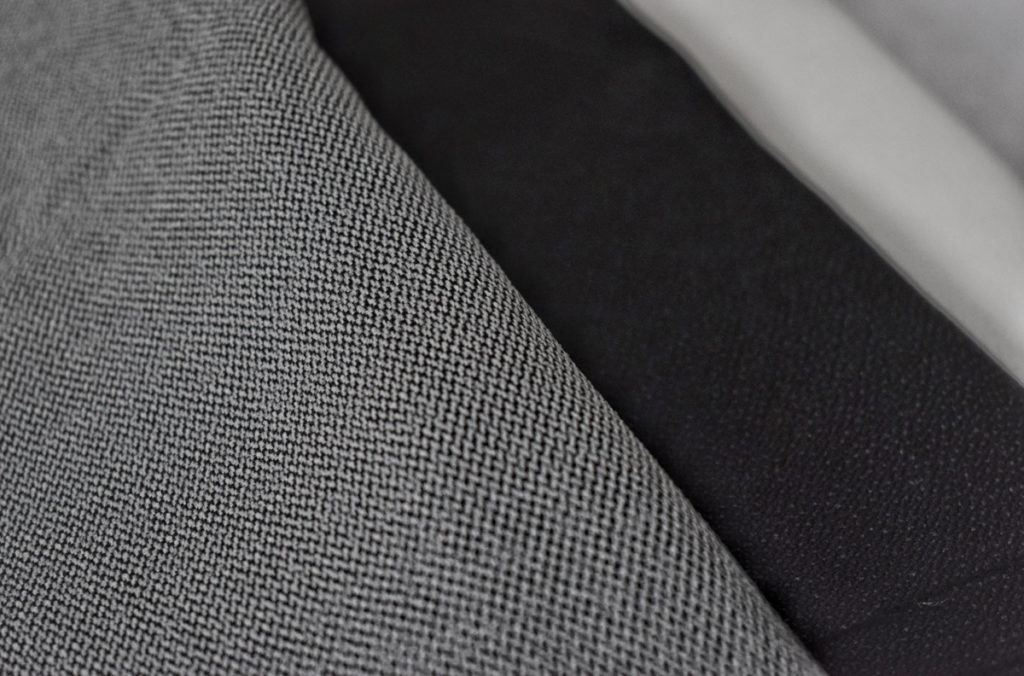
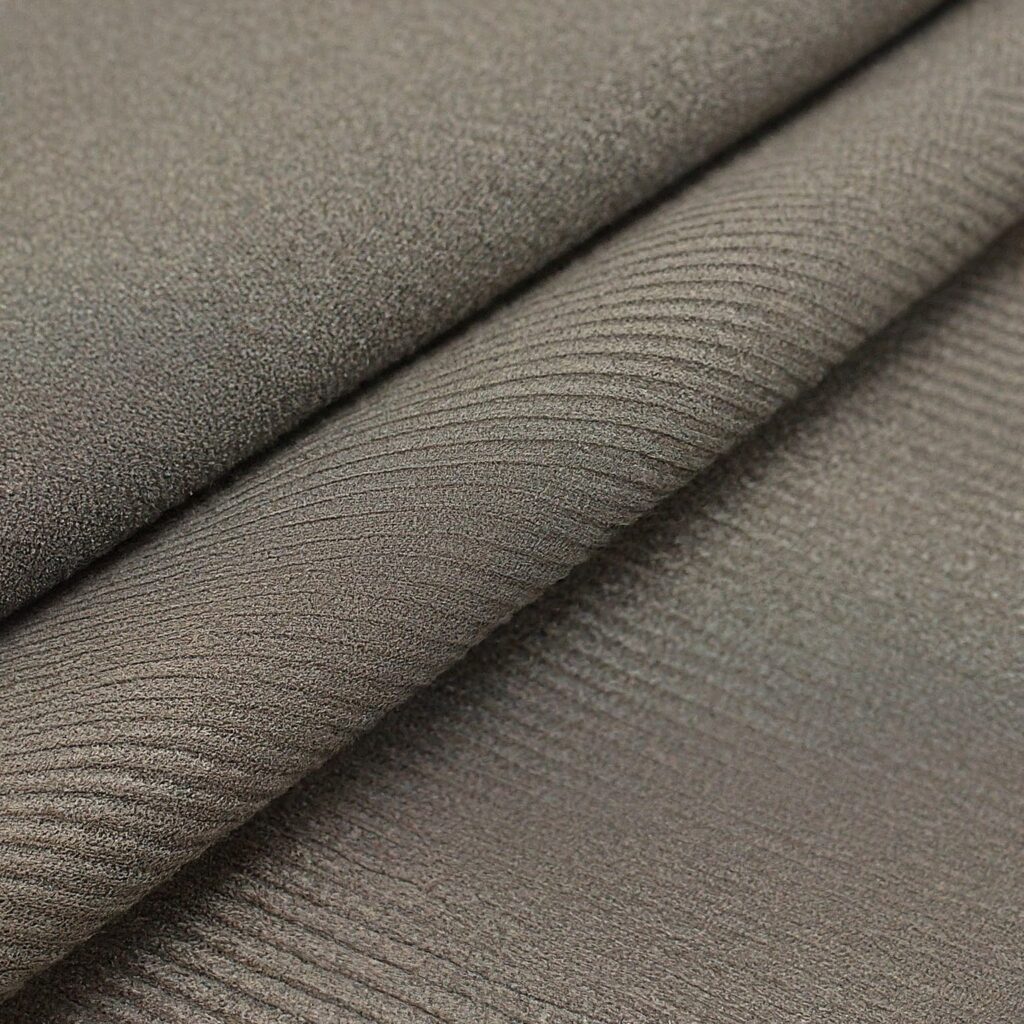
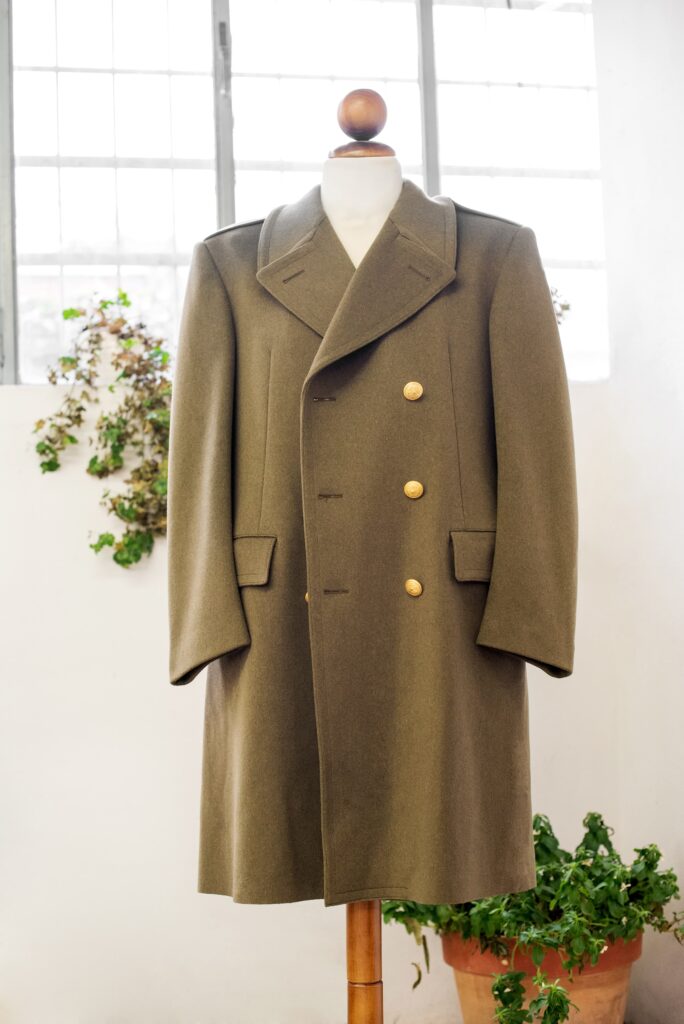
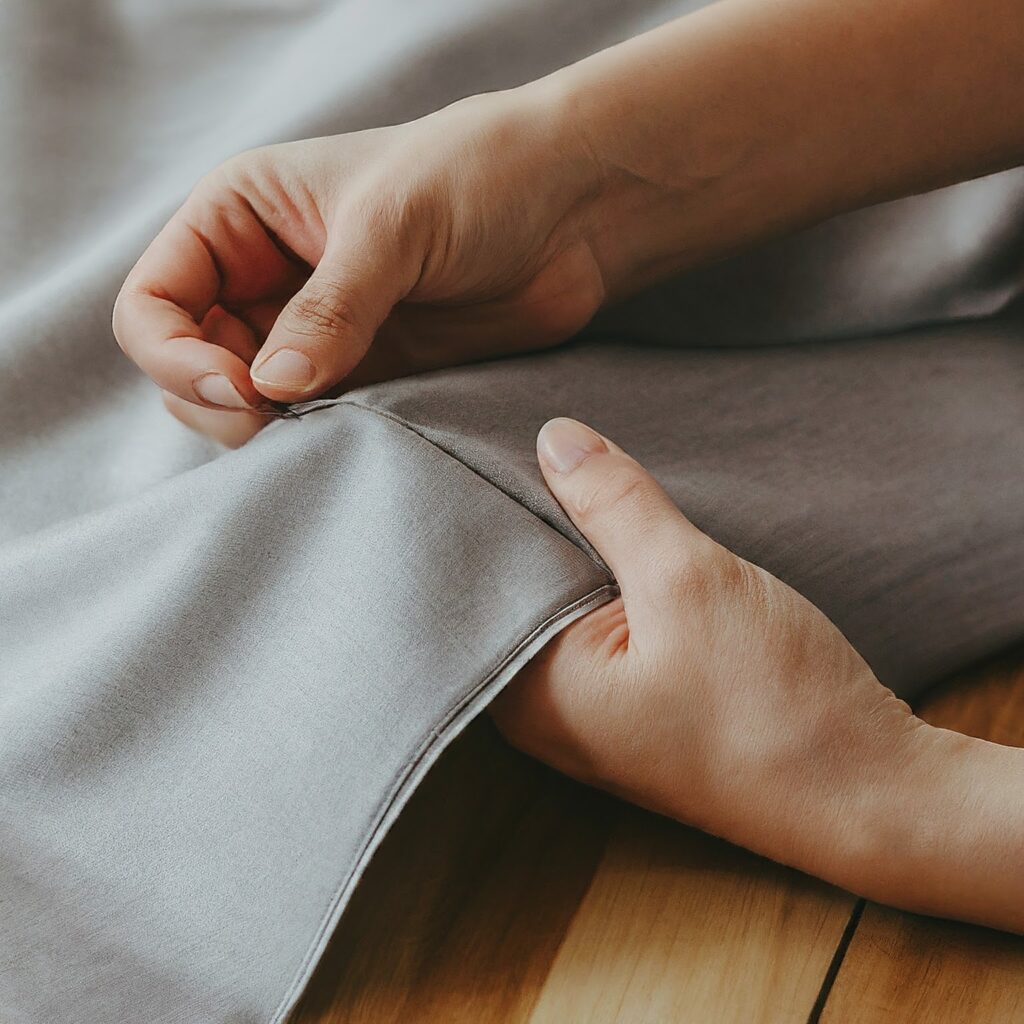
A suit, blazer or sherwani is really two layers working together: the fashion fabric you see, and the interlining that gives it shape. Woven interlining is woven from polyester yarns in both warp and weft direction, then coated on one side with a thermoplastic adhesive. Once you fuse it with heat and pressure, it bonds permanently to the fabric behind it, giving your garment its structure, stiffness and shape retention.
Without a proper structural layer underneath, even a well-cut jacket sags at the chest, loses shape after the first dry clean, and looks unfinished on the hanger. This is why we never treat interlining as a filler material, we treat it as a construction component, the same way a builder treats a foundation.
A few things a good interlining does for your finished garment:
- Holds the chest, shoulder and front panel shape through wear and repeated dry cleaning
- Gives your fabric enough body to take a clean, sharp press
- Prevents your outer fabric from stretching or distorting during stitching
- Adds the structural stiffness that heavier ethnic formal wear like sherwanis and bandgala jackets need
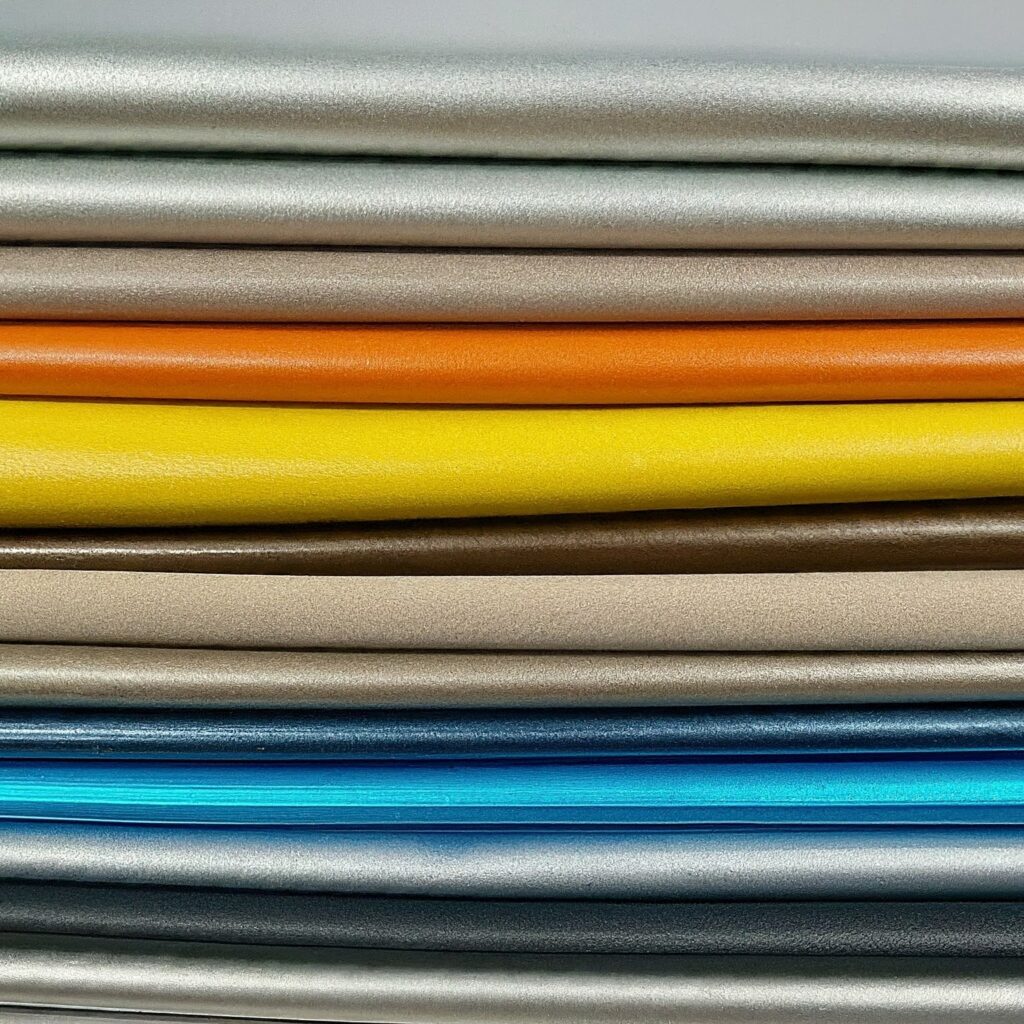
This is also where Indian manufacturing differs from international norms. Western factories typically use lighter 30–60 GSM interlining because their garments are cut for a softer, more relaxed silhouette. Indian ethnic formal wear, sherwanis, bandgala jackets, heavily structured suits, needs a firmer, fuller shape, which is why manufacturers here consistently reach for 100+ GSM woven fusible interlining. Our range at Double Ghoda is built specifically around this requirement, and we stock the full spread from light 30 GSM up to the heavier 150 GSM grades used across Surat’s sherwani manufacturing clusters.
Premium vs Ordinary Interlining: What Actually Changes on the Factory Floor
“Premium” isn’t a marketing word when it comes to interlining, it shows up directly on your production line. A cheaper, inconsistent interlining creates problems that don’t appear until pressing, or worse, until the garment has already left your factory.
Here’s a practical comparison of what changes between ordinary and premium-grade interlining:
| Factor | Ordinary Interlining | Premium-Grade Interlining |
| Bonding consistency | Uneven adhesive spread, weak spots common | Uniform PA double-dot coating, even coverage across the roll |
| Meter accuracy | Rolls often short, disrupts your cutting plans | Accurate meters, roll after roll |
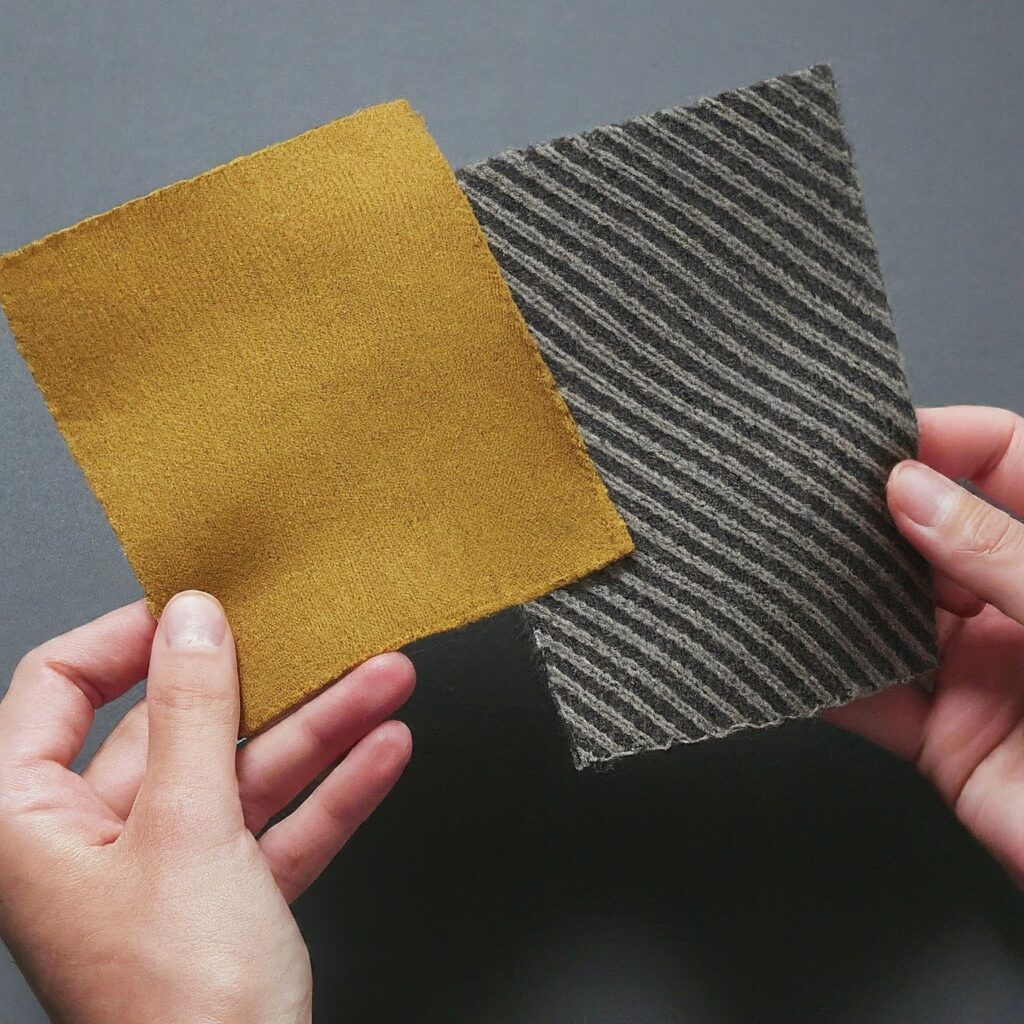
| Handle & drape | Stiff or papery, poor tailor feedback | Soft handle with strong body, tailor-friendly performance |
| Bonding after dry cleaning | Peeling and bubbling after a few cleaning cycles | Bond holds through dry cleaning and 40°C wash |
| Batch-to-batch consistency | GSM and shade vary between lots | Same GSM, same shade, same feel on every reorder |
| Rejection & rework rate | Higher — bubbling, delamination, shade mismatch | Lower, tested and inspected before dispatch |
For a wholesale garment manufacturer running high production volumes, these aren’t small differences. A batch with inconsistent bonding means rework, tailor complaints and, in the worst case, garments coming back to you after a customer complaint. Premium interlining is really a way of removing that risk before it ever enters your cutting room.
At Double Ghoda, we test every incoming lot for white shade consistency, colour stability, shrinkage control and PA bonding strength before we accept it into stock — the kind of quality check that keeps these issues off your production floor in the first place.
How the Right GSM Grade Protects Your Margins
GSM — grams per square meter, is the single most important spec when you’re sourcing suit or sherwani interlining, and getting it wrong costs you money in both directions. Too light, and your garment loses shape and comes back for rework. Too heavy, and you’re paying for structure your garment doesn’t need, while also making it stiffer and heavier than your brand wants.
A quick reference for matching GSM to garment type:
- 30–55 GSM — Lightweight chiffon, georgette and fine fabrics where minimal structure is needed
- 60–80 GSM — Mid-weight formal wear, standard blazers, jacket cuffs and pockets
- 100–120 GSM — Structured suits and premium blazers needing strong shape retention
- 130–140 GSM — Heavy formal jackets, bandgala construction, and sherwani front panels
- 150 GSM — Maximum structure for heavily embroidered sherwanis and fully structured ethnic wear
Among these, the 140 GSM grade holds a special place in the trade. We sell it as 111 quality, the name Surat and North India’s sherwani manufacturing belt already knows it by, and buyers ask for it by number, not by description. Our 111 quality is Double Ghoda’s top-selling SKU for exactly this reason: we’ve tuned it for the weight, hand-feel and bonding strength sherwani manufacturers expect batch after batch.
Getting your GSM selection right at the sourcing stage means fewer surprises at the pressing table — no fabric that feels thinner than the sample, no jacket front that needs a second layer added mid-production.
PA Double-Dot Coating: The Detail That Separates Good Fusing From Bad Fusing
The coating on this type of interlining does the actual work of bonding it to your fashion fabric, and this is where a lot of quality difference hides in plain sight. PA — polyamide, is the thermoplastic adhesive we use across every grade. “Double-dot” describes how it’s applied: two staggered layers of adhesive dots, rather than a single scatter pattern.
What this means practically for your factory running a fusing press:
- Faster bonding — double-dot coverage means the adhesive melts and bonds evenly within roughly 18–25 seconds under standard press settings, keeping your line moving
- Stronger hold — the staggered dot pattern gives more surface contact with your fabric, so there are no weak spots or edge lifting, even on heavier 140 GSM cloth
- Better resistance to delamination — a double-dot bond holds up through dry cleaning and washing at 40°C, which matters enormously for garments that get cleaned repeatedly over their lifetime
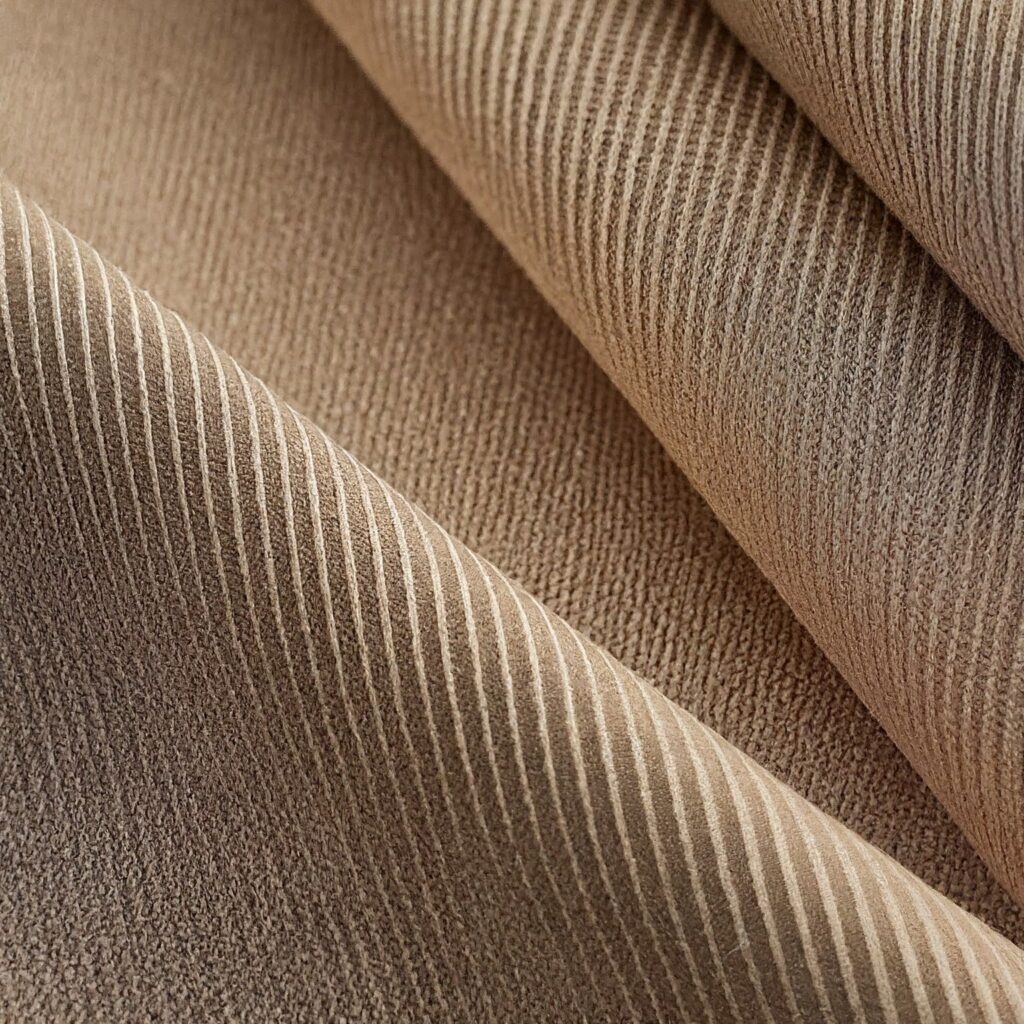
- No bubbling on heavy or textured fabric — even coverage prevents the small air pockets that show up as bubbling on brocade or textured sherwani fabric
This single coating detail is why two interlinings that look identical on the roll can perform completely differently at your pressing table. Every grade we supply at Double Ghoda carries PA double-dot coating as standard, because we know Indian ethnic formal wear, thicker fabrics, heavier embroidery, repeated dry cleaning, puts more demand on the bond than lighter international garments do.
Sherwani, Suit and Blazer Manufacturing: Matching Interlining to the Garment
Different garments put different demands on the interlining underneath them, and matching the grade correctly is part of what separates an experienced sourcing team from a factory that’s guessing.
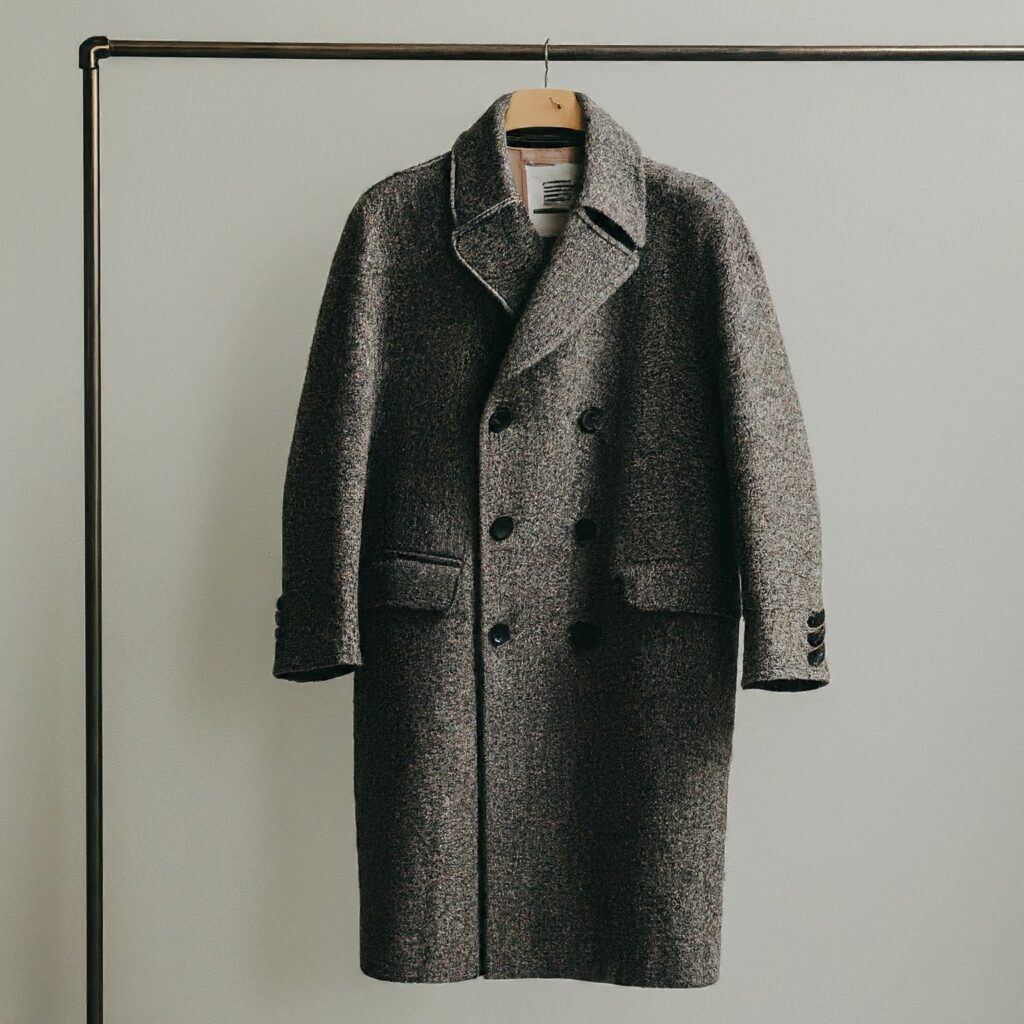
Sherwani manufacturing needs the heaviest interlining in our range. Full-front construction on a sherwani carries embroidery weight and needs to hold a rigid, formal silhouette — this is where 140 GSM (111 quality) is the standard choice across Surat’s manufacturing clusters, sometimes moving up to 150 GSM for heavily embroidered pieces.
Suit and blazer manufacturing typically runs on 80–130 GSM, depending on how structured you want the final silhouette to be. A softer Italian-cut blazer might sit at the lighter end, while a fully structured formal suit front uses the heavier grades.
Bandgala and Nehru jackets, which straddle formal and ethnic wear, generally use 100–140 GSM woven interlining, enough body to hold the stand-collar structure through repeated wear.
A useful way to think about it:
| Garment | Typical GSM Range | Why |
| Sherwani (full front) | 130–150 GSM | Maximum structure, holds embroidery weight |
| Bandgala / Nehru jacket | 100–140 GSM | Firm collar and body structure |
| Structured suit / blazer | 80–130 GSM | Shoulder and chest shape retention |
| Safari suit | 80–100 GSM | Structured but lighter than sherwani |
| Formal jacket (front panels) | 80–120 GSM | Balance of structure and drape |
It’s worth noting that a heavy woven construction isn’t the right choice everywhere in your garment. For collars, cuffs and shirt plackets, lighter parts that don’t carry the same structural load, non-woven interlining in the 30–80 GSM range is the more practical and cost-effective option. Many of our clients producing full formal wear ranges stock both from us, using our heavier woven grades for the body and non-woven for the smaller finishing parts.
Choosing an Interlining Supplier You Can Reorder From Without Worry
For a wholesale manufacturer, the biggest cost of a bad interlining supplier usually isn’t the first bad batch, it’s the uncertainty that follows. If GSM, shade or bonding strength shifts between orders, every reorder becomes a small risk to your production schedule.
A few things worth checking before you commit to a supplier at wholesale volume:
- Do they hold ready stock, or does every order wait on an import cycle?
- Is meter count accurate roll after roll, so your cutting plans don’t come up short?
- Is the coating consistent batch to batch, not just on the sample they showed you?
- Do they specialise in your product category, or are they a general fabric trader treating interlining as a side line?
- Can they supply the specific heavy GSM grades your ethnic formal wear demands, rather than a generic international range?
This is the gap we built Double Ghoda to fill. As a dedicated wholesale supplier of woven and non-woven interlining, polyester lining and garment accessories, we work specifically with garment manufacturers, formal wear wholesalers and sherwani makers across Surat and North India — not individual tailors or retail buyers. We hold every grade from 30 to 150 GSM in ready stock, with PA double-dot coating as standard and batch-level quality checks before we accept any lot. If you’re running continuous production, that consistency, paired with accurate meters on every roll, is what makes us a supplier you can reorder from without a second thought.
If you’re setting up a new formal wear line, switching to heavier ethnic construction, or simply tired of inconsistent bonding from your current source, we’re happy to help you match your GSM and coating requirement to the right grade before you commit to bulk quantity.
Frequently Asked Questions
What is woven fusible interlining used for? It’s used as the structural layer inside suits, blazers, sherwanis and other heavy formal wear. Coated with a thermoplastic adhesive and fused with heat, it gives the garment shape, stiffness and shape retention that the outer fabric alone can’t hold.
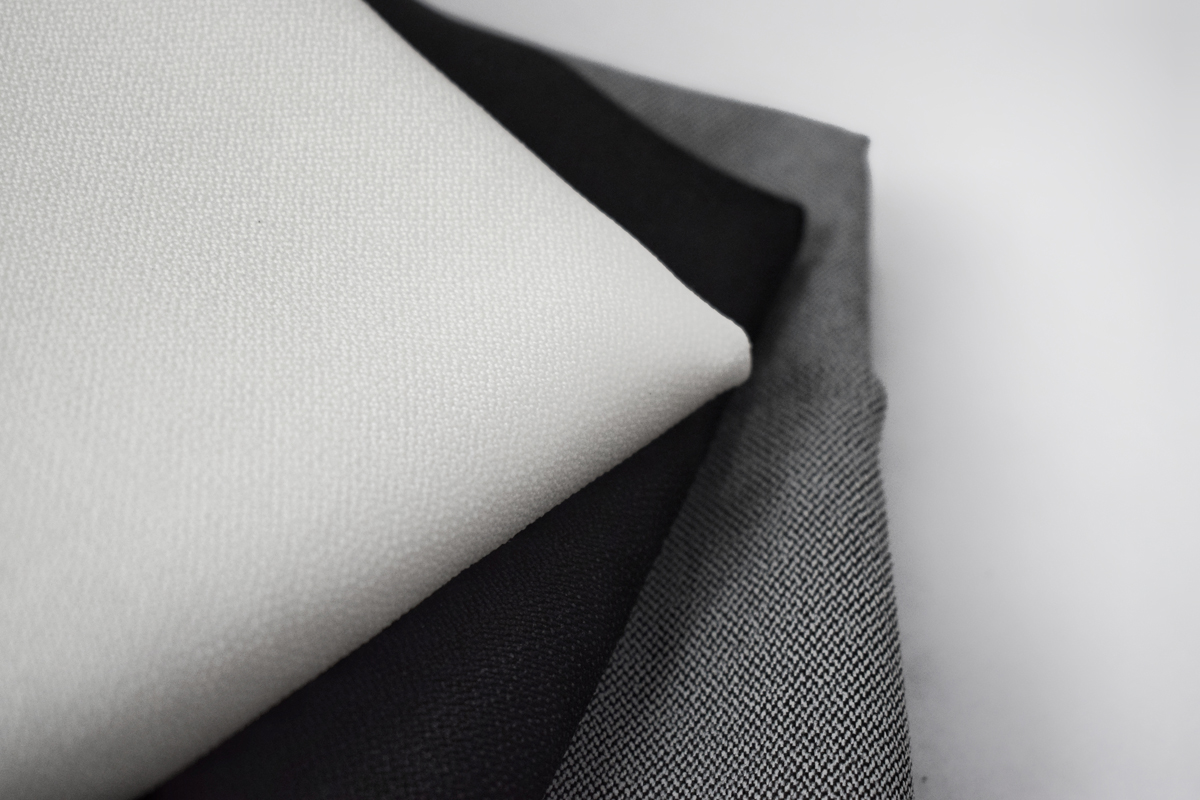
How is woven interlining different from non-woven interlining? Woven interlining is made from polyester yarns woven in both directions, giving it higher tensile strength and better shape retention, ideal for suits and sherwanis. Non-woven interlining is a bonded fibre web, lighter and more cost-effective, better suited to collars, cuffs and shirt plackets rather than full-garment structure.
What does “111 quality” mean in interlining? 111 quality refers to 140 GSM woven fusible interlining, the trade-recognised grade for full-front sherwani construction across Surat and North India. Buyers in the trade order it by this name because it identifies a specific weight and bonding performance they already know.
What GSM should I use for a suit versus a sherwani? Suits and blazers typically use 80–130 GSM depending on how structured the silhouette needs to be. Sherwanis need heavier interlining, usually 130–150 GSM, to support embroidery weight and hold a rigid formal shape through wear.
What is PA double-dot coating? PA stands for polyamide, the thermoplastic adhesive coated onto woven interlining. Double-dot describes a staggered two-layer application of adhesive dots, which gives faster, more even bonding and a stronger hold than a single-dot coating, especially important on heavier ethnic wear fabrics.
Why do Indian manufacturers use heavier GSM interlining than international factories? Ethnic formal wear like sherwanis and bandgala jackets is cut for a firmer, more structured silhouette than typical Western formal wear, which requires heavier interlining, usually 100 GSM and above, to hold that shape through wear and dry cleaning.
What is the minimum order quantity for wholesale woven interlining? Wholesale woven fusible interlining is typically sold with a minimum order quantity around 1,000 meters, since it’s supplied to garment manufacturers and formal wear wholesalers rather than individual tailors or retail buyers.
How can I tell if a woven interlining supplier is reliable for repeat orders? Check for consistent GSM and shade across batches, accurate meter counts on every roll, ready stock availability, and a track record of supplying your specific garment category, heavy ethnic formal wear needs a supplier who stocks the heavier GSM range, not just standard international grades.
Link of related Articles
- Lightweight Interlining vs. Heavyweight Interlining
- A Beginner’s Guide to Interlining
- Choosing the Right Interlining