When it comes to creating high-quality, durable garments, heavyweight fusible interlining is a game-changer. Whether you’re a seasoned tailor or just starting, understanding this essential material can make a significant difference in your sewing projects. In this ultimate guide, I’ll walk you through everything you need to know about heavyweight fusible interlining, from its benefits to its applications and more. Let’s dive in!
Table of Contents
- Understanding Heavyweight Fusible Interlining
- Key Advantages of Heavyweight Fusible Interlining
- Applications of Heavyweight Fusible Interlining
- How to Choose the Right Heavyweight Fusible Interlining
- Tips for Applying Heavyweight Fusible Interlining
- Common Mistakes to Avoid
- Conclusion
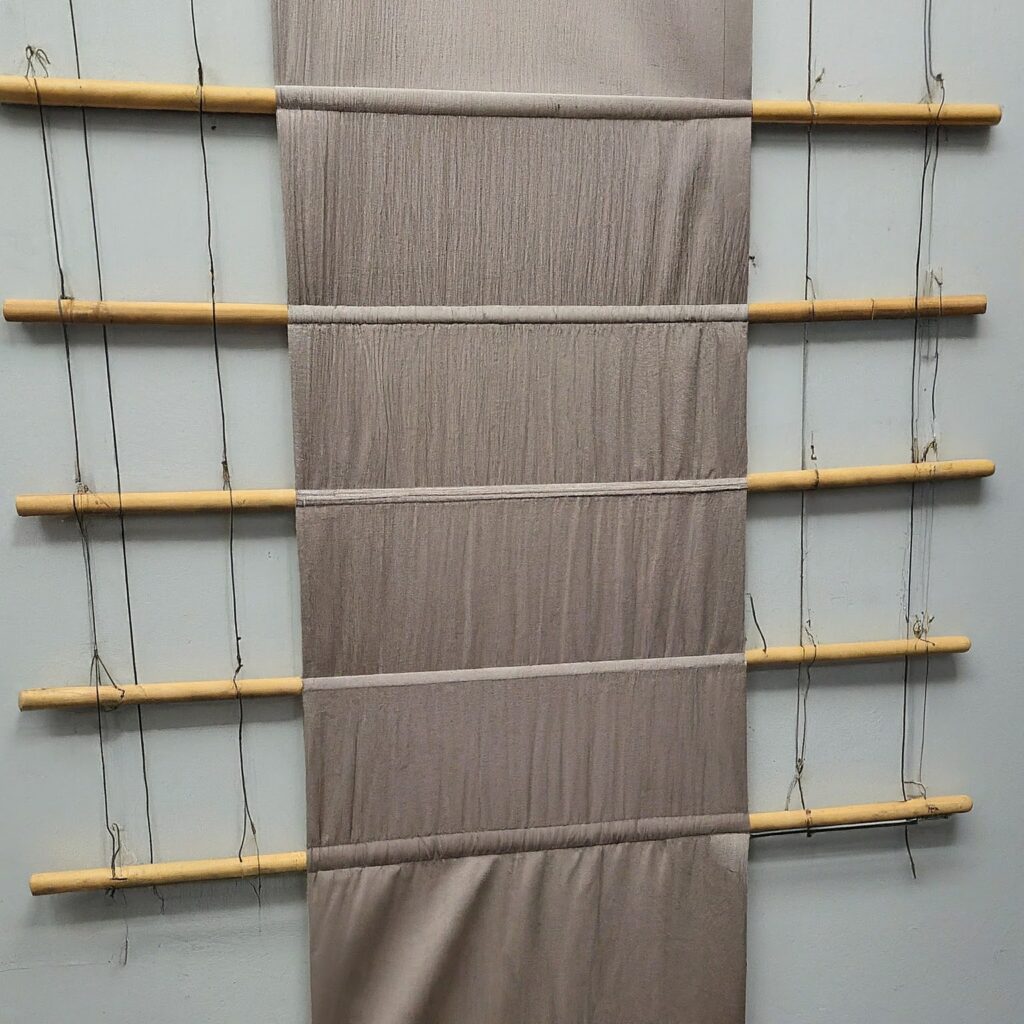
Understanding Heavyweight Fusible Interlining
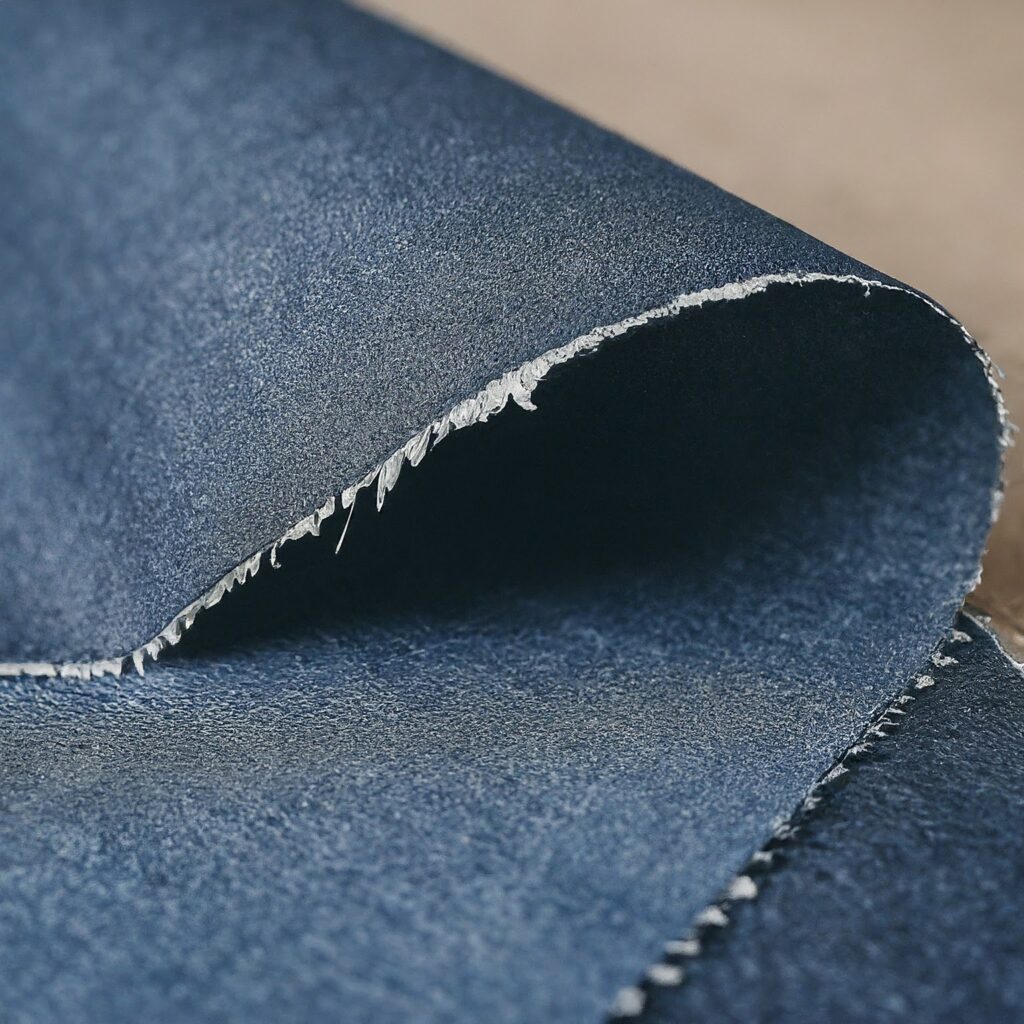
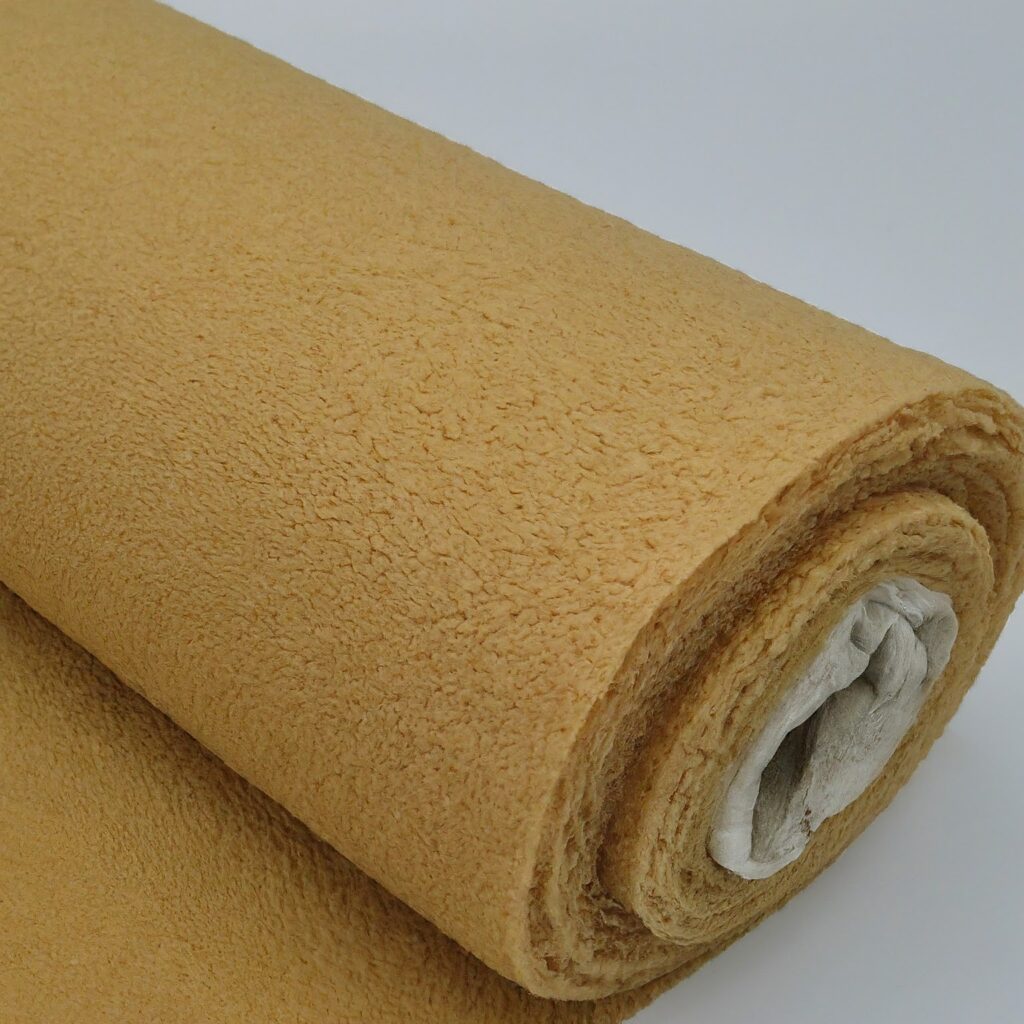
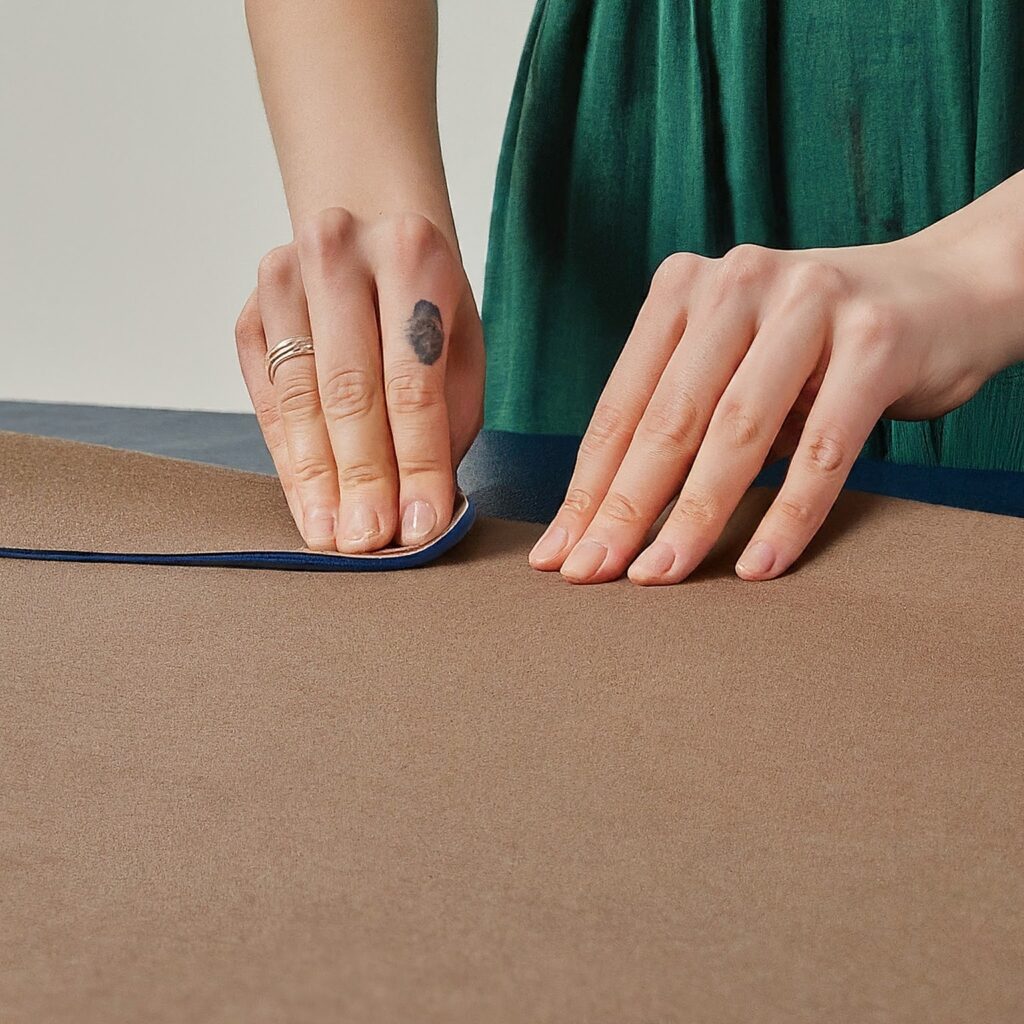
Heavyweight fusible interlining is a type of interfacing used in garment construction to provide extra support and structure. Unlike other types of interlining, heavyweight fusible interlining is designed to add considerable strength to fabrics, making it ideal for projects that require a firm, sturdy finish.
This interlining fabric is bonded to the outer fabric using heat and pressure, which helps maintain the shape and structure of the garment. It’s especially useful in tailoring and other high-stress garment areas like collars, cuffs, and lapels.
Key Advantages of Heavyweight Fusible Interlining
Using heavyweight fusible interlining offers numerous advantages for your sewing projects:
- Enhanced Structure: Provides firm support, ensuring that garments hold their shape and structure, even after multiple washes.
- Improved Durability: Adds strength to fabrics, reducing wear and tear and extending the garment’s lifespan.
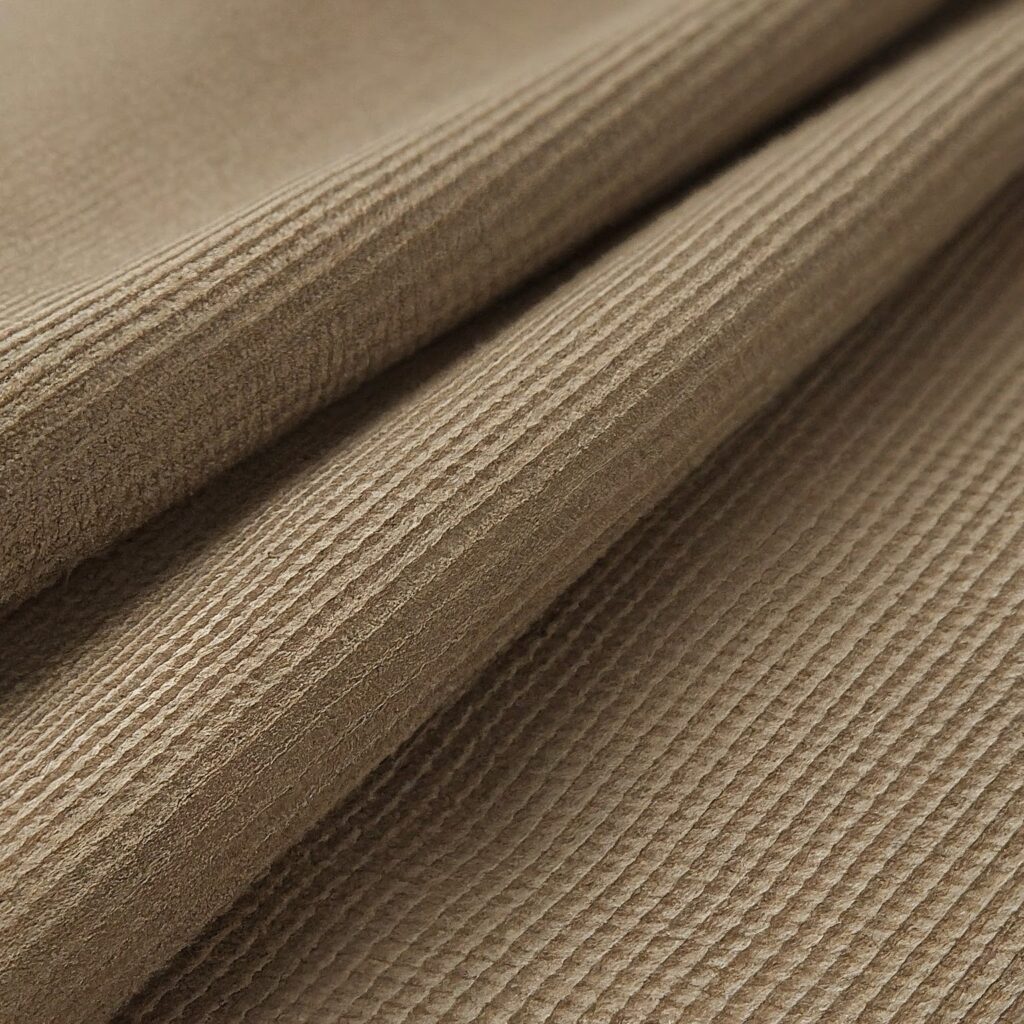
- Smooth Finish: Helps eliminate wrinkles and maintains a smooth, professional appearance.
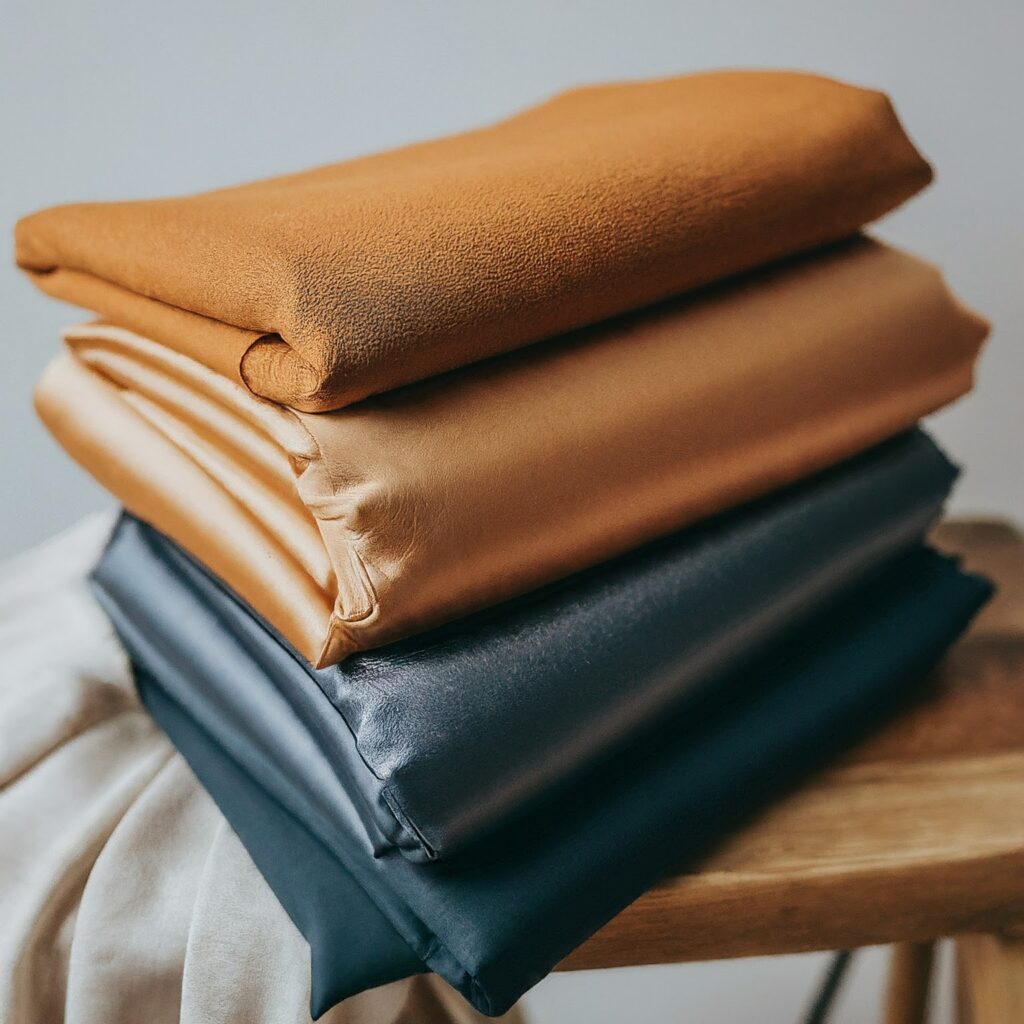
- Versatility: Suitable for a wide range of fabrics, from heavy wool to light cotton, depending on the garment’s requirements.
By incorporating heavyweight fusible interlining into your projects, you can achieve a more polished and professional finish that enhances both the appearance and longevity of your garments.
Applications of Heavyweight Fusible Interlining
Heavyweight fusible interlining is versatile and can be used in various garment types and areas:
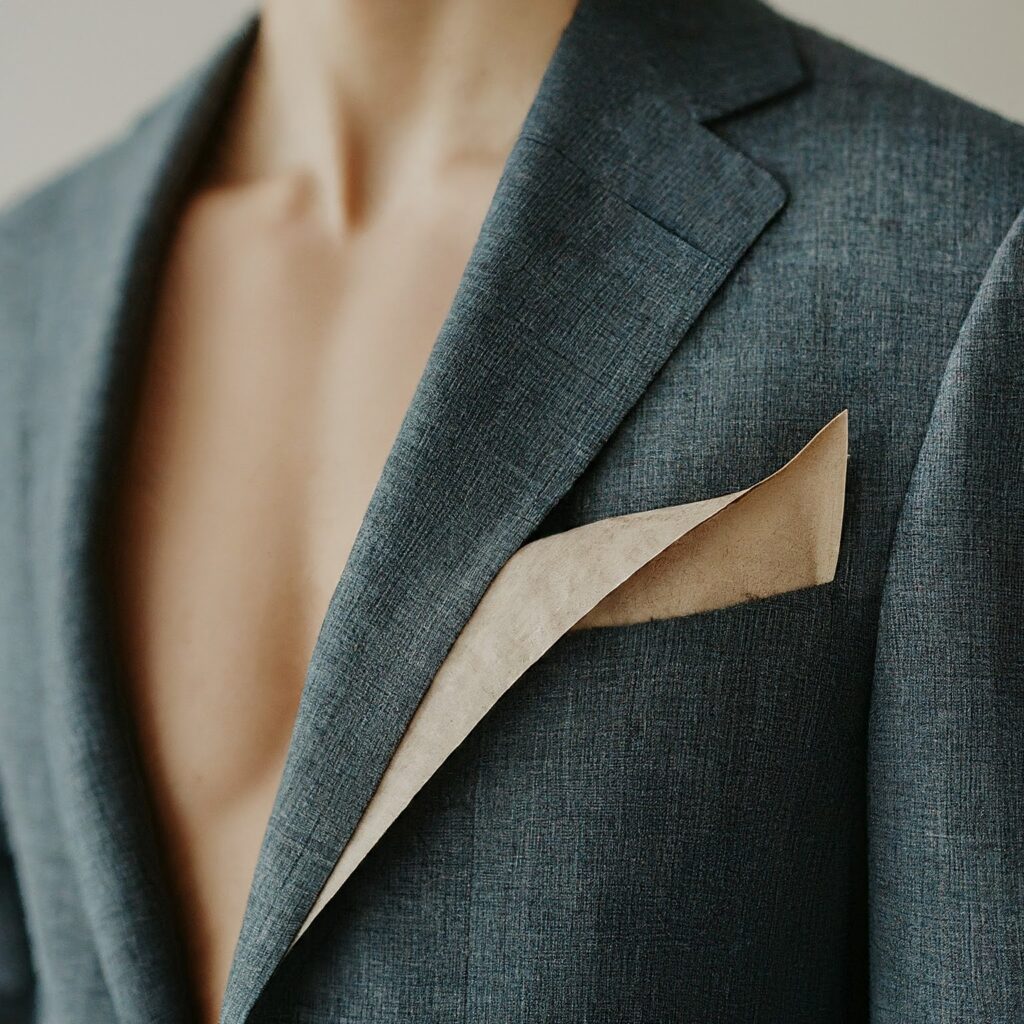
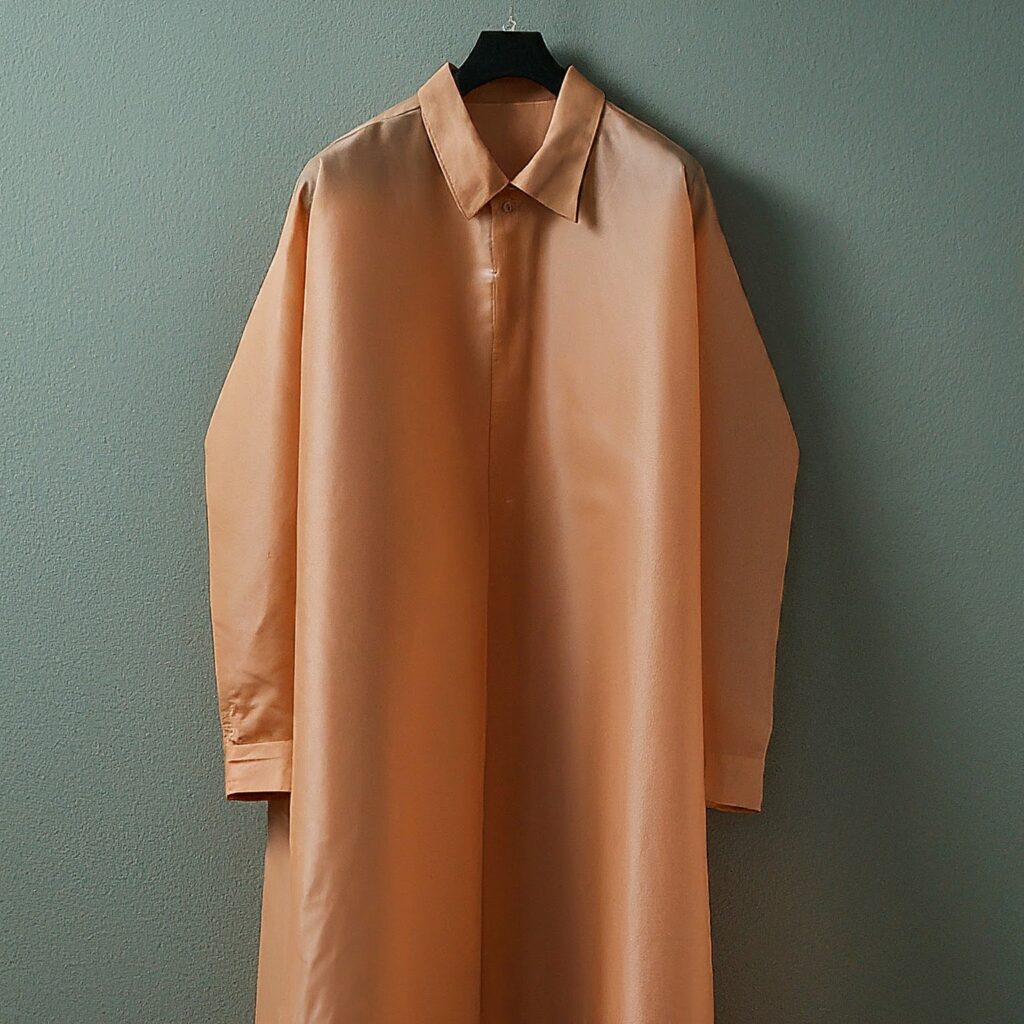
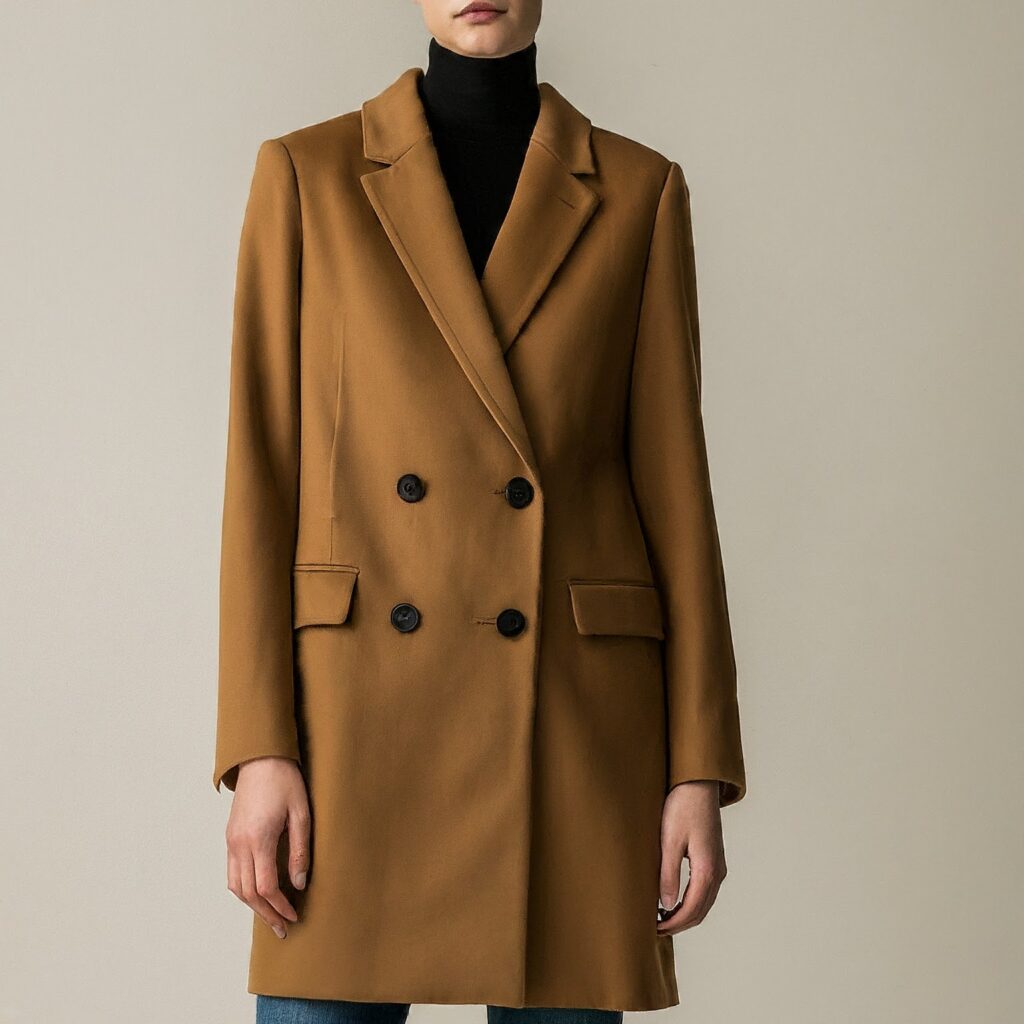
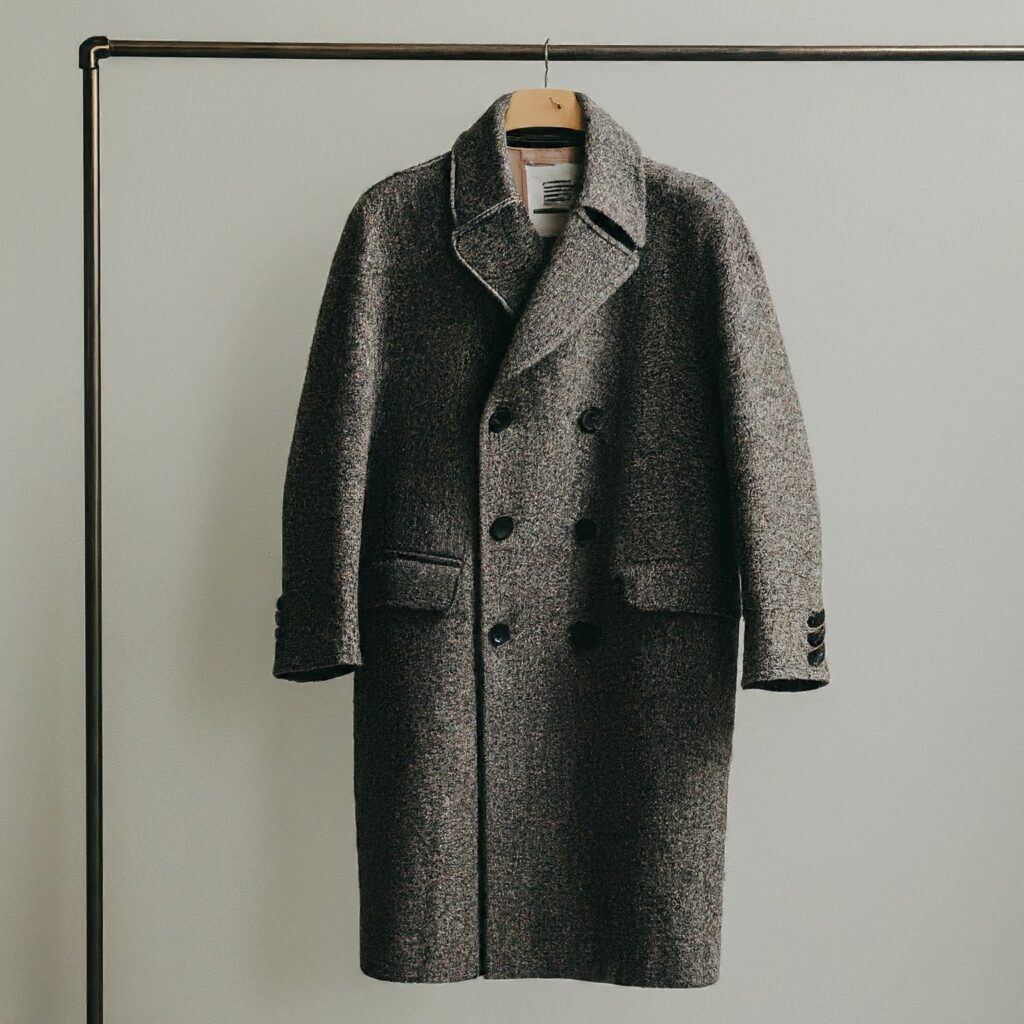
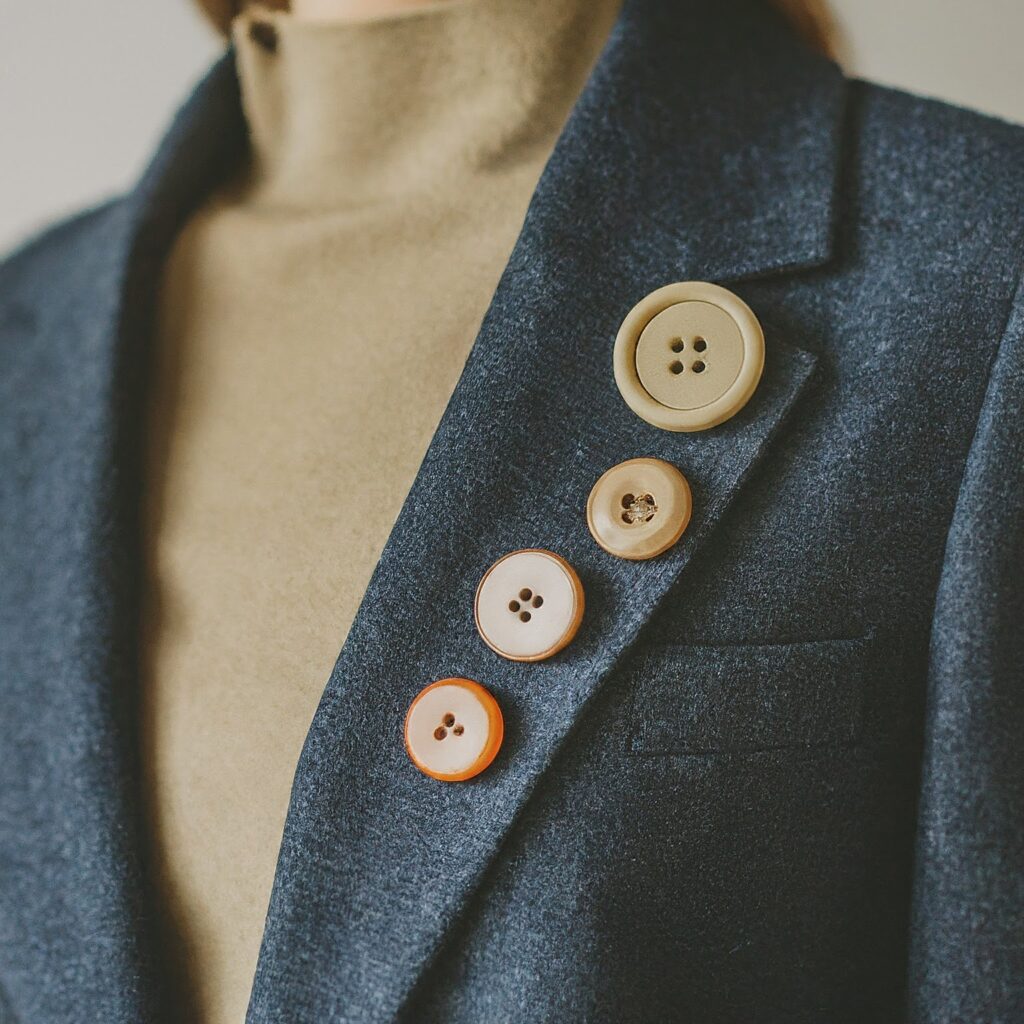
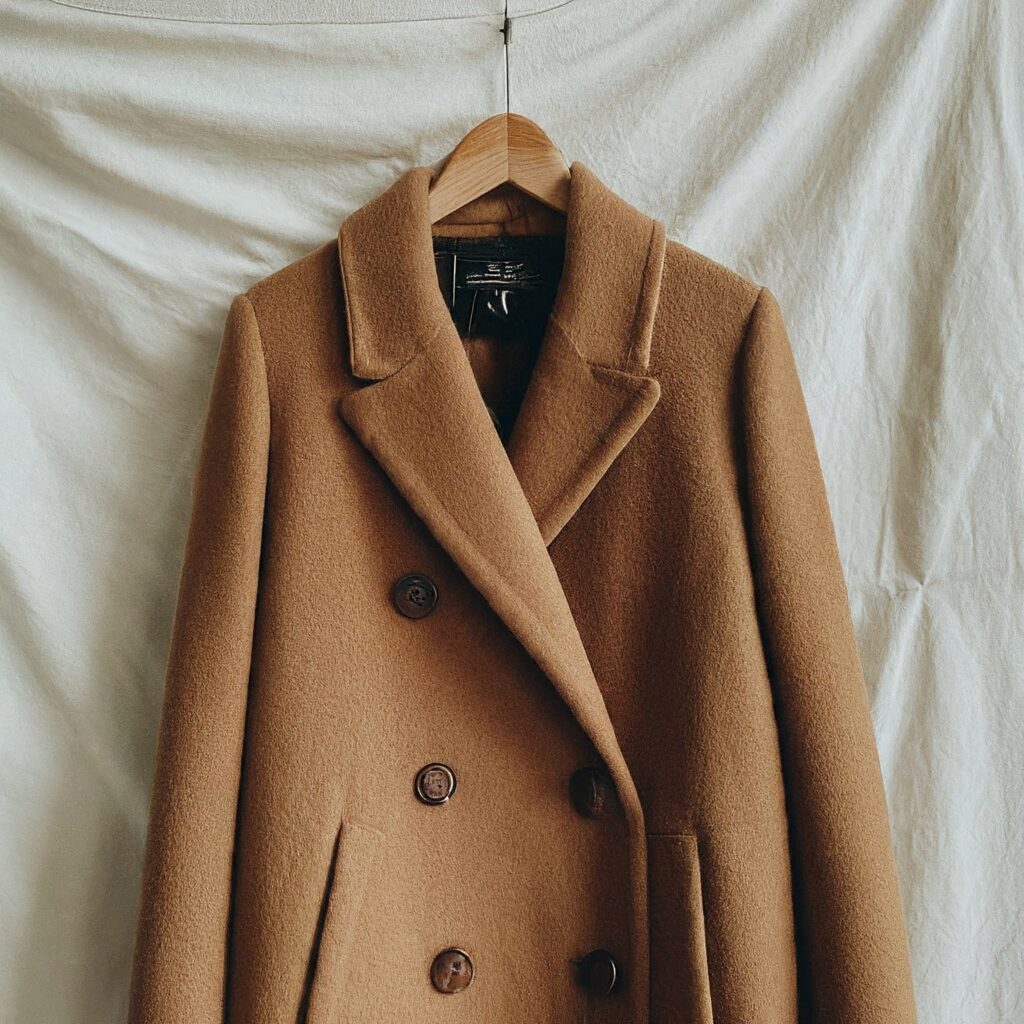
- Jackets and Coats: Provides stiffness and structure, making them look more tailored and polished.
- Suits and Blazers: Ensures that the garment maintains its shape and formality.
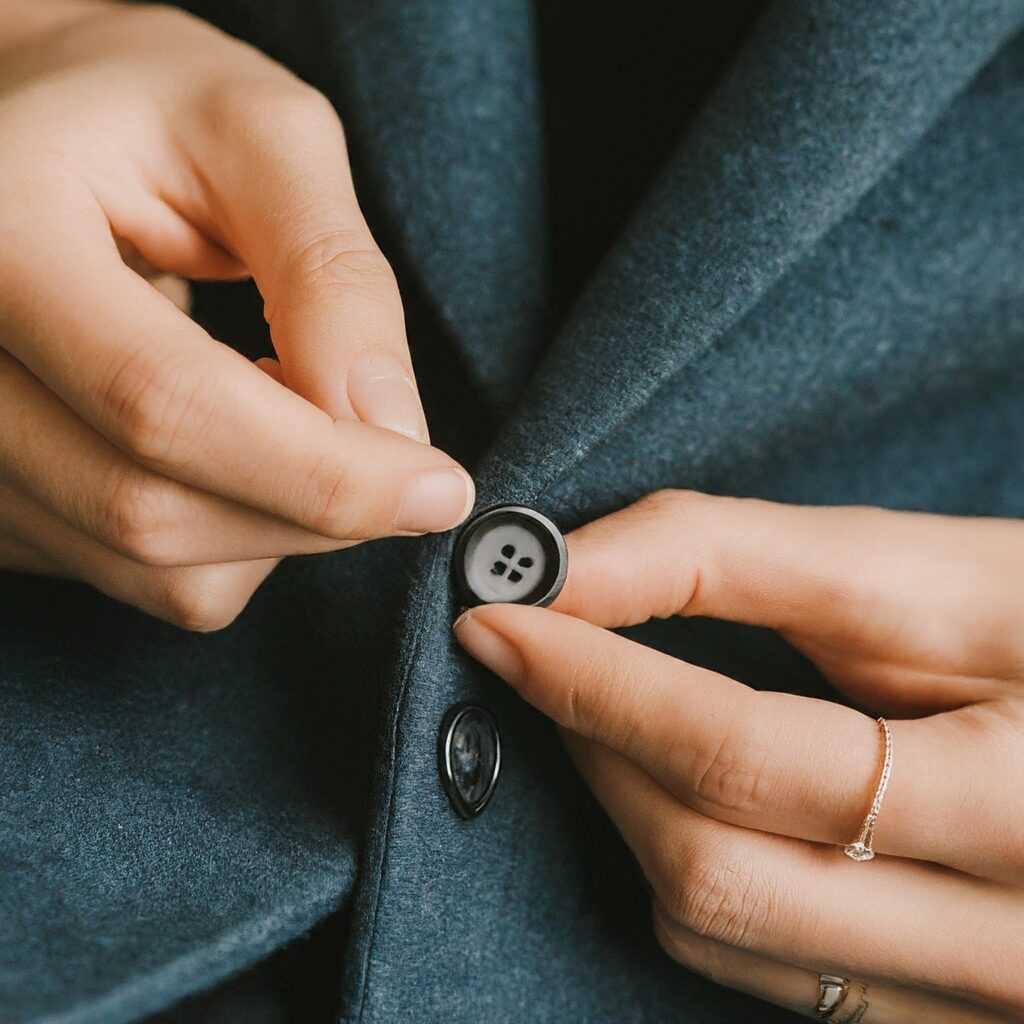
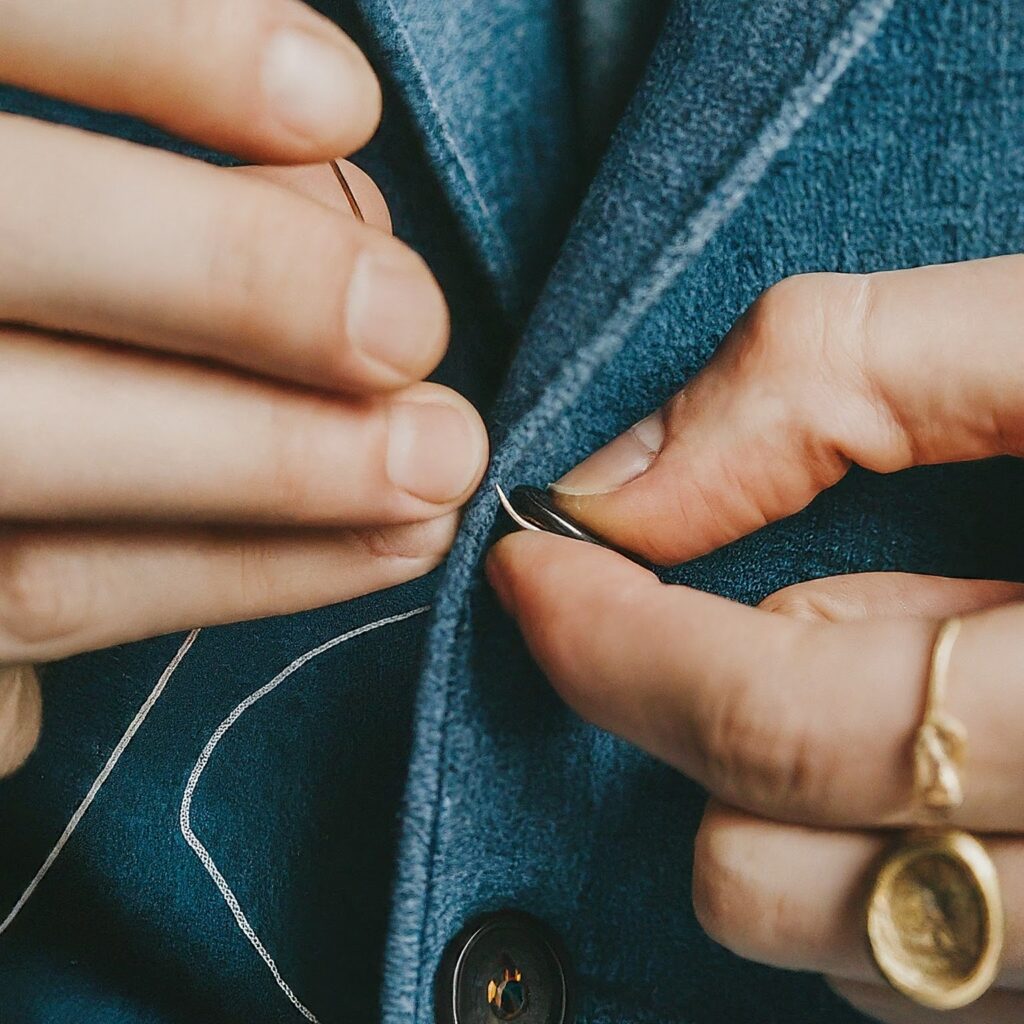
- Collars and Cuffs: Adds firmness to collars and cuffs, preventing them from sagging or losing their shape.
- Skirts and Dresses: Gives body to skirts and dresses, helping them maintain their silhouette.
Understanding where and how to use heavyweight fusible interlining allows you to enhance various garment elements, ensuring they look and feel their best.
How to Choose the Right Heavyweight Fusible Interlining
Selecting the appropriate heavyweight fusible interlining involves considering several factors:
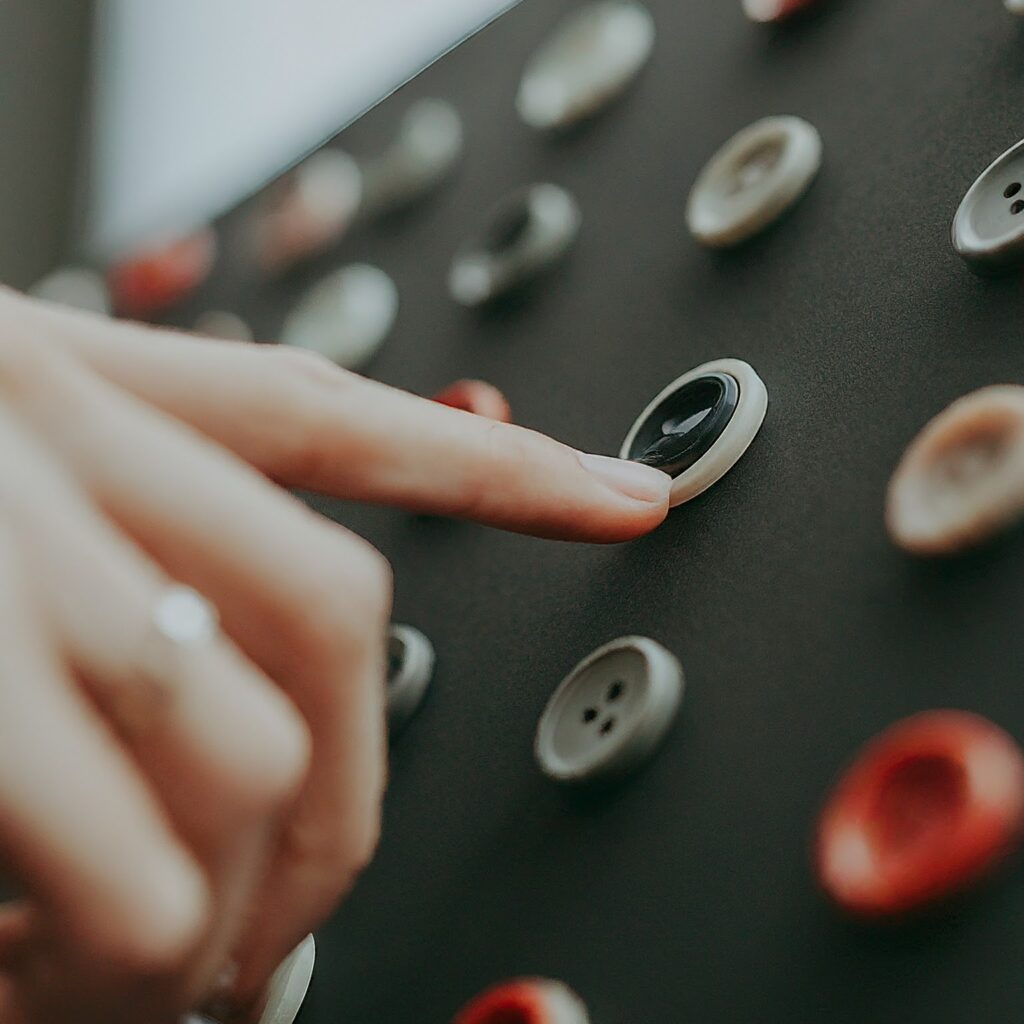
- Fabric Type: Match the interlining to your outer fabric’s weight and texture to achieve the best results. For instance, use a heavier interlining for thick wool and a lighter one for cotton.
- Garment Purpose: Determine the level of stiffness and support needed based on the garment’s function and design.
- Interlining Weight: Choose a weight that complements your fabric and desired garment structure.
Making the right choice ensures that your garment has the appropriate structure and support, enhancing both its look and functionality.
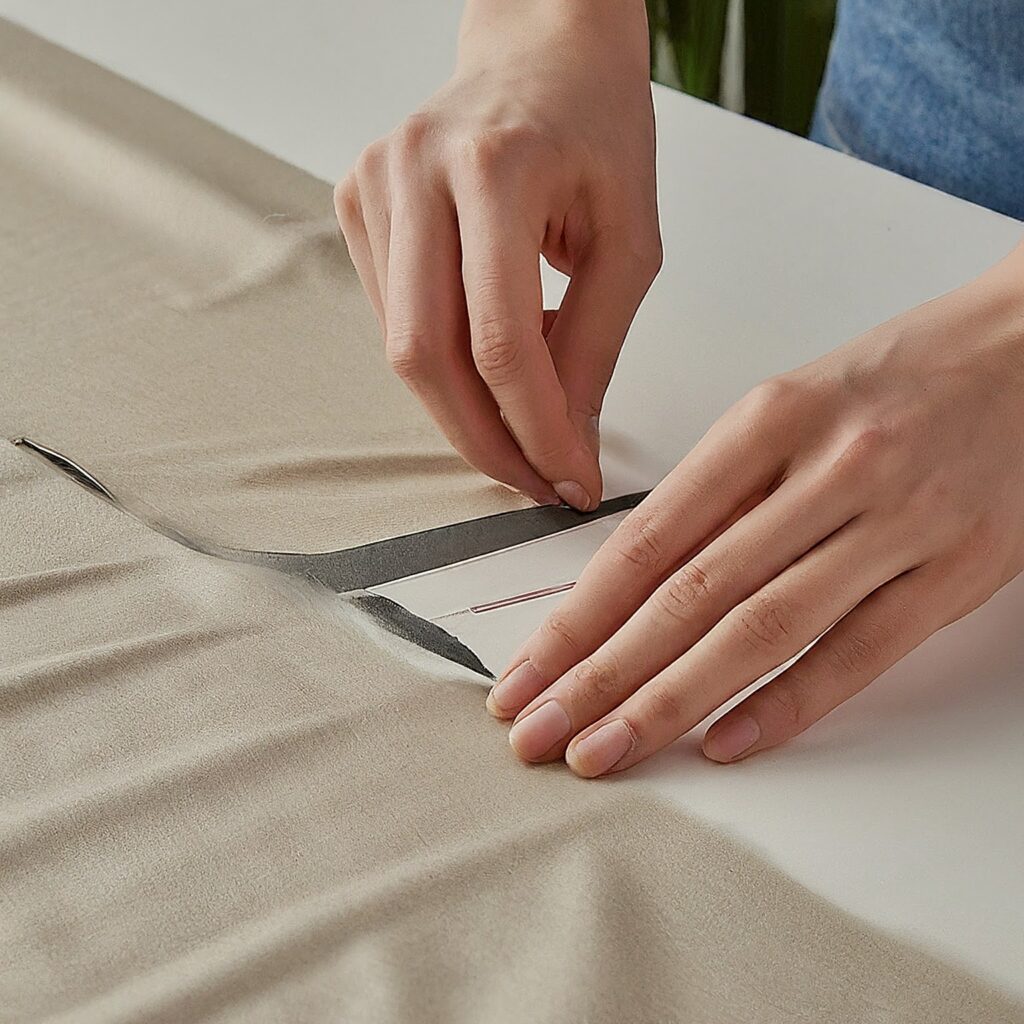
Tips for Applying Heavyweight Fusible Interlining
To get the best results from heavyweight fusible interlining, follow these tips:
- Pre-Wash Your Fabric: Pre-wash both the outer fabric and interlining to prevent shrinkage and ensure proper adhesion.
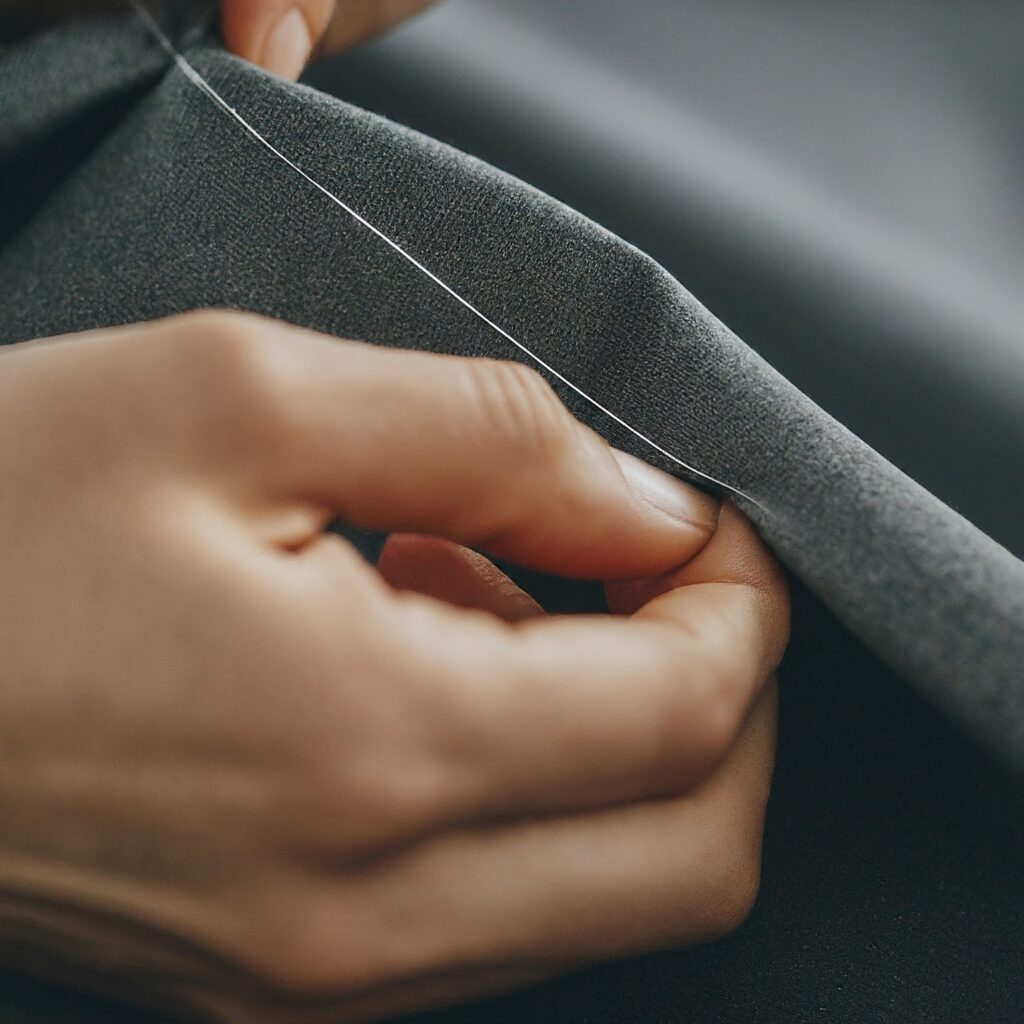
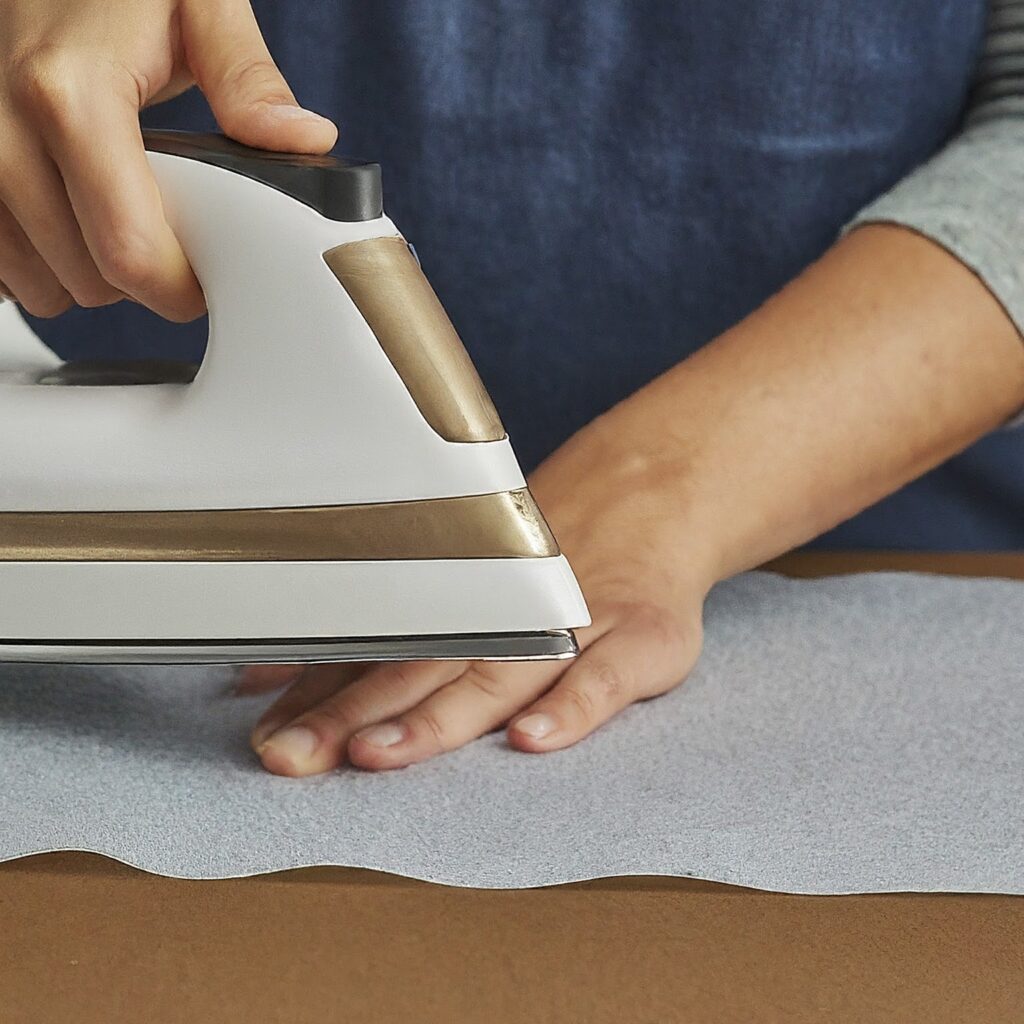
- Use Proper Heat Settings: Apply the interlining using the correct heat setting on your iron to ensure it bonds properly without damaging the fabric.
- Press, Don’t Iron: Use a pressing motion rather than ironing to avoid shifting the fabric or causing wrinkles.
- Check Bonding: Test the bonding on a fabric scrap to ensure that the interlining adheres correctly and that you achieve the desired effect.
These tips will help you apply heavyweight fusible interlining effectively, resulting in a professional and long-lasting finish.
Common Mistakes to Avoid
When working with heavyweight fusible interlining, be mindful of these common mistakes:
- Using the Wrong Interlining Weight: Choosing an interlining that is too heavy or too light for your fabric can affect the garment’s appearance and fit.
- Incorrect Heat Application: Applying too much heat can damage the fabric, while too little heat may prevent proper bonding.
- Skipping Pre-Washing: Not pre-washing fabric and interlining can lead to shrinkage issues and poor adhesion.
Avoiding these pitfalls ensures that your garments turn out exactly as you envision, with the right amount of structure and support.

Conclusion
Heavyweight fusible interlining is a vital component in creating durable, well-structured garments. Understanding its benefits, applications, and proper usage can make a significant difference in the quality of your sewing projects. By choosing the right type of interlining and applying it correctly, you can enhance the durability, appearance, and longevity of your garments.
Happy tailoring!
Link of related Articles