Benefits of Using Non-Woven Fusible Interlining
Ever dreamed of creating garments with crisp collars, sharp waistbands, and that perfect drape? Well, my friend, the secret lies in a little something called non-woven fusible interlining. This amazing material is your secret weapon for achieving professional looking garments, even if you’re a beginner!
Table of Content
- What is Non-Woven Fusible Interlining?
- What are the Benefits of Non-Woven Fusible Interlining?
- Different Types of Non-Woven Fusible Interlining
- Choosing the Right Non-Woven Fusible Interlining for Your Project
- Advanced Tips for Using Non-Woven Fusible Interlining
- Troubleshooting Common Interlining Mistakes
What is Non-Woven Fusible Interlining?
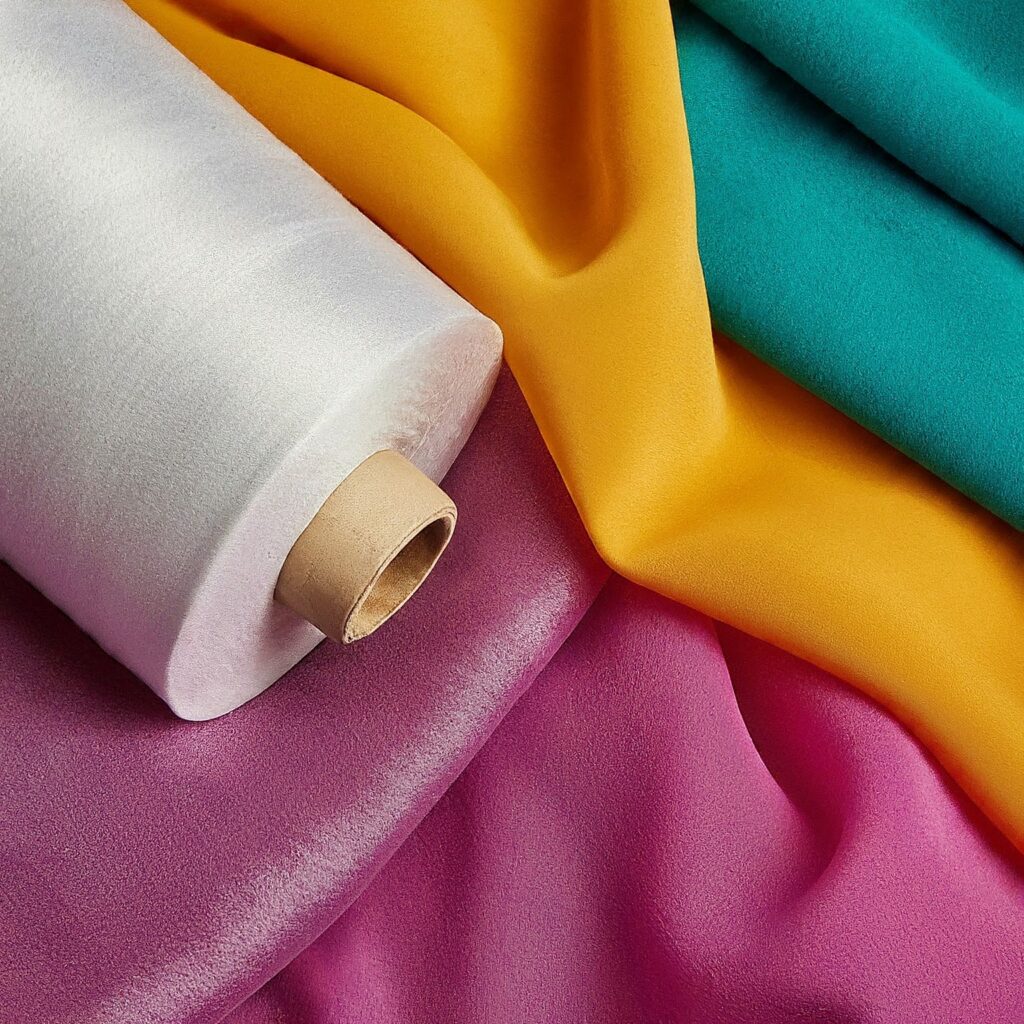
Imagine a thin layer of fabric that magically bonds to your main fabric with a touch of heat. That’s essentially what non-woven fusible interlining is. It’s a lightweight, web-like material made by fusing fibers together (think of it like a bonding party for tiny threads!). The magic part comes with the “fusible” element – it has a heat-activated adhesive backing that allows you to iron it directly onto your fabric. No more tedious stitching required!
What is Non-Woven Fusible Interlining?
The benefits of using non-woven fusible interlining are plentiful.
- Effortless Structure and Support:Non-woven interlining adds a layer of stability to your fabric, preventing it from becoming floppy or flimsy. This is especially crucial for areas like collars, cuffs, waistbands, and jacket fronts.
- Enhanced Drape and Flow: Despite adding structure, non-woven interlinings are surprisingly lightweight and flexible. This means your garment can still maintain a beautiful drape, whether you’re working with flowy fabrics for a dress or a tailored silhouette for a blouse.
- Durability You Can Count On: Garments go through a lot of wear and tear. Non-woven interlining acts like a protective shield, safeguarding your fabric from everyday friction and damage. This is especially important for areas like collars and cuffs, which experience a lot of movement. Interlined garments tend to last longer and look sharper for a longer period.
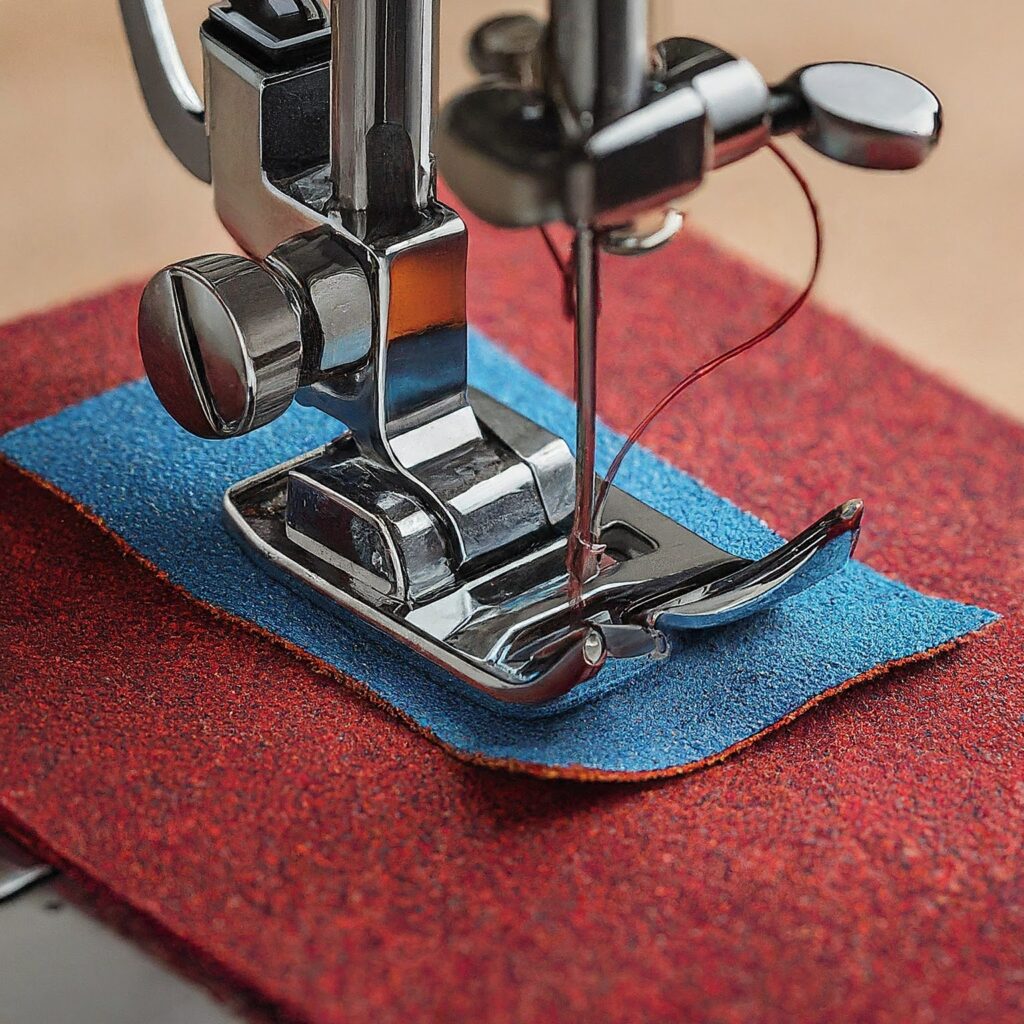
- Sewing Made Easy:Non-woven interlining adds stability, prevents fabric bunching and allows for smoother stitching. This translates to cleaner lines and a more professional finish for your garments.
- Versatility is Key: Non-woven fusible interlining isn’t just for specific types of garments. It’s a versatile tool that can be used in various projects. From collars and cuffs in shirts and blouses to waistbands and pockets in pants and skirts, this interlining can elevate a variety of garment construction needs.
- Perfect for Beginners: Non-woven fusible interlining simplifies the process of adding structure and prevents the frustration of complicated sewing techniques.
Different Types of Non-Woven Fusible Interlining:
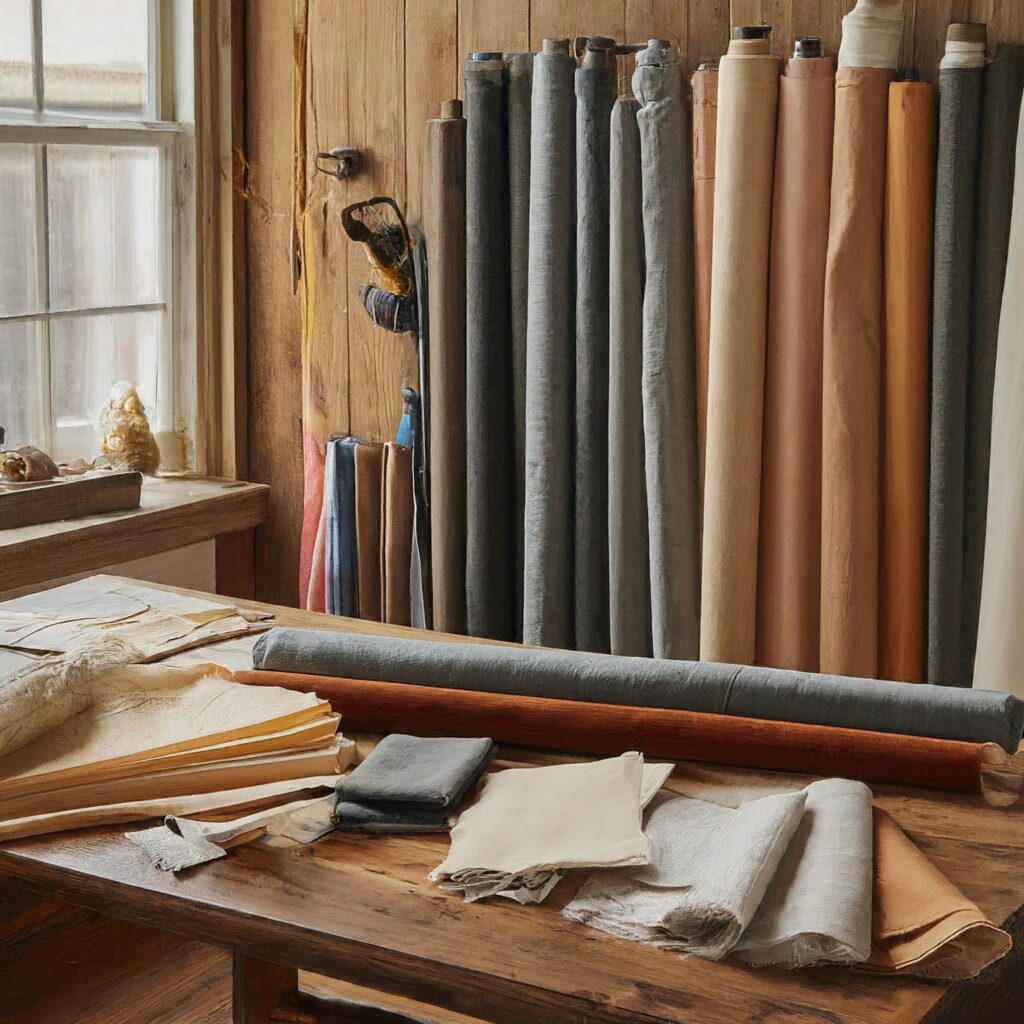
Non-woven fusible interlinings come in different weights and types. Each is suited for a specific purpose, so choosing the right one makes all the difference.
- Lightweight Interlining: Perfect for collars, cuffs, and pockets in lighter fabrics like blouses or shirts. It adds a touch of structure without compromising the drape.
- Medium-Weight Interlining: A good choice for waistbands in pants and skirts, as well as collars and cuffs in heavier fabrics like jackets. It provides more support while maintaining some flexibility.
- Heavyweight Interlining: This is the muscleman of interlinings. It’s ideal for jackets, coats, and structured bags. It offers maximum support and stability for areas that need to hold their shape.
Choosing the Right Non-Woven Fusible Interlining for Your Project
| Fabric Weight | Non-Woven Fusible Interlining Weight | Use Case |
| Lightweight (chiffon, voile) | Lightweight | Collars, cuffs, pockets (for a subtle touch of structure) |
| Medium-weight (cotton, linen) | Lightweight to Medium-weight | Collars, cuffs, waistbands, lighter jackets |
| Heavyweight (denim, wool) | Medium-weight to Heavyweight | Waistbands, structured jackets, bags |
Advanced Tips for Using Non-Woven Fusible Interlining
some advanced tips to take your interlining skills to the next level:
- Preshrink Interlining: Some non-woven interlinings, especially those made with natural fibers, can shrink with heat exposure. To avoid a misshapen garment, preshrink your interlining by washing and drying it according to the manufacturer’s instructions before fusing it to your fabric.
- Test on Scrap Fabric: Before tackling your entire project, always test the interlining on a scrap of your fabric. This allows you to practice your ironing technique and ensure the chosen interlining works well with your fabric weight and drape.
- Layering for Extra Support: For ultimate structure in heavier garments like jackets or coats, you can layer two or more types of interlining. Experiment with different combinations of lightweight and medium-weight interlinings to achieve the desired level of support and stiffness.
- Shaping with Interlining: Think beyond just basic structure! Use interlining strategically to create specific shapes and add dimension to your garments.
For Example:
- Rounded Collars: Cut away a small wedge of interlining at the neckline to achieve a gentler curve on your collar.
- Sharp Lapels: Use a stiffer interlining for the lapel area and a softer one for the body of the jacket to create a crisp, defined lapel.
Troubleshooting Common Interlining Mistakes:
Here are some common mistakes to watch out for and how to fix them:
- Uneven Interlining Application: Ensure your interlining is cut accurately to match your fabric piece. Use sharp shears or a rotary cutter for clean edges. Pin the interlining to your fabric, making sure it lies flat and smooth without any wrinkles or bumps. When fusing, use a pressing cloth and apply even pressure with your iron.
- Skipping the Seam Allowance Increase: Interlining adds a layer of thickness. When cutting your fabric pieces, consider adding slightly larger seam allowances to accommodate this. This ensures your garment maintains its intended fit and comfort level.
- Incorrect Ironing Temperature/Time: Always follow the manufacturer’s instructions for ironing temperature and time. Using the wrong settings can result in incomplete adhesion or scorching of your fabric.
Conclusion
By incorporating non-woven fusible interlining into your sewing projects, From professional-looking structure and support to effortless application and enhanced durability, this versatile tool becomes a valuable asset in your sewing arsenal. With a little practice and these handy tips, you’ll be creating flawless garments with confidence in no time!
Happy Sewing!
Link of related Articles
- Non-Woven Interlining: A Lighter Alternative for Modern Sewing Projects
- Demystifying Non-Woven Interlining: Types, Weights, and Applications