Techniques for using woven interlining for crisp edges
Crisp edges add a touch of professionalism and polish that takes your creations to the next level. But achieving those perfectly sharp collars, cuffs, and waistbands can be a challenge, especially for beginners.
Table of Content
- What is Woven Interlining?
- Benefits of Using Woven Interlining for Crisp Edges
- Choosing the Right Woven Interlining
- Essential Techniques for Using Woven Interlining
- Top Tips for Flawless Crisp Edges
- Troubleshooting Common Mistakes
- Conclusion: Woven Interlining – Your Secret Weapon for Crisp Edges
What is Woven Fusible Interlining?
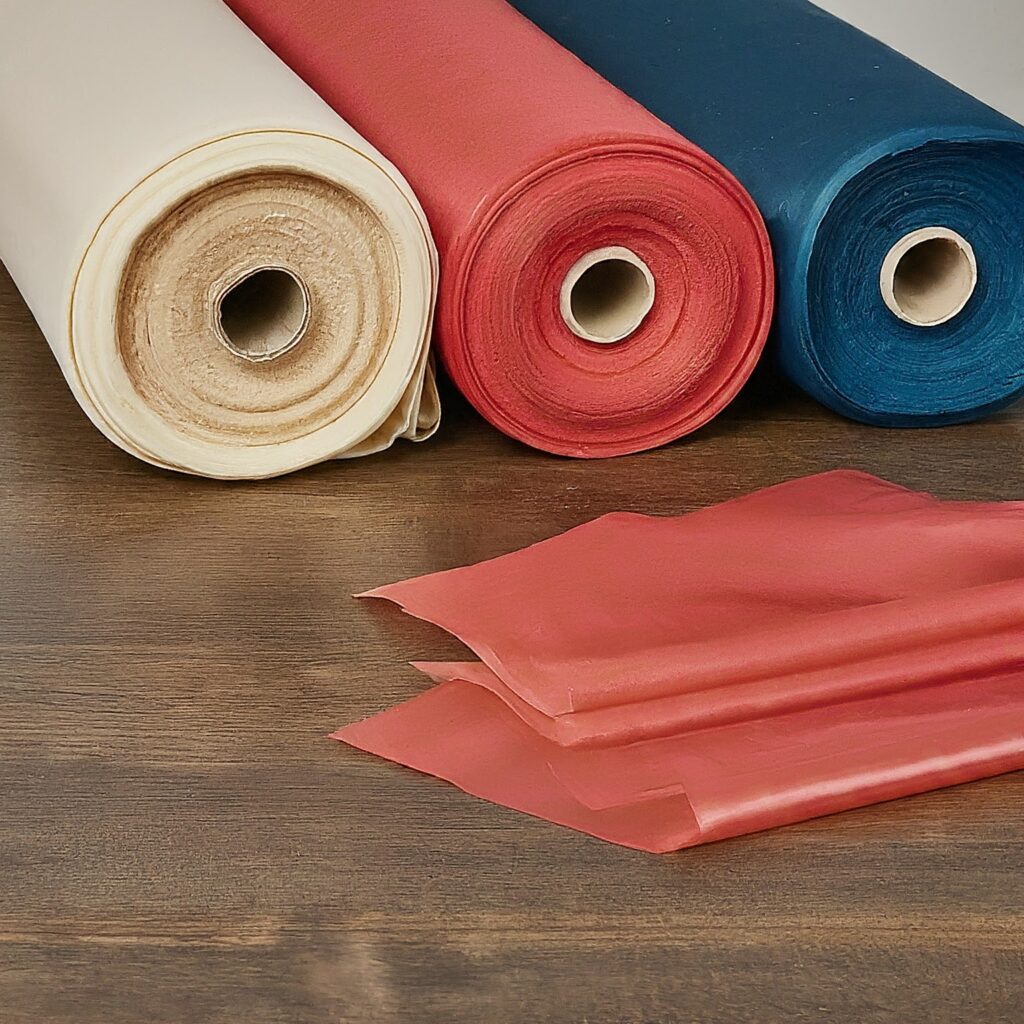
Imagine a thin layer of fabric that acts like a supportive backbone for your main fabric. That’s essentially what woven interlining is. It’s crafted from woven threads, offering superior structure compared to its non-woven cousin. This makes it perfect for achieving those coveted crisp edges in key areas of your garments.

Benefits of Using Woven Interlining for Crisp Edges
- Superior Structure and Shape Retention: Woven interlining provides a firm foundation, preventing your fabric from becoming floppy or sagging. This translates to collars that stand tall, cuffs that stay put, and waistbands that hug your curves for a polished look.
- Crisp Edges Made Easy: Forget endless pinning and wrestling with your fabric. Woven interlining acts as a guide, allowing you to achieve clean and defined edges with minimal effort.
- Enhanced Drape: Despite adding structure, woven interlining typically retains some flexibility. This allows your fabric to drape beautifully, creating flowy silhouettes without sacrificing that crisp edge detail.
- Durability and Wear Resistance: Woven interlining acts as a shield, protecting your fabric from wear and tear in areas like collars and cuffs. This translates to garments that look sharper for longer.
Choosing the Right Woven Interlining:
Choosing the right one for your project is crucial for achieving optimal results.
- Fabric Weight: Match the interlining weight to the weight of your main fabric. For lightweight fabrics like cotton shirting, choose a lightweight interlining. Heavier fabrics like wool or denim require a medium-weight or heavyweight interlining for proper support.
- Desired Level of Structure: Lighter interlinings offer a touch of structure, while heavier weights provide maximum support.
- Project Type: Different garments require different levels of support. Lightweight interlinings are great for collars and cuffs in blouses, while medium-weight options are ideal for waistbands in trousers. Heavier interlinings work best for jackets and structured bags.
Here’s a handy table to help you navigate the selection process:
| Fabric Weight | Woven Interlining Weight | Use Case |
| Lightweight (chiffon, voile) | Lightweight | Collars, cuffs (for a subtle touch of structure) |
| Medium-weight (cotton, linen, lightweight denim) | Lightweight to Medium-weight | Collars, cuffs, waistbands in lighter garments |
| Heavyweight (denim, wool, heavy canvas) | Medium-weight to Heavyweight | Structured jackets, coats, waistbands in heavier garments |
Essential Techniques for Using Woven Interlining:
The key steps for using woven interlining to achieve those crisp edges:
- Prepping Your Interlining: Start by cutting your interlining to match the exact shape of your fabric piece. Use sharp shears or a rotary cutter for clean edges. Some woven interlinings might require preshrinking to always follow the manufacturer’s instructions.
- Fusing the Interlining: Most woven interlinings are fusible, meaning they have a heat-activated adhesive backing. Following the manufacturer’s recommended temperature and time, iron the interlining onto the wrong side of your fabric.
- Securing the Edges: Once fused, pin the fabric and interline it together around the edges.
- Sewing with Precision: Use a straight stitch or topstitch along the edges, depending on the desired finish. The interlining will provide a stable base for clean and precise stitch lines.

Top Tips for Flawless Crisp Edges:
- Test on a Scrap: Always test the interlining on a scrap of your fabric. This allows you to practice your fusing technique and ensure compatibility with your fabric.
- Seam Allowance Adjustments: Interlining adds a layer of thickness. When cutting your fabric pieces, consider adding slightly larger seam allowances to accommodate this. This ensures your garment maintains its intended fit and comfort level. Alternatively, trim seam allowances down slightly after fusing the interlining.
- Sharp Tools Matter: Invest in a good pair of sharp shears or a rotary cutter to ensure clean and precise cuts for your interlining. Dull tools can lead to uneven edges and frustration.
- Ironing Pressure is Key: Apply firm and even pressure with your iron while fusing the interlining. This ensures a secure bond between the interlining and your fabric.
- Don’t Skip the Pressing Cloth: A pressing cloth acts as a barrier between your iron and your fabric, preventing scorching and distributing heat evenly.
- Clipping Curves (Optional): For curved edges like collars or necklines, clip small notches into the interlining allowance before turning it under. This helps the fabric lie flat and prevents bunching.
Troubleshooting Common Mistakes:
Here are some common mistakes to watch out for and how to fix them:
- Uneven Interlining Application: Ensure your interlining is cut accurately and lies flat on your fabric without wrinkles or bumps. Pin the interlining securely before fusing.
- Skipping the Seam Allowance Increase: Remember to adjust your seam allowances to accommodate the added thickness of the interlining.
- Incorrect Ironing Temperature/Time: Always follow the manufacturer’s instructions for your specific interlining to avoid incomplete adhesion or scorching.
Conclusion
By mastering the art of using woven interlining, you’ll unlock the power to create garments with professional-looking crisp edges. From perfectly tailored collars and cuffs to sharp waistbands, this technique elevates your sewing skills and adds a touch of polish to your creations. So, the next time you crave those coveted crisp edges, don’t hesitate to grab your woven interlining – it’s your secret weapon for sewing success!
Happy Sewing!
Link of related Articles
- Choosing the Perfect Woven Interlining for Your Garment
- Introduction to Woven Interlining: Enhancing Garment Quality with Premium Materials