How to sew with woven interlining
Whether you’re a seasoned or just starting your sewing journey, this guide will walk you through everything you need to know about working with this versatile material.Woven interlining fabric can make your sewing projects stronger and look better!
Table of Content
- What is Woven Interlining?
- When to use Woven Interlining
- Choosing the right Woven Interlining?
- Preparing Your Fabric and Interlining
- Sewing Techniques
- Common Mistakes to Avoid Them
- Conclusion
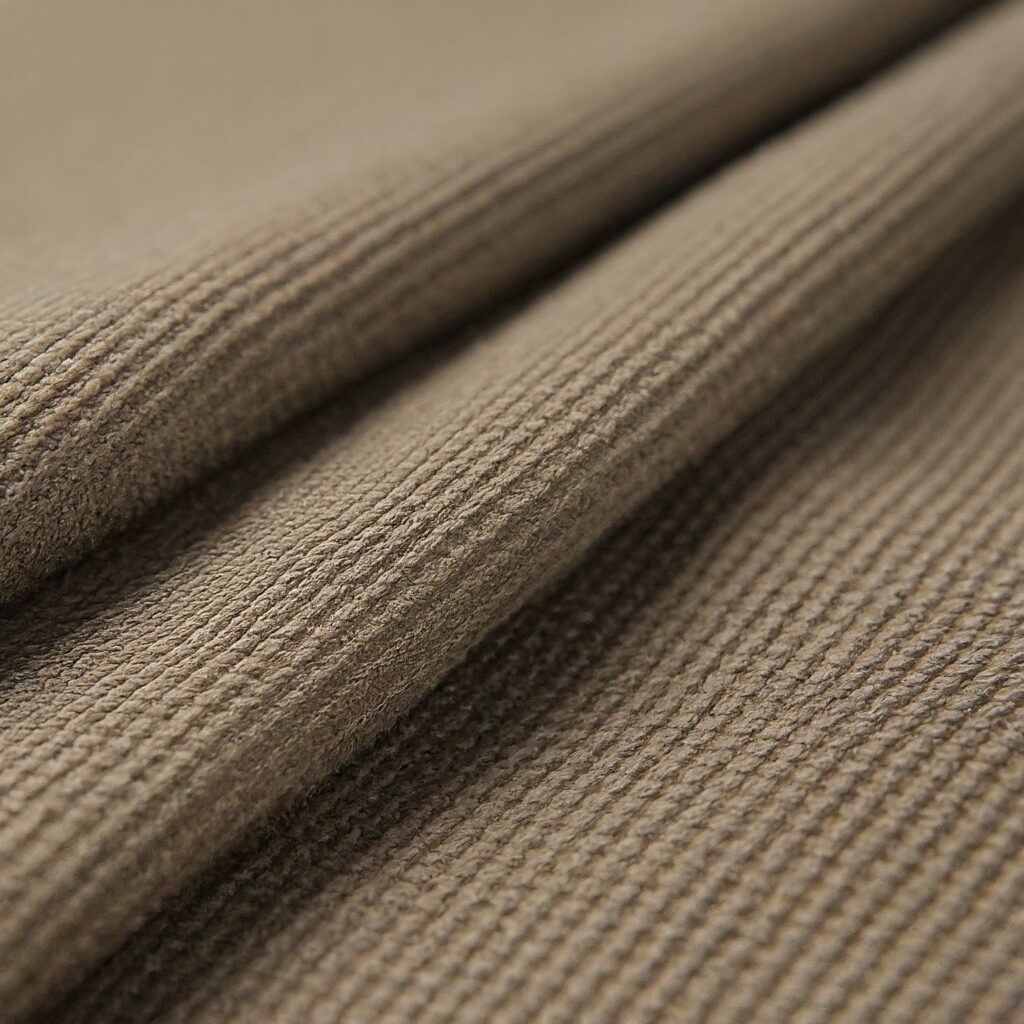
What is Woven Interlining?
Imagine the difference between a limp blouse and a crisp, structured shirt. That’s the magic of interlining. Unlike fusible interlining, which bonds with heat, woven interlining is sewn into place, providing a more durable and flexible foundation for your garments. It’s a type of non-woven fusible interlining that adds body, shape, and support to fabrics like chiffon, silk, and linen.
When to Use Woven Interlining
Wondering when to reach for woven interlining? Here are some key situations:
- Structured garments: Jackets, coats, and blazers benefit immensely from woven interlining fabric. It’s essential for achieving those sharp collars, cuffs, and lapels.
- Reinforcing delicate fabrics: Give lightweight fabrics like chiffon or silk the support they need with woven interlining.
- Creating crisp edges: Achieve professional-looking hems, facings, and buttonholes with this versatile material.
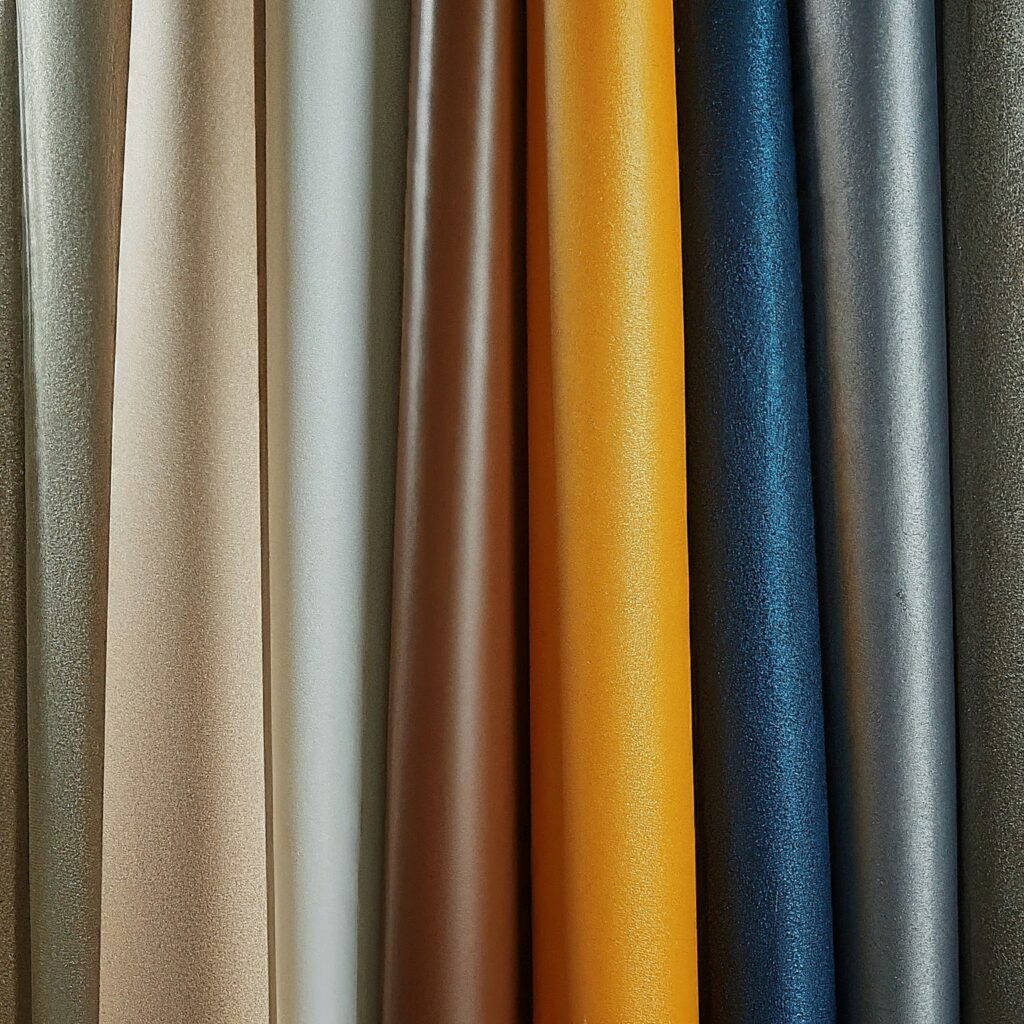
Choosing the Right Woven Interlining
Selecting the appropriate woven interlining is crucial for project success. Consider these factors:
- Fabric weight: Match the weight of your main fabric to the interlining fabric for optimal results.
- Project requirements: Different areas of your garment might need different interlining types of woven interlining fabric.
Preparing Your Fabric and Interlining
Getting your fabrics prepped and ready is an essential first step in any sewing project, and working with woven interlining is no exception. Here’s what you need to do:
- Pre-wash: Wash both your main fabric and woven interlining fabric to prevent shrinkage surprises.
- Laying out: Place the woven interlining right side down on a flat surface. Position your main fabric right side up on top.
- Pinning: Secure the layers together with pins every few inches.
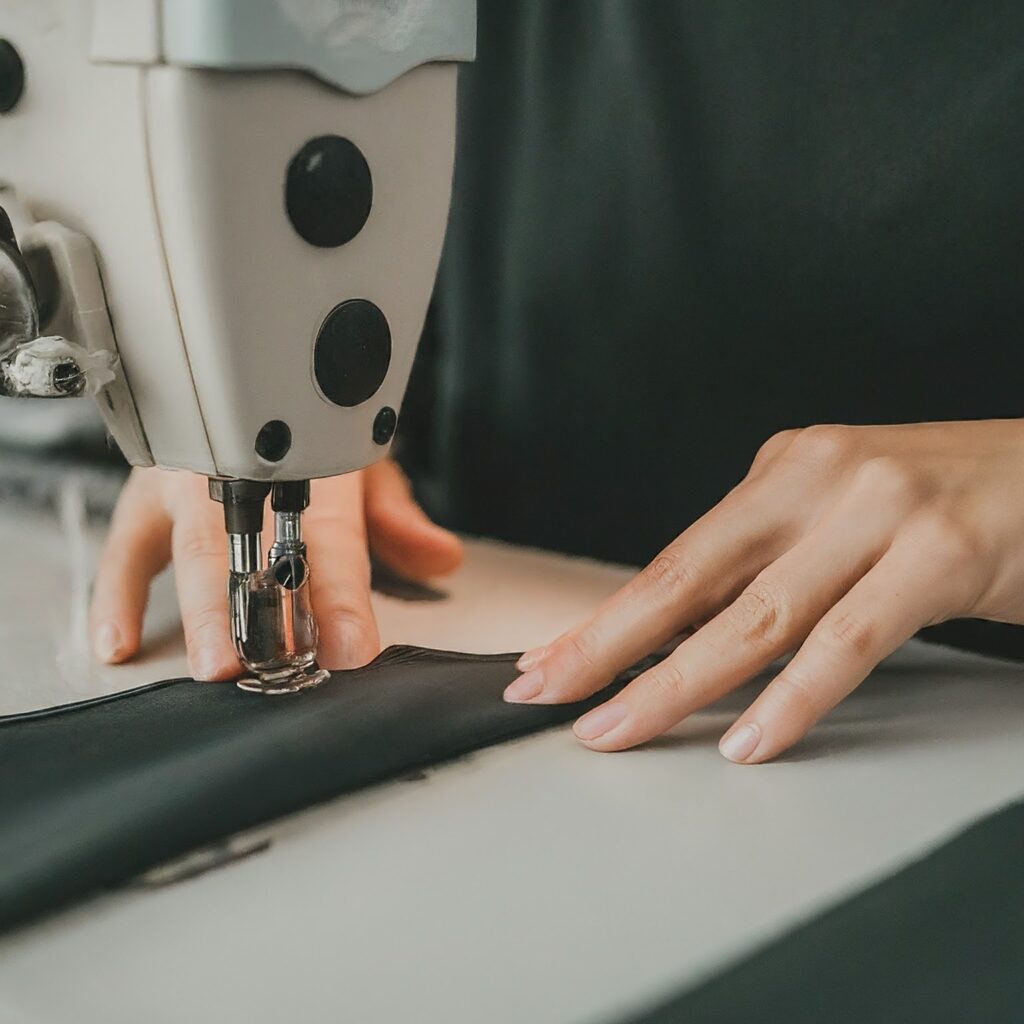
Sewing Techniques
Let’s dive into the sewing process!
Basting:
- This temporary stitching holds the woven interlining and Interlining fabric together before permanent stitching.
- Use a long, loose stitch for easy removal.
Machine stitching:
- Choose a stitch length appropriate for the weight of your fabrics.
- Stitch close to the edge of the woven interlining for a secure bond.
- For added strength, consider reinforcing seams with additional rows of stitching.
Hand stitching:
- Ideal for delicate fabrics or intricate details.
- Use a small, even stitch for a neat finish.
Common Mistakes and How to Avoid Them
Everyone makes mistakes, but these tips can help you avoid common pitfalls:
- Choosing the wrong weight: An interlining fabric that’s too heavy can ruin the drape of your fabric.
- Incorrect placement: Ensure the woven interlining is positioned correctly to prevent visible lines or puckering.
- Skipping basting: Basting is essential for accurate placement and preventing shifting.
- Using the wrong stitch: The wrong stitch can weaken the bond between the fabrics.
Conclusion
When you get the hang of sewing with woven interlining, your sewing skills will be even better! By learning about the different kinds of woven interlining fabrics and getting your fabrics ready in the right way, and using the correct sewing methods, you’ll make clothes that are both beautiful and last a long time.
Happy sewing!
Link of related Articles
- Woven vs. Non-Woven Interlining: The Ultimate Guide for Sewists
- Woven Interlining: The Secret to Sharp Clothes
- Woven Interlining: The Classic Choice for Structured Garments