
Fusing interlining is a versatile fabric that can add structure, shape, and durability to your garments. It’s a popular choice among sewers and quilters due to its ease of application and effectiveness. In this guide, we’ll walk you through the step-by-step process of applying fusing interlining, ensuring you achieve professional-looking results.
Table of Contents
- Why Choose Fusing Interlining?
- Tools and Materials Needed
- Preparing Your Fabric
- Step-by-Step Guide to Applying Fusing Interlining
- Common Mistakes to Avoid
- Tips for Perfect Results
- Conclusion
Why Choose Fusing Interlining?
Fusing interlining offers several advantages over non-fusible options. It ensures a stronger bond between the fabric layers, resulting in a cleaner finish and reduced time during the construction process. Whether you’re working with fusible interlining or non woven fusible interlining, this interlining fabric bonds to the main fabric using heat and pressure, creating a seamless look that enhances the garment’s overall appearance.
Tools and Materials Needed
Before you begin, gather the necessary tools and materials:
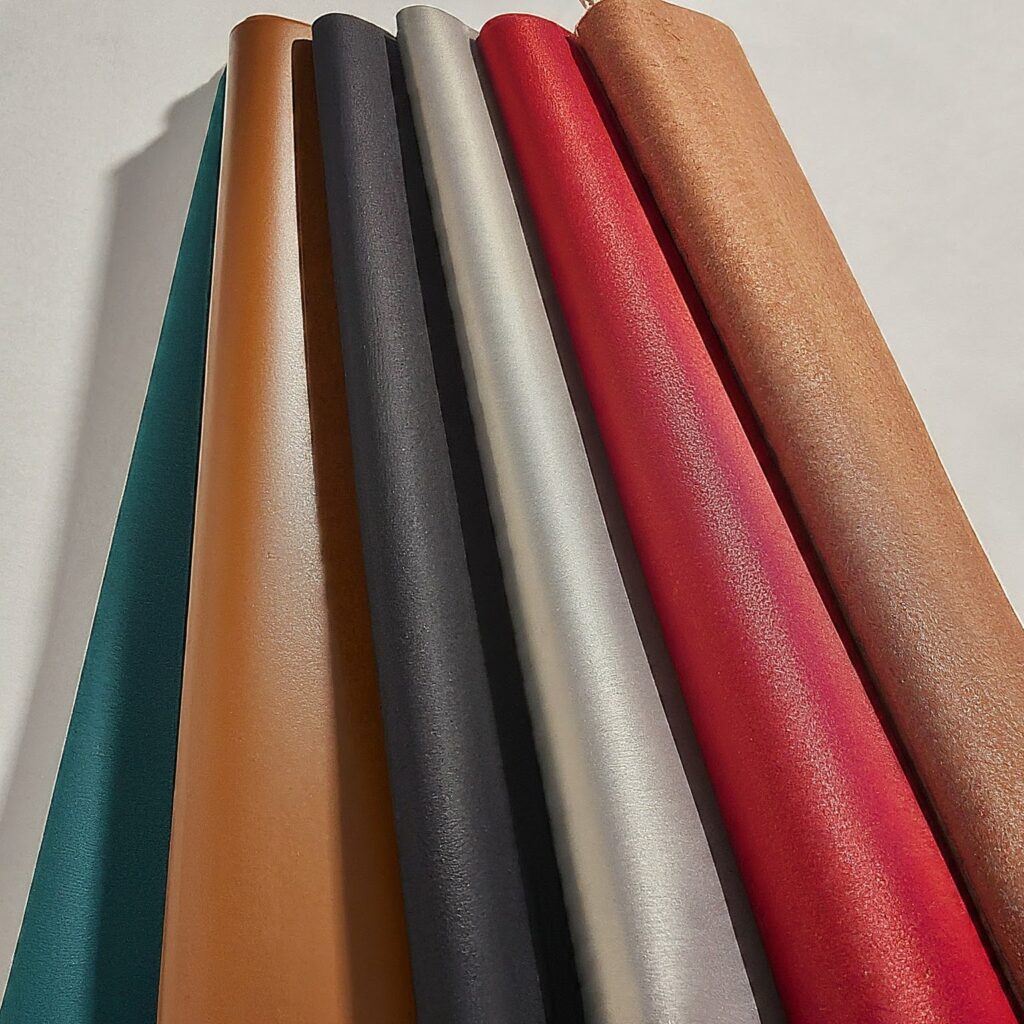
- Fusible interlining
- Main fabric
- Scissors or rotary cutter
- Iron (preferably with a steam function)
- Pressing cloth or thin cotton fabric
- Cutting mat (optional)
- Ruler or measuring tape

Preparing Your Fabric
Preparation is key to achieving the best results when applying fusing interlining. Start by pre-washing and ironing your fabric to remove any wrinkles or impurities. This ensures that the interlining fabric adheres smoothly and securely. Whether you’re using interlining in garments or lining and interlining fabric together, preparation is crucial for a professional finish.
Step-by-Step Guide to Applying Fusing Interlining
Step 1: Cut the Interlining Fabric
Measure and cut the fusible interlining according to the pattern piece you are working with. Whether it’s woven fusible interlining or another type, ensure that the interlining fabric is slightly smaller than the fabric piece to avoid excess bulk in the seams.
Step 2: Position the Interlining
Place the rough (adhesive) side of the fusible interlining against the wrong side of your fabric. Make sure it is positioned correctly before applying heat, as the adhesive will bond quickly. This step is the same for both woven interlining and non woven interlining.

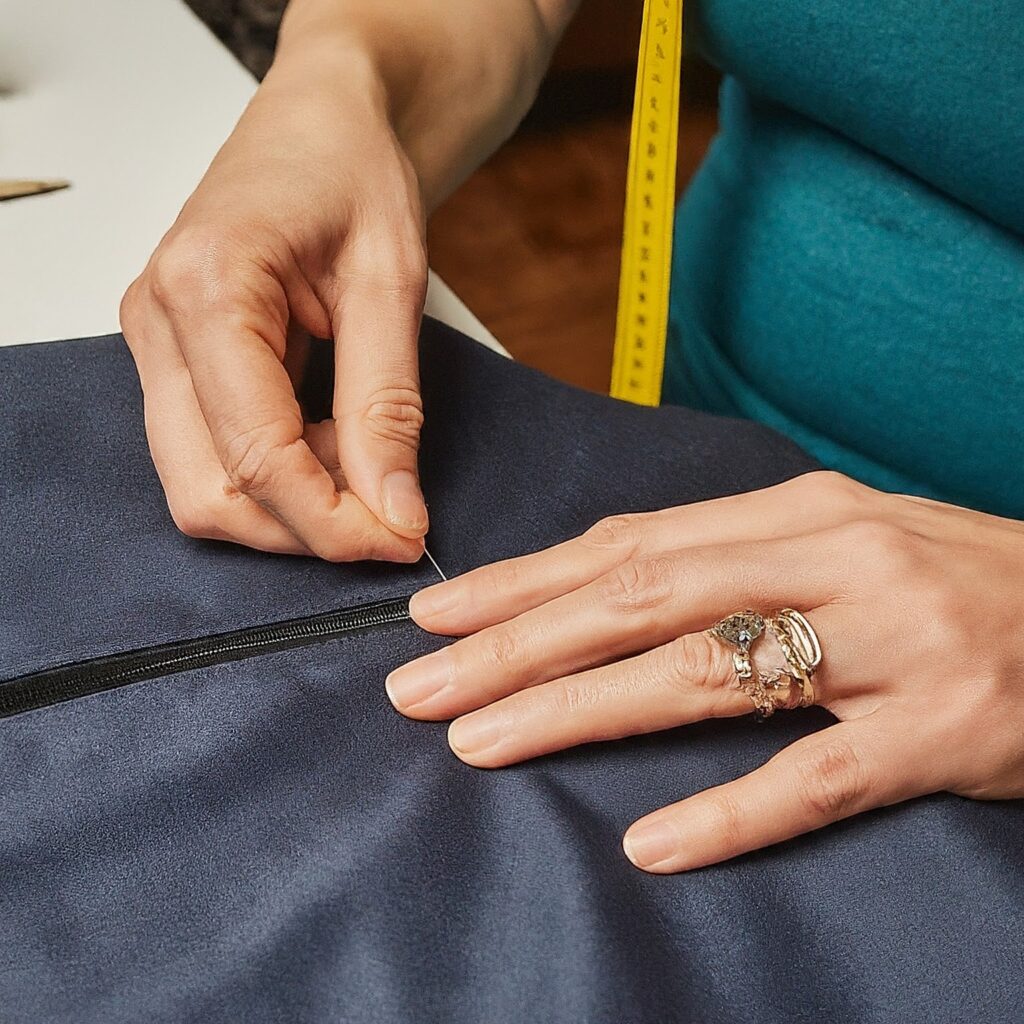
Step 3: Pre-Press the Fabric
Before applying full heat, pre-press the fabric and interline lightly with your iron. This step helps to remove any remaining wrinkles and ensures an even bond. It’s important whether you’re working with interlining woven or interlining non-woven.
Step 4: Apply Heat and Pressure
Cover the fabric with a pressing cloth to protect it from direct heat. Press the iron onto the fabric for 10-15 seconds, applying firm pressure. Do not slide the iron; instead, lift it and move to the next section. Repeat until the entire interlining fabric is fused.
Step 5: Cool and Test
Allow the fabric to cool completely before handling it. Once cooled, test the bond by gently tugging at the edges. If any areas have not adhered properly, reapply heat and pressure.

Common Mistakes to Avoid
Looking ahead, here are some future trends to keep an eye on:
- Overheating: Too much heat can damage the fabric or cause the adhesive to lose its effectiveness.
- Inadequate Pressure: Ensure you apply firm, even pressure to avoid weak bonds.
- Skipping Pre-Pressing: This step is crucial for removing wrinkles that can cause bubbles under the interlining.
Tips for Perfect Results
- Use a test swatch to determine the optimal temperature and pressing time for your fabric and fusible interlining.
- Always use a pressing cloth to protect delicate fabrics.
- Work in small sections to ensure even application.
Conclusion
Applying fusing interlining may seem daunting at first, but with the right tools and a methodical approach, you can achieve professional results. By following these steps, you’ll ensure that your garments have the structure, support, and durability needed to look and feel their best.
Link of related Articles
- Which Coatings Are Used for Fusible Interlining? | Key Insights
- Importance of Fusible Interlining for Structured Collars | Enhance Garment Quality
- Fusible vs. Sew-In Interlining: Which is Perfect for Your Sewing Project?