Fusing Interlining Without An Iron: Creative Interlining Techniques
Hey there, sewing fans! Ever been stuck on a project, needing to attach special fabric (interlining fabric) to make it look neat and drape nicely, but then realize you don’t have an iron? Don’t worry! This guide will show you how to attach stiffening fabric to your project without needing an iron.
Table of Content
- Understanding Interlining and Why We Fuse It?
- Iron-Free Interlining Fusion Techniques
- Choosing the Right Technique for Your Project
- Bonus Tips for Flawless Interlining Fusion
- Conclusion
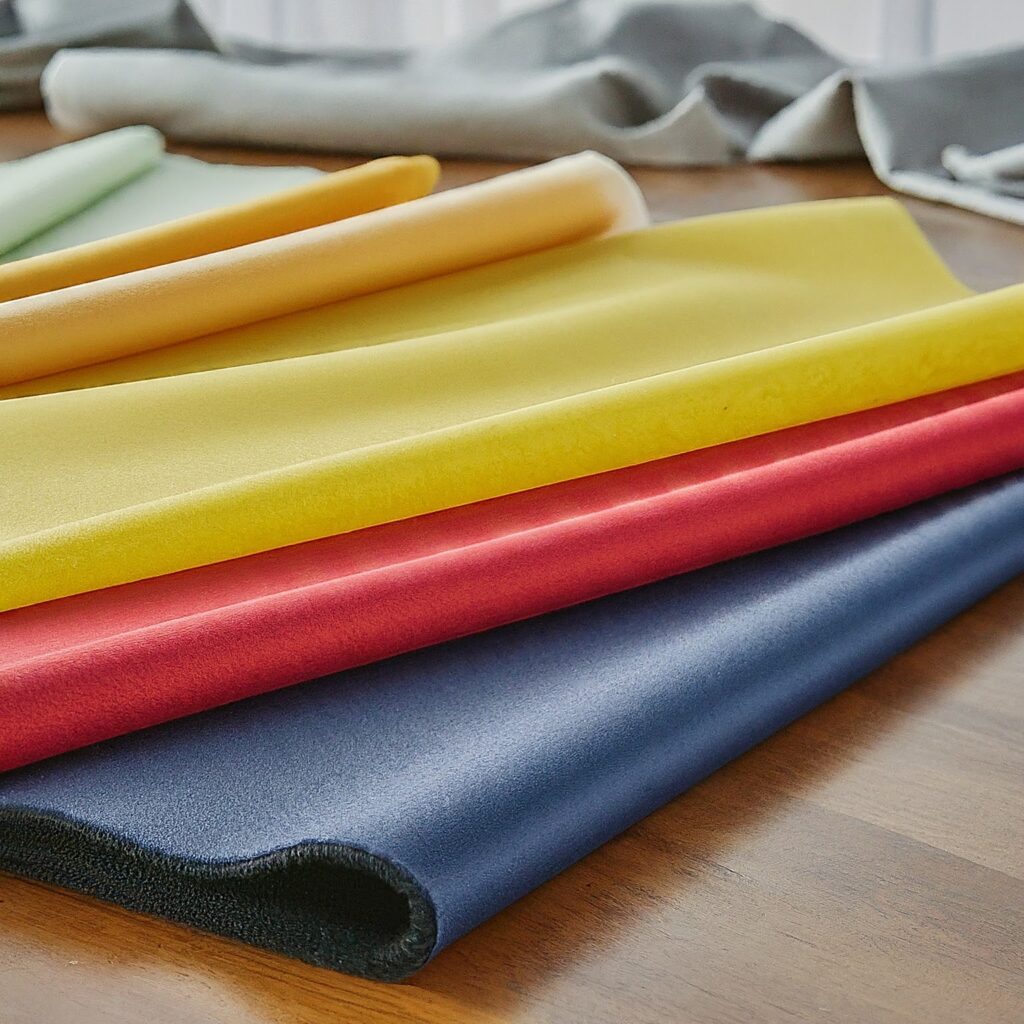
Understanding Interlining and Why We Fuse It
Interlining is a magical fabric that provides structure, stability, and a touch of shape to your project. It prevents your fabric from sagging, helps collars and cuffs maintain their crispness with collar interlining, and even adds a touch of weight for a more luxurious feel.
Traditionally, we fuse interlining using heat – that’s where the iron comes in. But what if you don’t have one, or maybe you’re working with a heat-sensitive fabric? No worries! We’ve got some alternative techniques up our sleeves
Iron-Free Interlining Fusion Techniques
Now that we’re ready to use our sewing skills, let’s explore some creative ways to fuse stiff interfacing without an iron. Here are some effective methods, each with its pros and cons for different situations:
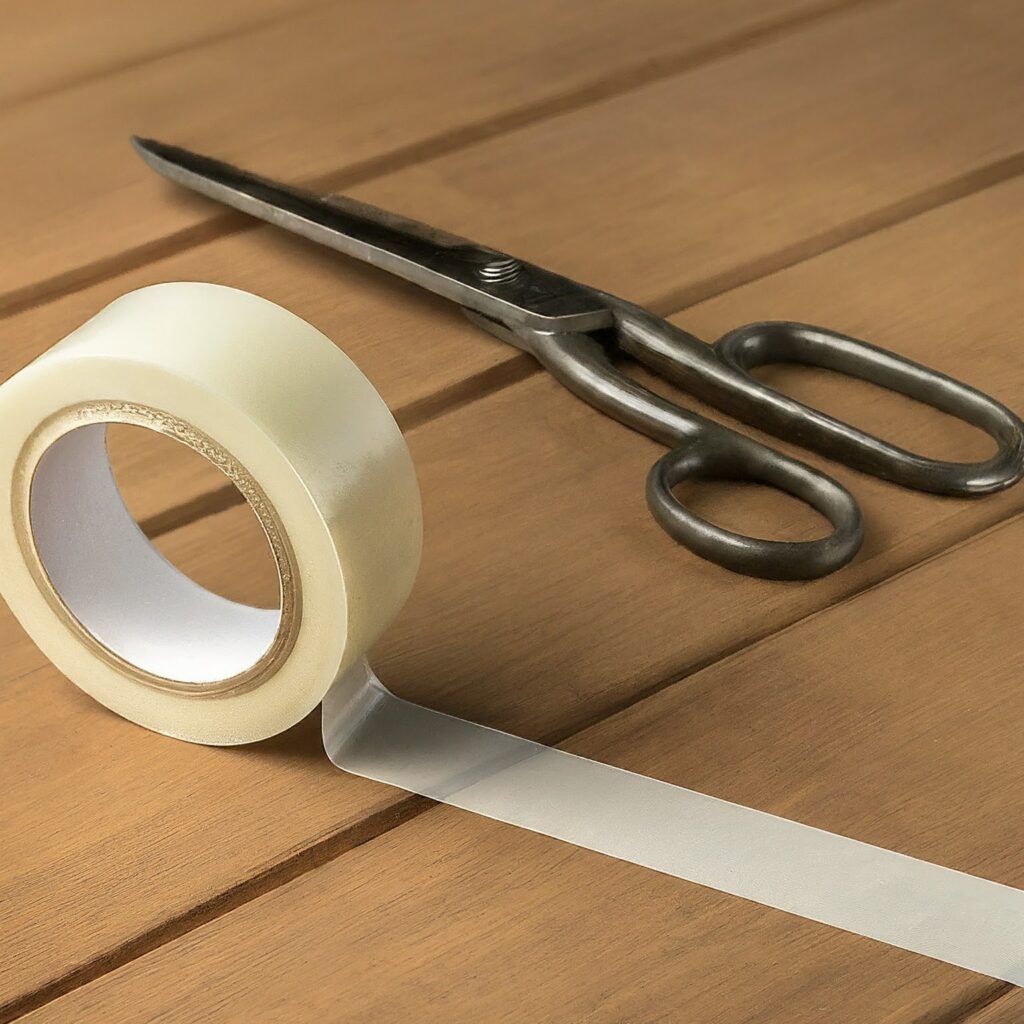
The Power of Double-Sided Tape:
This sticky tape you can find anywhere is a great way to attach different kinds of interfacing to your fabric, like the kind that’s woven or nonwoven.
- Prep: Cut your interlining fabric to the desired size and ensure your fabric is clean and dust-free.
- Application: Apply thin strips of double-sided tape along the edges of the interlining, leaving a small gap between the strips. For larger areas, create a grid pattern with the tape.
- Bonding: Carefully place the interlining onto the wrong side of your fabric, aligning the edges precisely. Press down firmly to ensure a good bond, especially between the fabric and the gaps in the tape grid.
Pros: Easy to find, readily available, good for small to medium-sized projects.
Cons: Not ideal for large areas as the tape might not provide enough hold. Might leave residue on delicate fabrics.
2. Stitch Witchery to the Rescue:
This double-sided fusible web is a popular choice for sewists working with interlining fabrics. Here’s how to use it:
- Prep: Cut your interlining and Stitch Witchery to the same size.
- Application: Place the Stitch Witchery between the wrong side of your fabric and the interlining, with the sticky sides facing outwards.
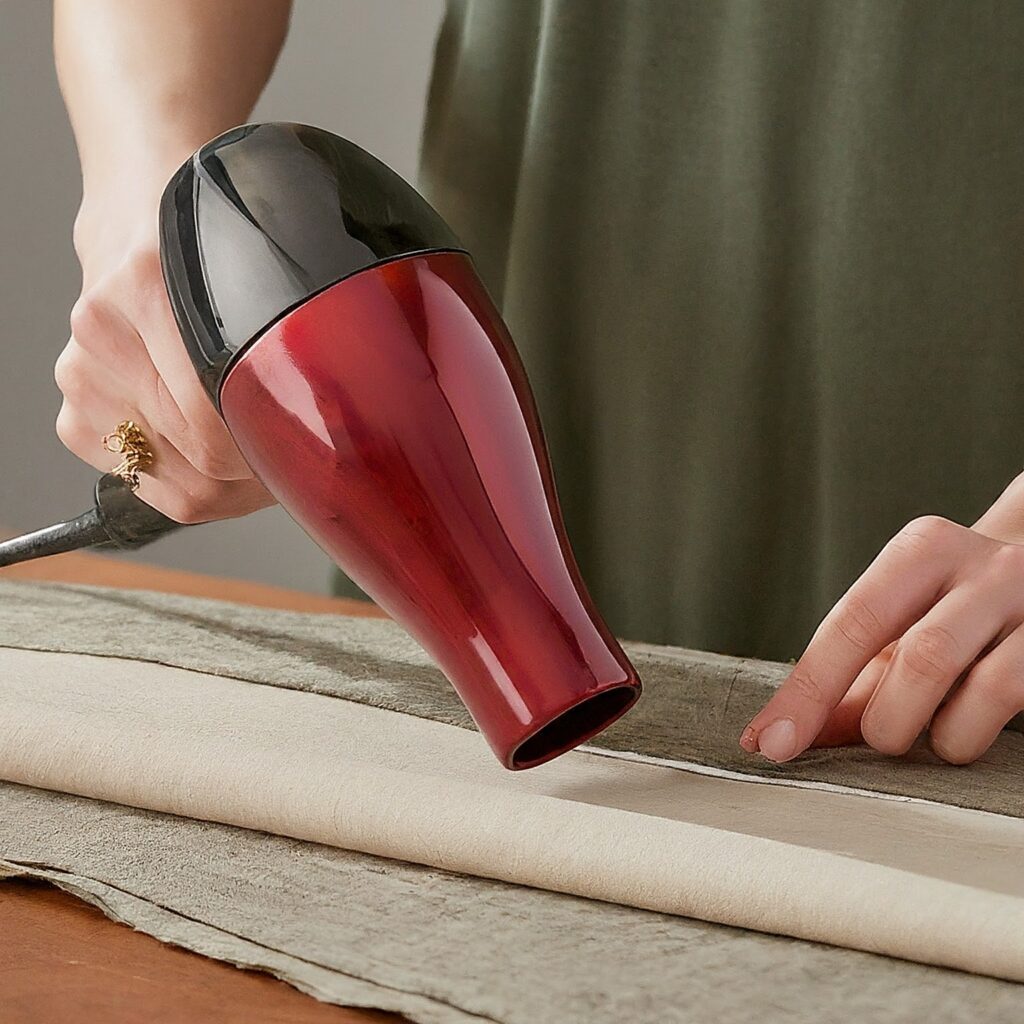
- Bonding: Following the manufacturer’s instructions, use a heat source like a hairdryer on low heat to activate the adhesive. Gently move the hairdryer in a circular motion, applying even pressure until the interlining and fabric are securely fused.
Pros: Easy to use, strong bond, good for intricate shapes.
Cons: Requires a heat source (hairdryer), might not be suitable for all fabrics .
3. Wonder Web: A Weaver of Fabric Bonds:
Similar to Stitch Witchery, Wonder Web offers a fusible web solution for fusing interlining. Here’s the process:
- Prep: Cut your interlining and Wonder Web to the same size. Ensure your fabric is clean and ironed (if possible) to remove any wrinkles.
- Application: Following the Wonder Web instructions, place the web between the fabric and interlining with the rough sides facing outwards.
- Bonding: Iron on low heat (if possible) according to the Wonder Web instructions. Alternatively, use a damp cloth and a heavy object (like a stack of books) to press firmly for several minutes, activating the adhesive.
Pros: Strong bond, good for curved edges and intricate shapes.
Cons: Might require low-heat ironing, check Wonder Web compatibility with your fabric. Pressing with a damp cloth requires more effort and time.
4. Get Rolling with Heat Activation Tape:
This specialized tape offers a strong bond activated by heat, but not necessarily from an iron. Here’s how to use it for fusing interlining fabrics:
- Prep: Cut your interlining and heat activation tape to the desired size. Ensure your fabric is clean and dust-free.
- Application: Following the tape’s instructions, apply thin strips of heat activation tape along the edges of the interlining, leaving a small gap between the strips. For larger areas, create a grid pattern.
- Bonding: Use a heat source like a hairdryer on its highest heat setting (check the tape’s instructions for specific temperature recommendations). Move the hairdryer in a circular motion, applying even heat until the tape activates and the interlining securely bonds with the fabric.
Pros: Strong bond, good for larger areas, allows for precise placement.
Cons: Requires a heat source with adjustable temperature control, might not be readily available in all sewing stores.
5. Let’s Get Sticky with Fabric Glue:
Fabric glue offers a permanent bond for fusing interlining(woven interlining or non-woven interlining), but requires careful application to avoid mess. Here’s how to use it:
- Prep: Cut your interlining to the desired size. Ensure your fabric is clean and dust-free.
- Application: Apply a thin, even layer of fabric glue to the wrong side of your fabric. Less is more here!
- Bonding: Carefully place the interlining onto the fabric with the glue, aligning the edges precisely. Press down firmly for several minutes to ensure a good bond. For larger areas, work in sections to avoid the glue drying before you can position the interlining.
Pros: Strong, permanent bond, good for small and intricate shapes.
Cons: Requires meticulous application to avoid glue stains, might not be suitable for delicate fabrics.
By understanding these different techniques, you can choose the best method for fusing woven interlining or non-woven interlining to your project, whether you’re working with collars (collar interlining), linings (lining and interlining fabric), or other garment components.
Choosing the Right Technique for Your Project
Now that you’re armed with a toolbox of iron-free fusion techniques for various interlining types, let’s explore how to choose the best method for your project:
- Project Size: Double-sided tape and fabric glue work well for small to medium-sized projects. For larger areas with interlining fabrics, consider heat activation tape or Stitch Witchery if you can manage a low-heat iron application.
- Fabric Type: Delicate fabrics might not handle the heat from a hairdryer or require special fabric glue. Opt for double-sided tape or parchment paper and pressure for these delicate materials.
- Interlining Type: Check the manufacturer’s instructions for your specific interfacing. Some might be compatible with the parchment paper and pressure technique, while others might require a low-heat iron for Wonder Web activation.
- Desired Bond Strength: Double-sided tape and Stitch Witchery offer a good bond for lighter fabrics and less structural applications. Fabric glue and heat activation tape provide a stronger, more permanent bond for heavier fabrics and projects requiring extra stability, like collars needing collar interlining .
Conclusion
There you have it! With these alternative techniques and handy tips, you can confidently fuse your Interlining fabrics , even without an iron. Remember, a little creativity and resourcefulness can go a long way in the world of sewing. So, grab your Interlining fabrics , interfacing (woven Interlining or non-woven Interlining , fusible Interlining , collar interlining or sew-in), and get ready to create something amazing – iron-free and fearless!
Link of related Articles
- Conquer Collars! Find the Perfect Interlining for Your Shirt
- The Ultimate Guide to Choosing Interlining for Your Bodice