How to sew buttons on jackets
Popped Jacket button, It happens to the best of us. A favorite jacket suddenly feels incomplete, and you might be tempted to toss it aside. But hold on! Sewing on a jacket button is a surprisingly simple skill that anyone can learn. Not only will you save yourself some money, but you’ll also gain a sense of accomplishment and extend the life of your beloved jacket.
This guide will walk you through the button-sewing process step-by-step, from gathering your supplies to creating a secure and stylish attachment.
Table of Content
- What You’ll Need
- Choosing the Perfect Thread and Needle
- Understanding Different Types
- Sewing On Your Button
- Pro Tips for Flawless Button Sewing
- Troubleshooting Common Button Issues
- Button Magic
- Conclusion
What You’ll Need?
Essentials for your blazer button, coat button, or jacket button sewing project:
- Needle: Opt for a sharp needle with a size appropriate for your jacket fabric (thicker fabrics require sturdier needles).
- Thread: Choose a thread color that matches your button or one that disappears seamlessly into your jacket.
- Scissors: Sharp scissors will help you snip thread cleanly.
- Button: Use a spare button that matches the ones already on your blazer, coat, or jacket. Otherwise, select a button that complements the style and color of your garment.ur jacket. If not, select a button that complements the style and color of your jacket.

Choosing the Perfect Thread and Needle
Thread:
- Strength: Match the thread strength to your jacket fabric. A lightweight cotton jacket wouldn’t require the same heavy-duty thread as a denim jacket.
- Color: Classic approach – choose a thread color that blends in with your button and jacket.
- Bold Approach: Select a thread color that complements or contrasts with the button for a more eye-catching look on your blazer, coat, or jacket.
Needle:
- Size: Look for a needle size recommendation on the needle package, considering your fabric weight.
- Sharpness: A dull needle will damage your fabric – opt for a sharp one for a smooth sewing experience.
- Eye of the Needle: The needle’s eye should comfortably accommodate your chosen thread thickness.
Understanding Different Types
Some Button types you might encounter on your blazer, coat, or jacket:
- Shank Buttons: These have a small space between the button and the fabric, allowing for easier buttoning and creating space for airflow.
- Flat Buttons: These buttons sit flush against the fabric.
- Snap Buttons: These involve two interlocking parts that snap together, requiring no sewing. Great for a quick and easy fix.
- Toggle Buttons: These have a loop or bar that slides through a hole on the opposite side of the jacket.
For sewing purposes, shank buttons are generally the easiest to work with for beginners. Their built-in space allows for easier maneuvering of the needle and thread.

Sewing On Your Jacket Button
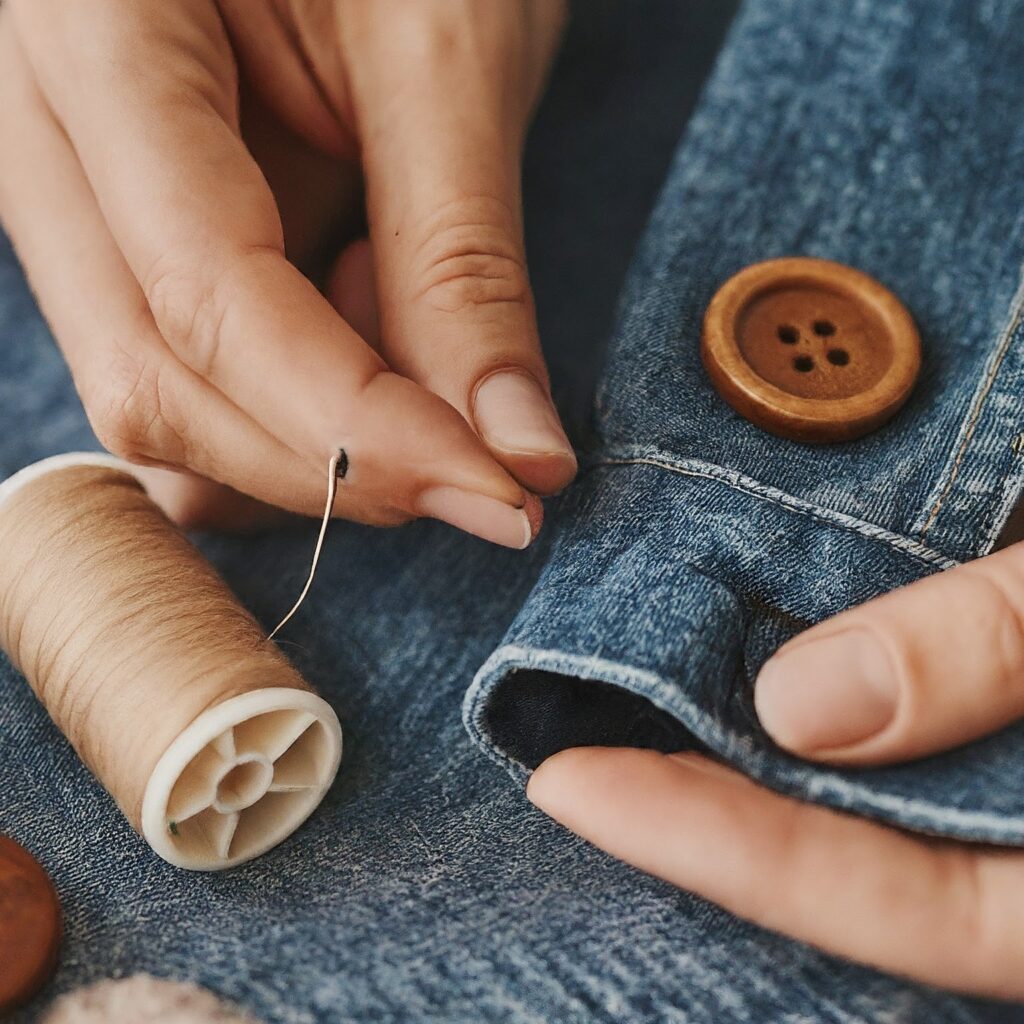
- Thread the Needle: Cut a length of thread about 18 inches long. Thread one end through the needle’s eye and pull it through until equal lengths remain on both sides. Tie a secure knot at the end of the thread.
- Position the Button: Turn your jacket inside out and locate the spot where the button was originally attached. If there’s a remaining thread shank, use it as a guide for button placement. Otherwise, position the button where it aligns with the buttonhole on the opposite side of the jacket.
- Start Sewing: Push the needle up from the wrong side (inside) of the jacket fabric, through one of the holes in the button. Gently pull the thread until the knot catches and the button sits flush against the fabric.
- Securing the Button: There are two main approaches here:
- Basic Stitch: Repeat step 3, pushing the needle up through the fabric and another hole in the button, then back down through a different hole in the button and back into the fabric (on the wrong side) next to your first stitch. Continue sewing in this back-and-forth motion, creating small stitches that secure the button.
- Shank Technique (for shank buttons): With the button positioned and secured with a few basic stitches, lay a toothpick or matchstick horizontally across the center of the button. This creates space for the shank. Continue sewing back and forth, making sure your stitches go over the toothpick

Pro Tips for Flawless Button Sewing
Here are some pro tips to elevate your button-sewing skills:
- Double Your Knot: For extra security, tie a double knot at the end of your thread before starting to sew.
- Even Stitches: Aim for consistent stitch size throughout, creating a neat and professional look.
- Test the Tension: Pull your thread gently after each stitch to ensure it’s secure but not so tight that it puckers the fabric.
- Finishing Touches: After securing the button, snip the thread close to the knot with your sharp scissors. You can also tuck the remaining thread under a few stitches on the backside for extra security.
Troubleshooting Common Button Issues
- Missing Buttonhole: If the buttonhole is damaged or missing altogether, you might need to replace it. There are tools available specifically for creating buttonholes, or you can take your jacket to a tailor for a professional repair.
- Loose Thread: Over time, threads can loosen. Simply follow the steps above to resew the button using a stronger thread or replacing the thread altogether.
- Wrong Button Size: If your button is too big or small for the buttonhole, it might not function properly or look aesthetically pleasing. Invest in a button that matches the size of the existing buttonhole
Buttons Magic
Sewing on buttons can be more than just a repair task – it can be a chance to personalize your garment! By
- Contrasting Thread: Use a vibrant thread color to add a pop of personality to your jacket.
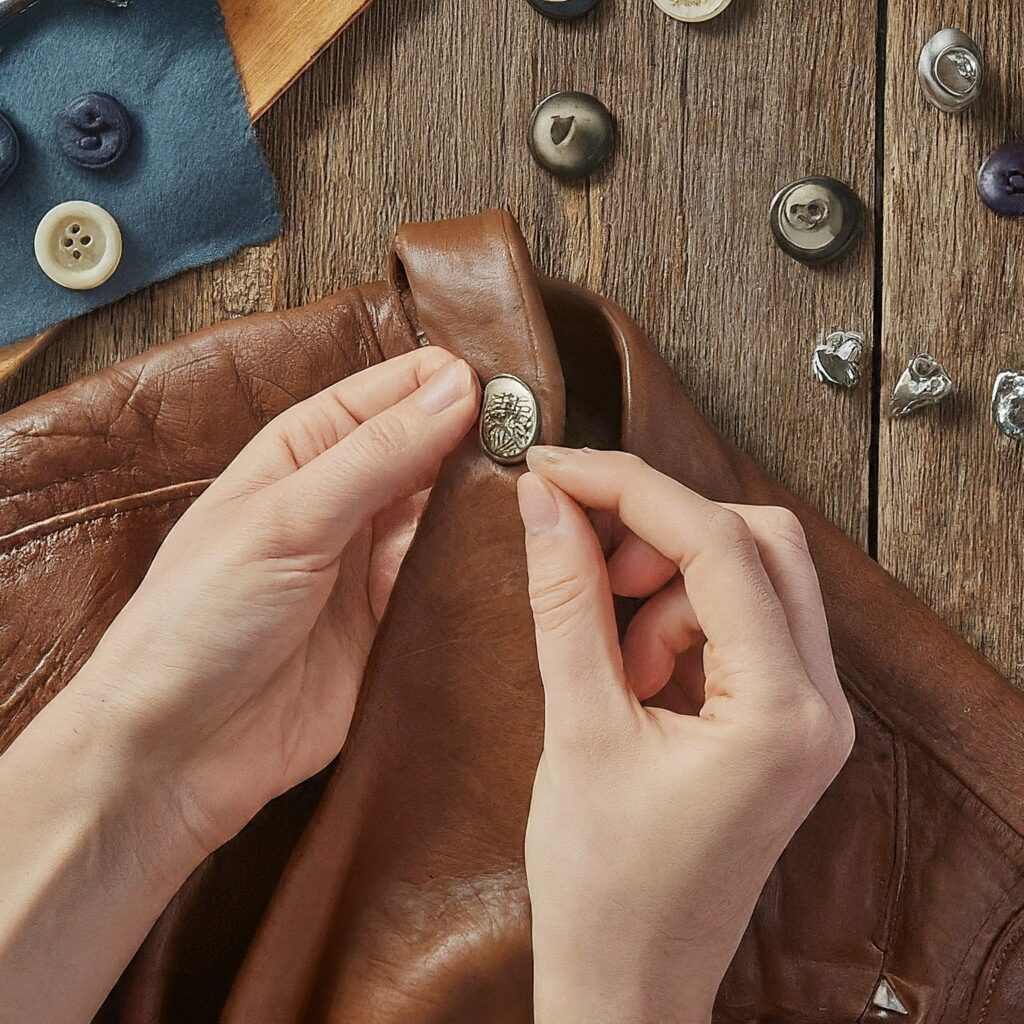
- Decorative Buttons: Experiment with buttons that have unique shapes, textures, or embellishments.
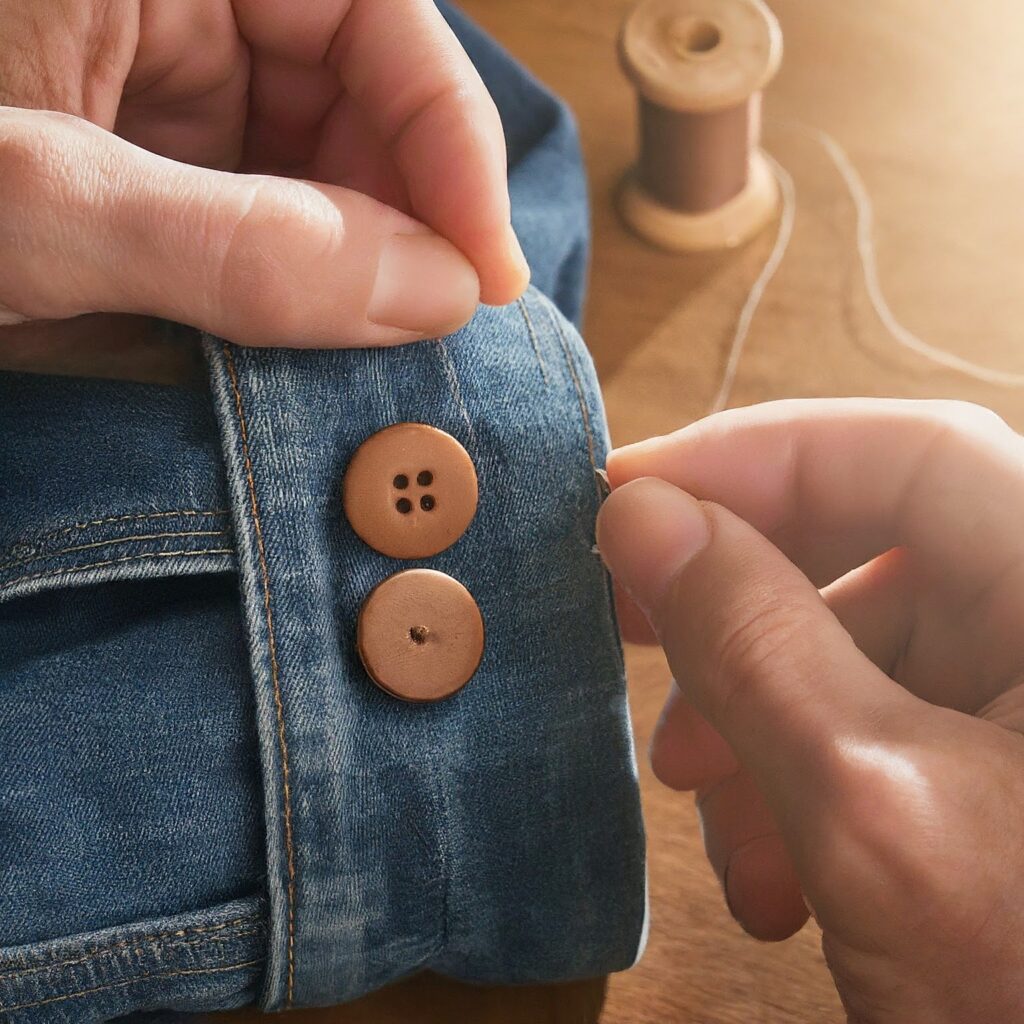
- Button Clusters: Sew on a cluster of small buttons instead of a single large one for a more whimsical touch.
With a little practice and these helpful tips, you’ll be a button-sewing pro in no time!

Conclusion
By following these steps and embracing the spirit of DIY repair, you’ve unlocked a valuable skill. Sewing on Jacket buttons is no longer a daunting task – it’s a quick fix that saves money and extends the life of your beloved jackets.
So, the next time a Jacket button tries to escape, don’t despair! Grab your needle and thread, and get ready to celebrate a button up victory!
Link of related Articles

