how to sew with non-woven interlining
Have you ever admired a garment with crisp collars, sharp lapels, or a beautifully defined silhouette? The secret weapon behind that professional look is often non-woven interlining. This magical interlining fabric adds structure and stability to your projects, taking them from flimsy to fabulous.
But don’t worry, using non-woven interlining isn’t some secret sewing society ritual. In this guide, I’ll walk you through everything you need to know, from choosing the right interlining to sewing it.
Table of Content
- What is Non-Woven Interlining?
- Why Use Non-Woven Interlining in Sewing Projects?
- Choosing the Perfect Non-Woven Interlining for Your Needs
- Preparing Your Fabric and Interlining
- Sewing with Non-Woven Interlining: Step-by-Step Guide
- Top Tips for Sewing with Non-Woven Interlining
- Troubleshooting Common Issues with Non-Woven Interlining
- Conclusion
What is Non-Woven Interlining?
Imagine a fabric that’s not quite fabric – that’s non-woven interlining! It’s a sheet-like material made by bonding fibers together. Unlike woven interlining fabrics, it doesn’t have a distinct grain or weave.
Non-woven interlining comes in various weights and types, offering different levels of structure and support to your sewing projects.
Why Use Non-Woven Interlining in Garments?
There are several reasons to incorporate non-woven interlining into your sewing repertoire:
- Enhanced Structure: Interlining provides stability, preventing your fabric from sagging or drooping. This is especially crucial for collars, lapels, cuffs, waistbands, and other areas that need to maintain their shape.
- Crisp Lines and Edges: Adding interlining creates crisp and defined edges, giving your garments that professional, polished look.
- Improved Drape: The right interlining can actually improve the drape of your fabric, adding a touch of weight and fullness for a more flattering silhouette.
- Durability: Interlining reinforces your fabric, making it more resistant to wear and tear. This is particularly important for garments that will see a lot of use.
Choosing the Perfect Non-Woven Interlining for Your Needs
Selecting the Non-Woven Interlining that perfectly complements your project! Here are some key factors to consider:
- Weight of Interlining:
- Lightweight: Ideal for delicate fabrics like chiffon or voile. Use lightweight interlining for collars, cuffs, and bodices of lighter garments where you want to maintain a soft drape.
- Mediumweight: The workhorse interlining! It provides good structure for a variety of fabrics like cotton, linen, and lighter woolens. Perfect for collars, cuffs, waistbands, and jacket fronts.
- Heavyweight: Offers significant support and stability, ideal for heavier fabrics like wool coats, structured bags, and tailored jackets.
- Type of Interlining
- Sew-in Interfacing: This type requires stitching it to your fabric for a permanent bond. It offers more flexibility during construction, allowing for precise placement on intricate shapes. Great for projects where you might need to adjust or remove the interlining later.
- Fusible Interfacing: This interlining has a heat-activated adhesive backing. Simply iron it onto your fabric for a quick and easy application. Perfect for beginners or projects where precise stitching isn’t critical.
- Fabric Compatibility:Some interlinings are better suited for specific fabrics. For example, a Non-Woven fusible interlining designed for knits will stretch with the fabric, while a standard interlining might cause the knit to lose its elasticity. Always check the interlining label or consult with a fabric store employee for guidance on fabric compatibility.
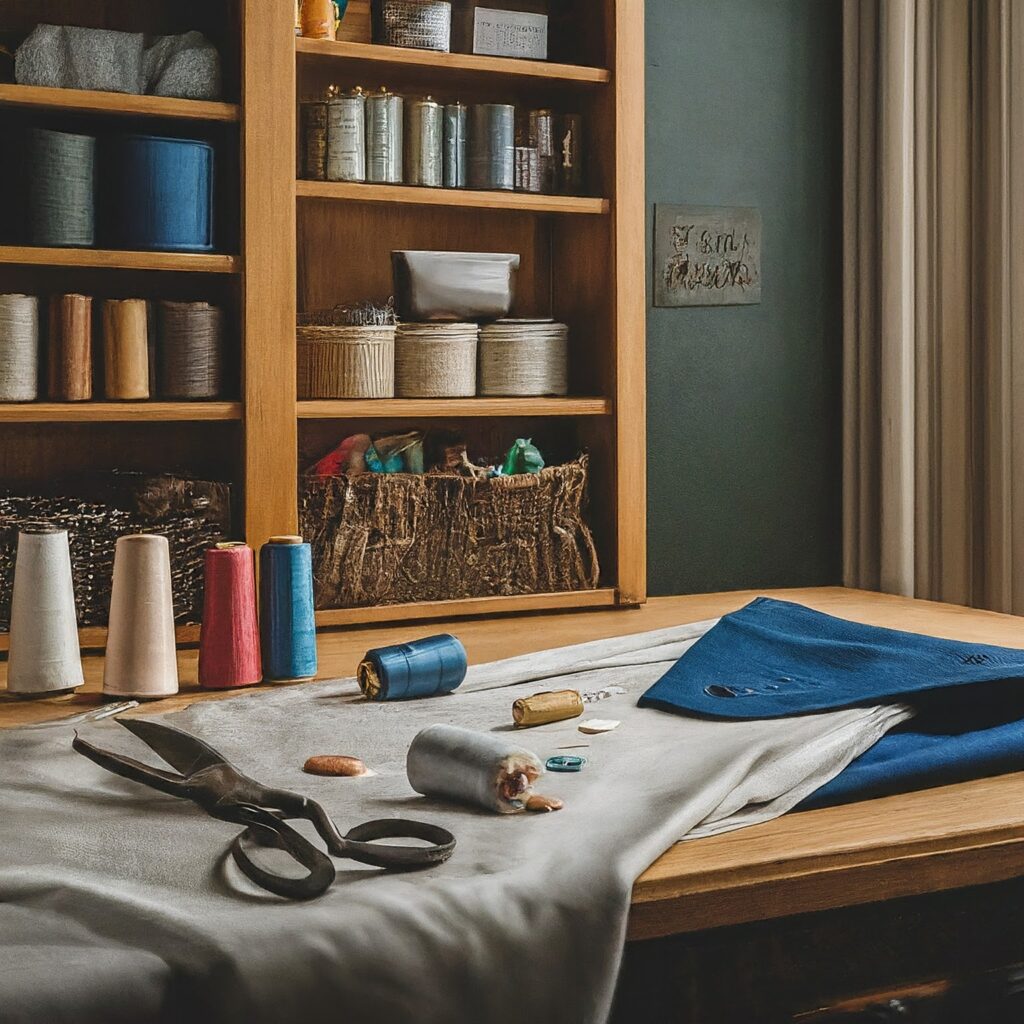
Preparing Your Fabric and Interlining
Before you dive into sewing, let’s get your fabric and interlining prepped for success:
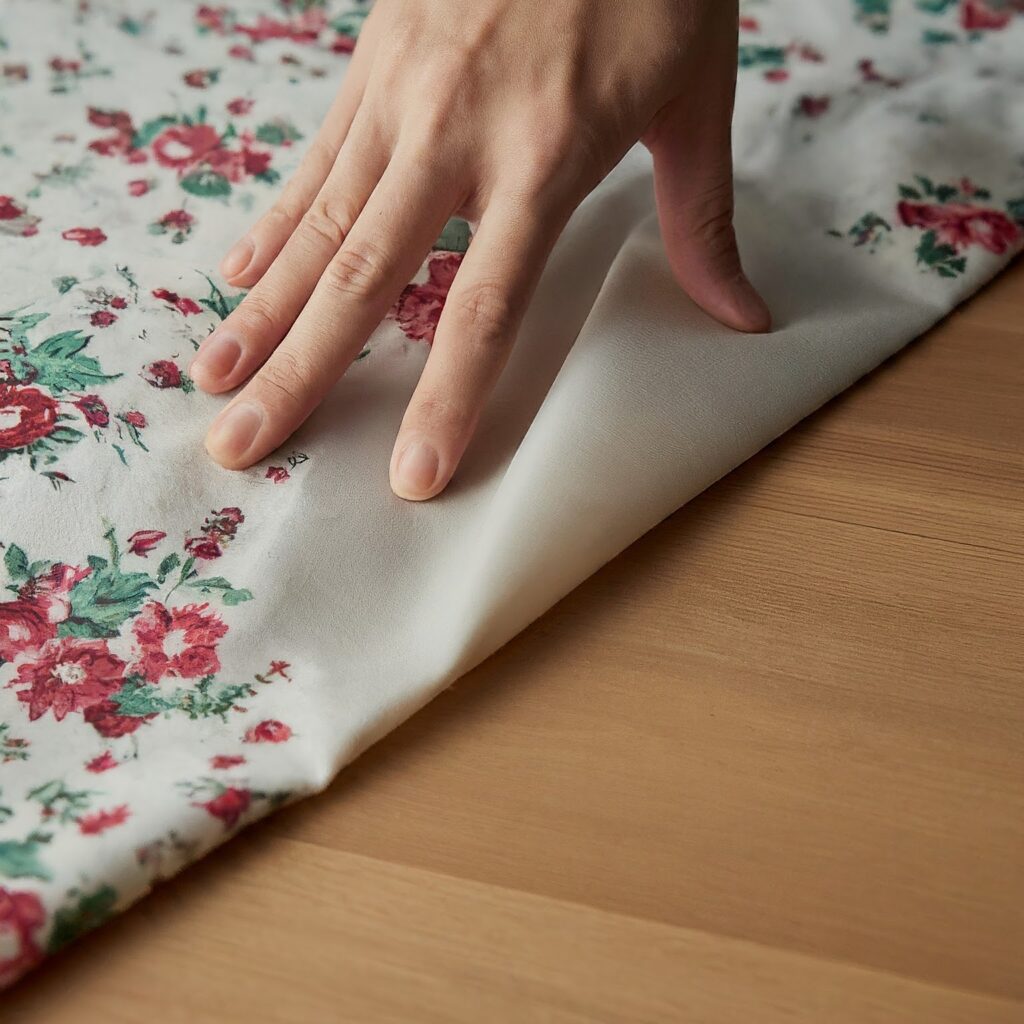
- Pre-Wash Your Fabric : If your fabric is washable and you plan to wash the finished garment, pre-wash and dry it according to the fabric care instructions. This will help prevent the fabric from shrinking after you’ve attached the interlining.
- Iron Your Fabric: Give your fabric a good press to remove any wrinkles or creases. This ensures a smooth surface for attaching the interlining.
- Cut Your Interlining: Lay your fabric piece flat and use it as a template to cut out a matching piece of interlining. Make sure the interlining doesn’t extend beyond the seam allowance of your fabric piece, as this can create bulk in your seams.
Sewing with Non-Woven Interlining: Step-by-Step Guide
let’s explore how to sew with both sew-in and Non-Woven fusible interlining:
Sew-in Interfacing:
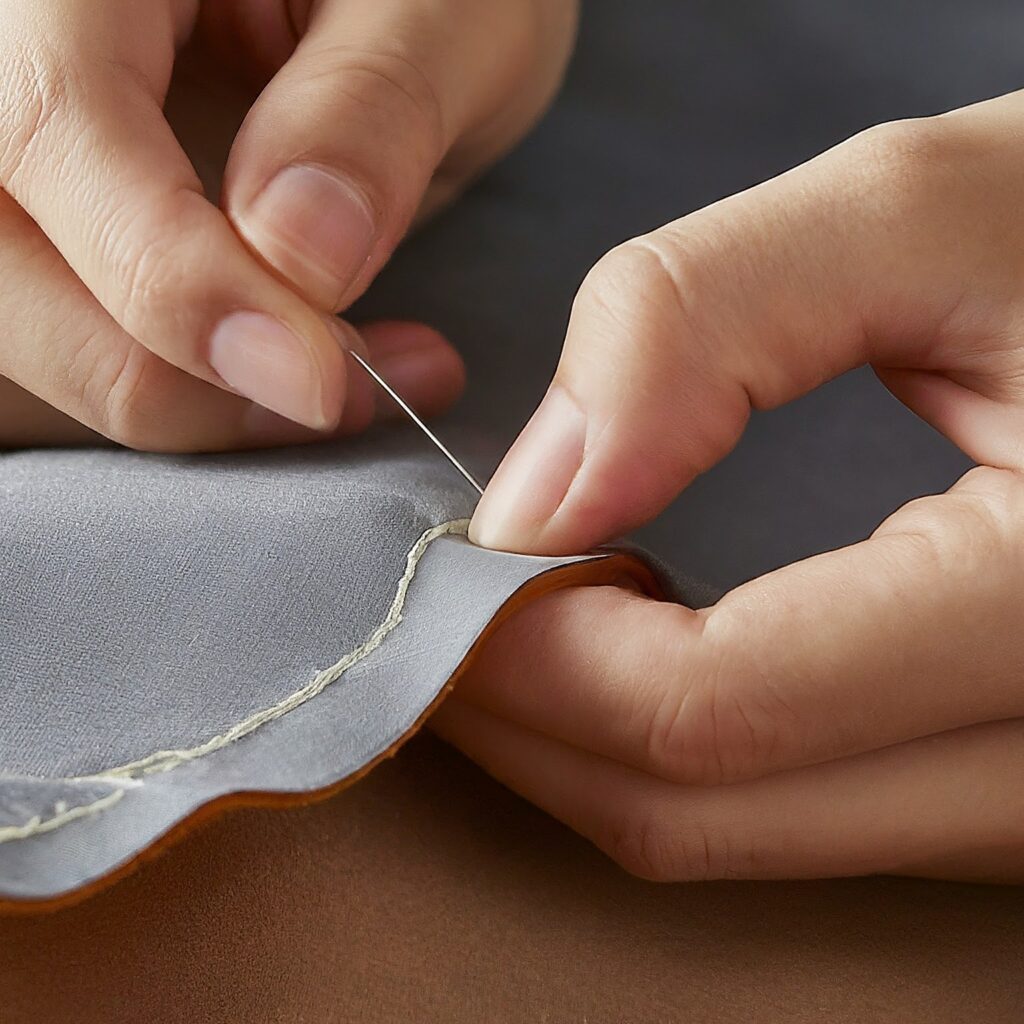
- Pin it Down: Place the wrong side (if it has one) of the interlining onto the wrong side of your fabric. Use straight pins to secure the interlining in place, ensuring it lies flat and wrinkle-free.
- Stitch it Up: Select a straight stitch on your sewing machine with a stitch length that matches the weight of your fabric. Choose a thread color that blends well with both the fabric and the interlining. Sew around the perimeter of the interlining, staying within your seam allowance. You can backstitch at the beginning and end of your stitching for added security.
- Finishing Touches: Carefully clip the curves of your interfacing piece to prevent bulk. If desired, you can also pink the edges of the interfacing to prevent fraying.
Non-Woven Fusible Interfacing:
- Heat Up Your Iron: Set your iron to the heat setting recommended for the specific interfacing you’re using. Consult the instructions on the interlining package for the ideal temperature.
- Position and Press: Place the interlining’s adhesive side onto the wrong side of your fabric. Following the manufacturer’s instructions, carefully press the iron onto the fabric for the recommended amount of time. Apply even pressure throughout the entire piece.
- Test and Secure : In some cases, the manufacturer might recommend stitching along the edges of the fused interlining for added security. You can test the bond by gently tugging on the interfacing to see if it lifts from the fabric. If needed, add a few stitches for peace of mind.
Top Tips for Sewing with Non-Woven Interlining
- Practice Makes Perfect: Before tackling your main project, try sewing with a scrap of fabric and interlining to get the hang of it. This helps you perfect your technique and avoid mistakes on your final piece.
- Needle Size Matters: Use a sharp needle that’s appropriate for the weight of your fabric. A dull needle can snag or damage the interlining.
- Stitch Length Matters Too: For sew-in interlining, adjust your stitch length based on the weight of your fabric. A shorter stitch length provides more stability for heavier fabrics.
- Go Slow and Steady: When sewing with interlining, take your time and stitch slowly. This ensures you get a clean and even stitch line.
- Test on a Scrap: Before using any heat on your fabric, always test a scrap piece first to ensure the heat setting won’t damage or scorch your fabric.

Troubleshooting Common Issues with Non-Woven Interlining
- Wrinkled Interlining: If your interlining gets wrinkled after ironing, don’t panic! You can try carefully smoothing it out with your iron on a low heat setting. If the wrinkles persist, you might need to replace the interlining piece.
- Interlining Not Sticking (Fusible): This could be due to incorrect ironing temperature or pressure. Ensure your iron is set to the recommended heat setting and apply firm, even pressure while pressing.
- Bulk in Seams: If your seams feel bulky after attaching the interlining, double-check that you trimmed the interlining within your seam allowance. You can also try using a thinner interlining or clipping the curves of the interfacing more aggressively.
Conclusion
By incorporating non-woven interlining into your sewing repertoire! From crisp collars to structured jackets, interlining adds a professional touch and elevates your sewing projects to the next level. With the knowledge and tips in this guide, you’re well on your way to becoming a master of garment construction!
Link of related Articles
- Benefits of Using Non-Woven Fusible Interlining
- Non-Woven Interlining: A Lighter Alternative for Modern Sewing Projects
- Demystifying Non-Woven Interlining: Types, Weights, and Applications