Non-Woven Fabric Manufacturing Process: A Detailed Guide
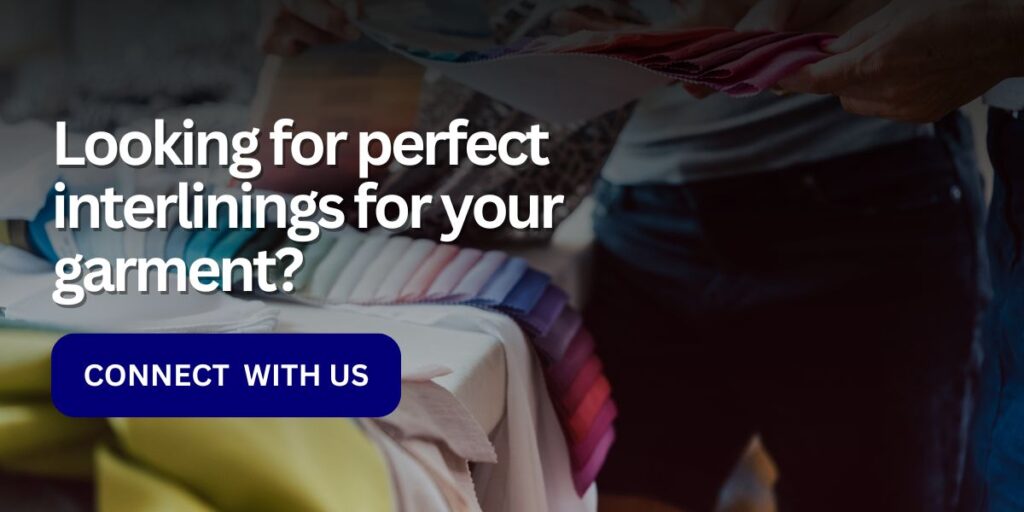
Are you curious about non-woven interlining fabrics and their manufacturing process? Let’s dive in! Understanding how non-woven interlining is made can enhance your appreciation of their widespread use and functional benefits. In this guide, we’ll explore the different manufacturing techniques and processes used to create these versatile materials.

Table of Contents
- What is non-Woven interlining
- Key Non-Woven Fabric Manufacturing Techniques
- The Non-Woven Fabric Manufacturing Process
- Advantages of Non-Woven Fabrics
- Applications of Non-Woven Fabrics
- Choosing the Right Non-Woven Fabric for Your Needs
- Conclusion: Mastering the Non-Woven Fabric Manufacturing Process
What is non-Woven interlining
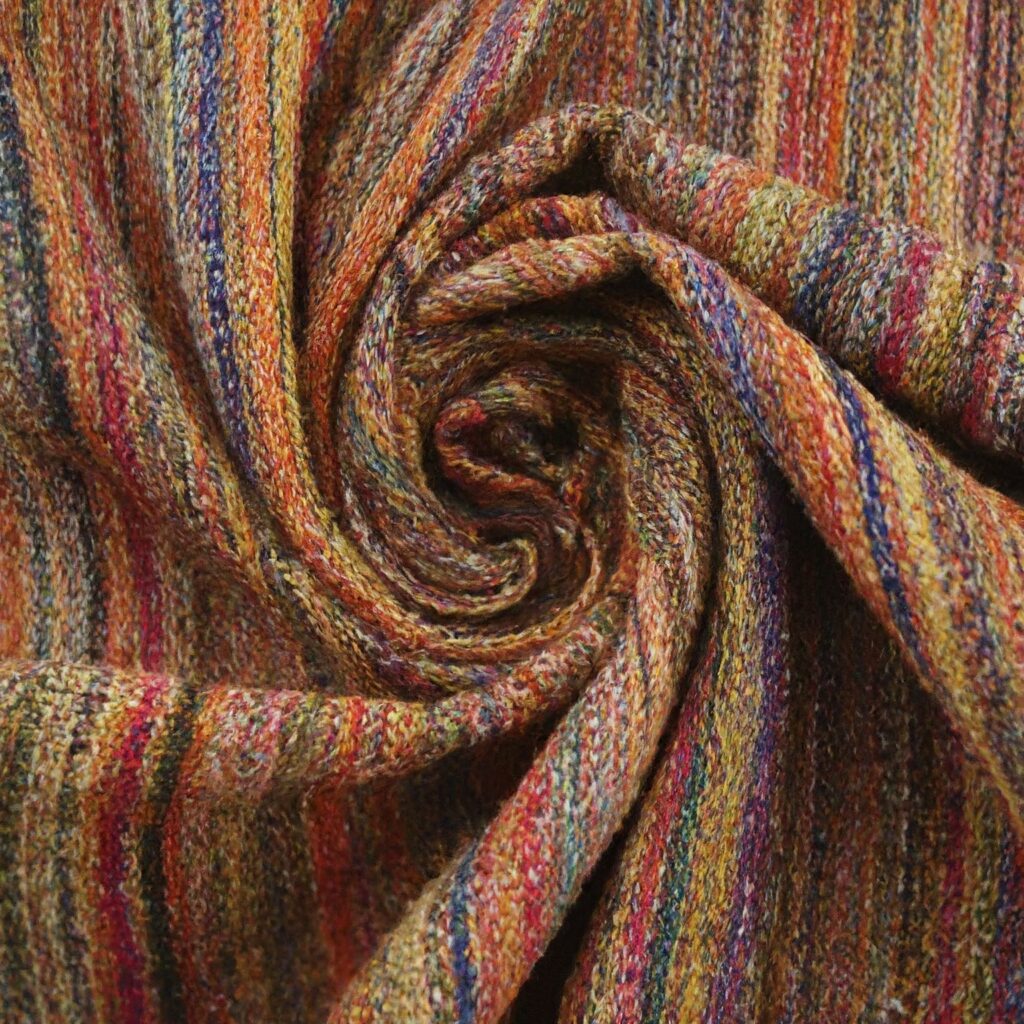
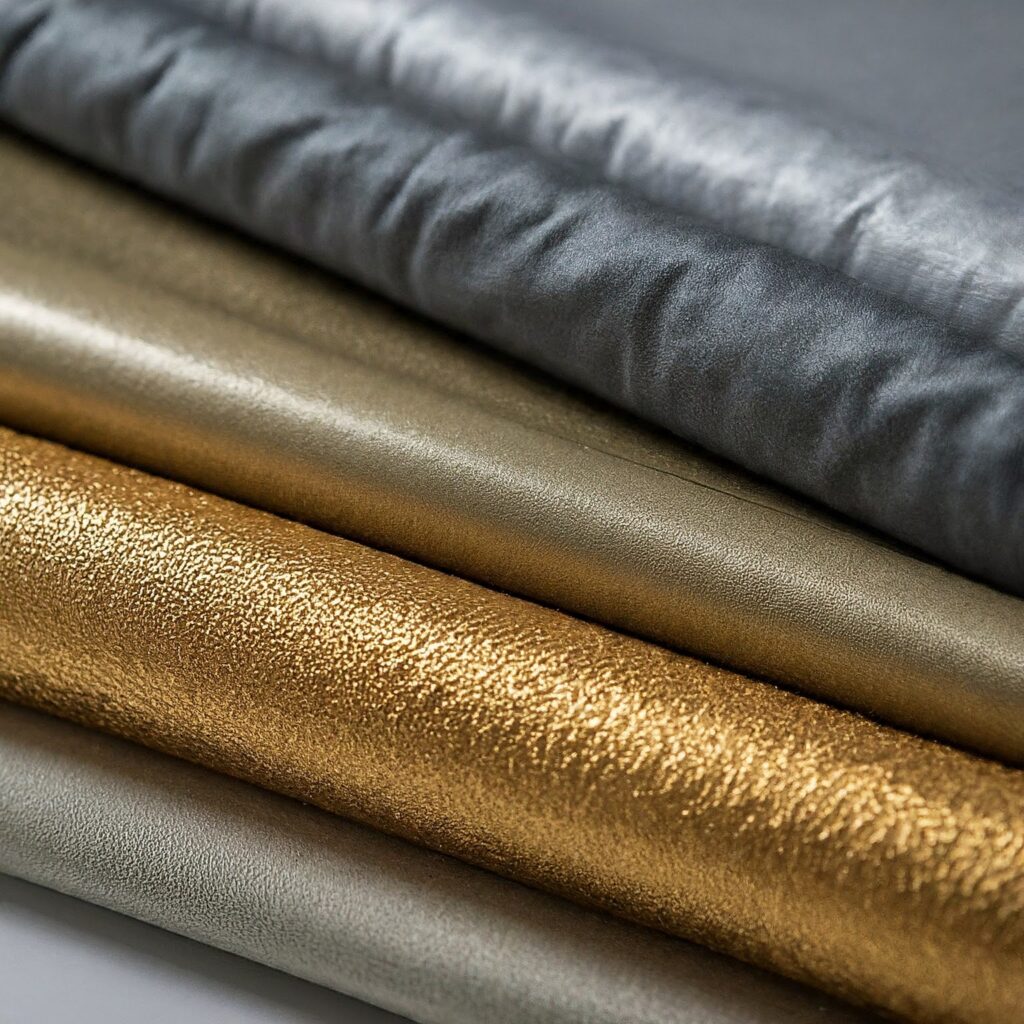
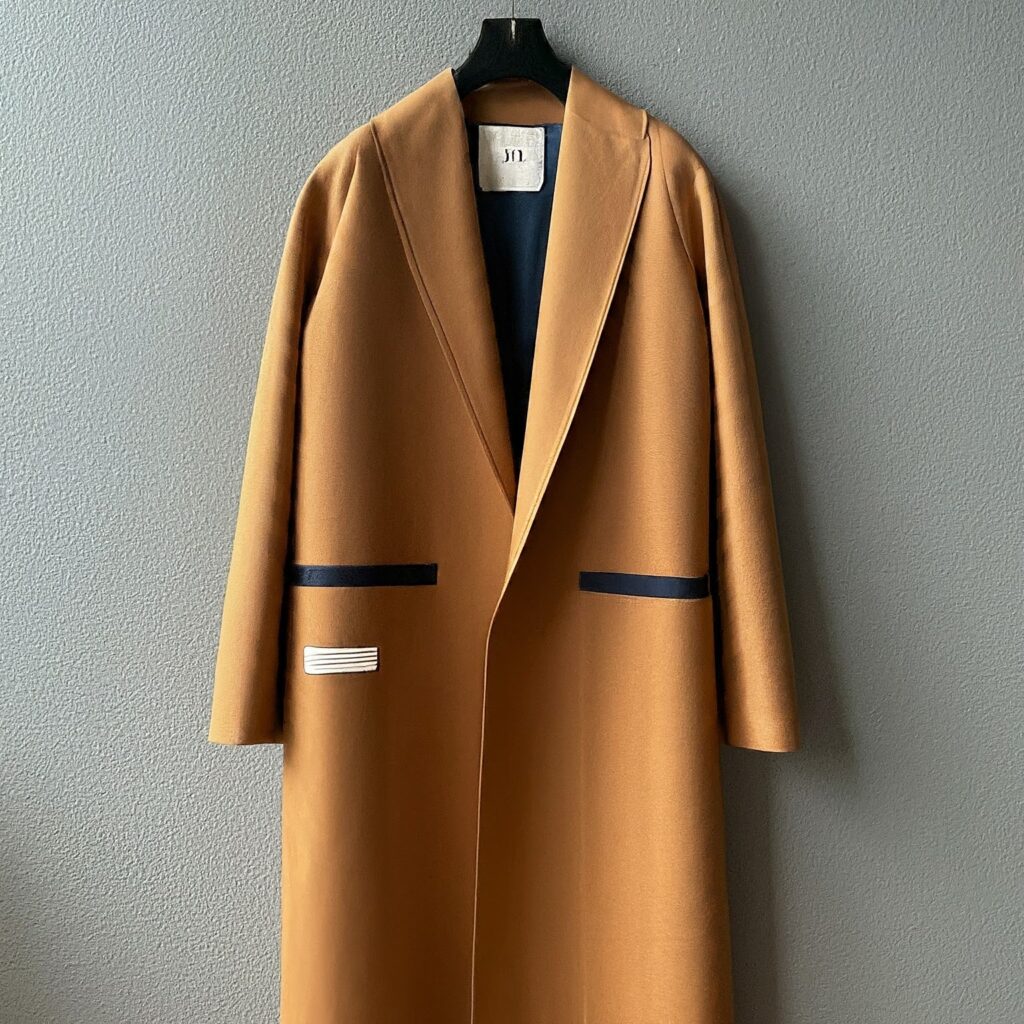
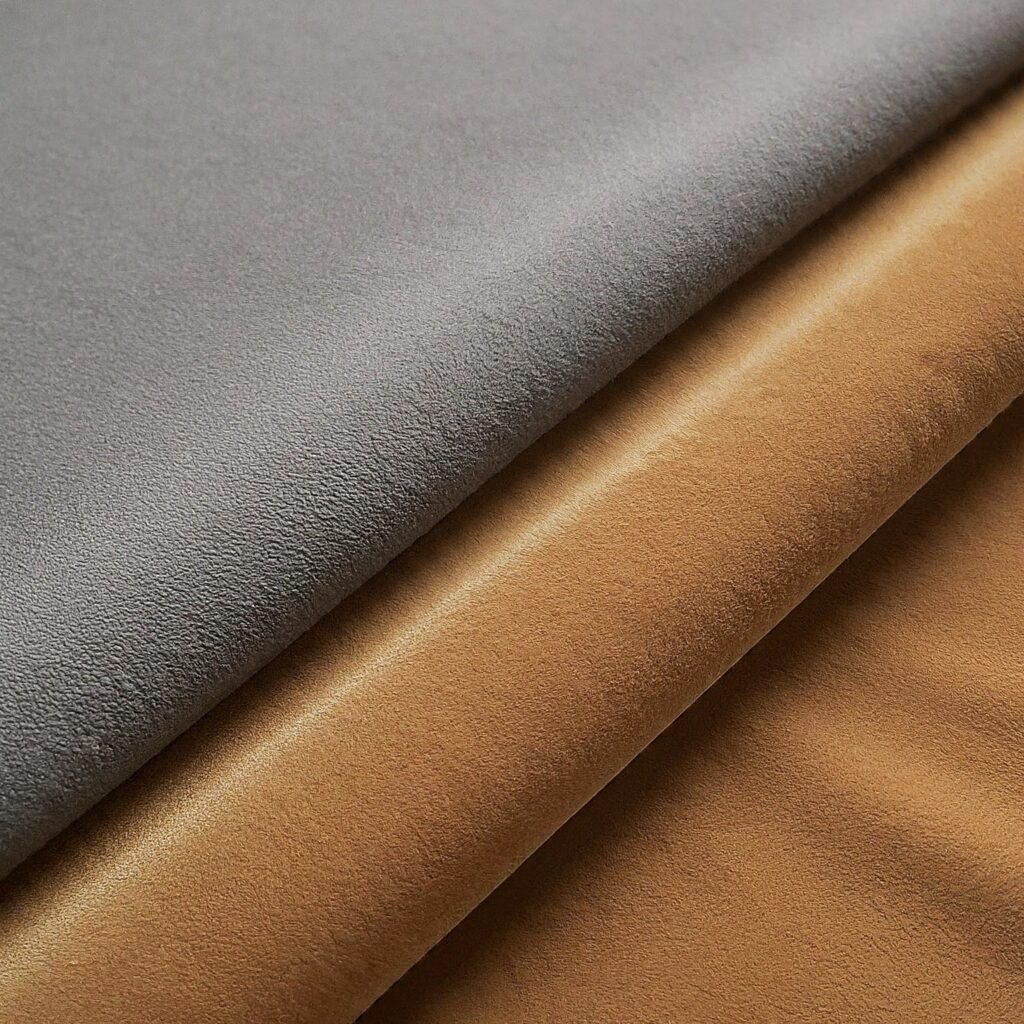
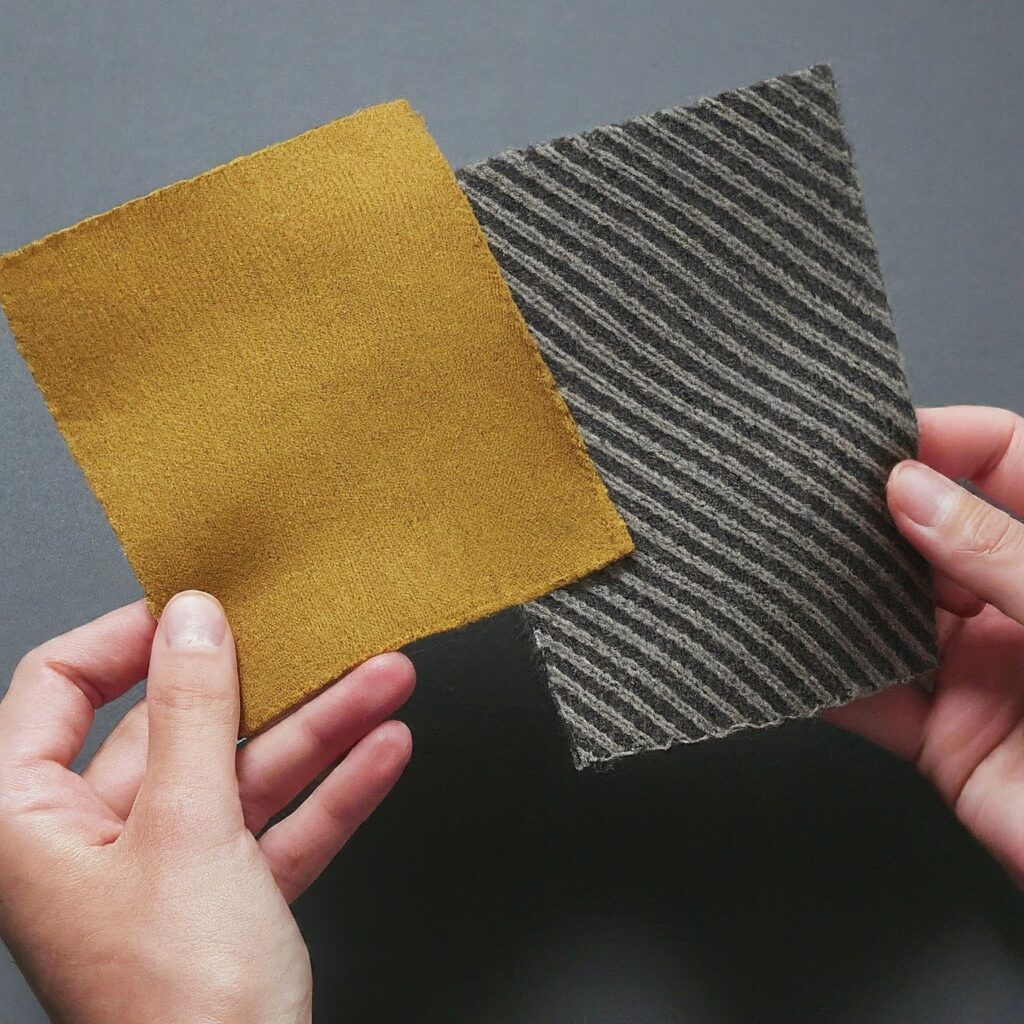
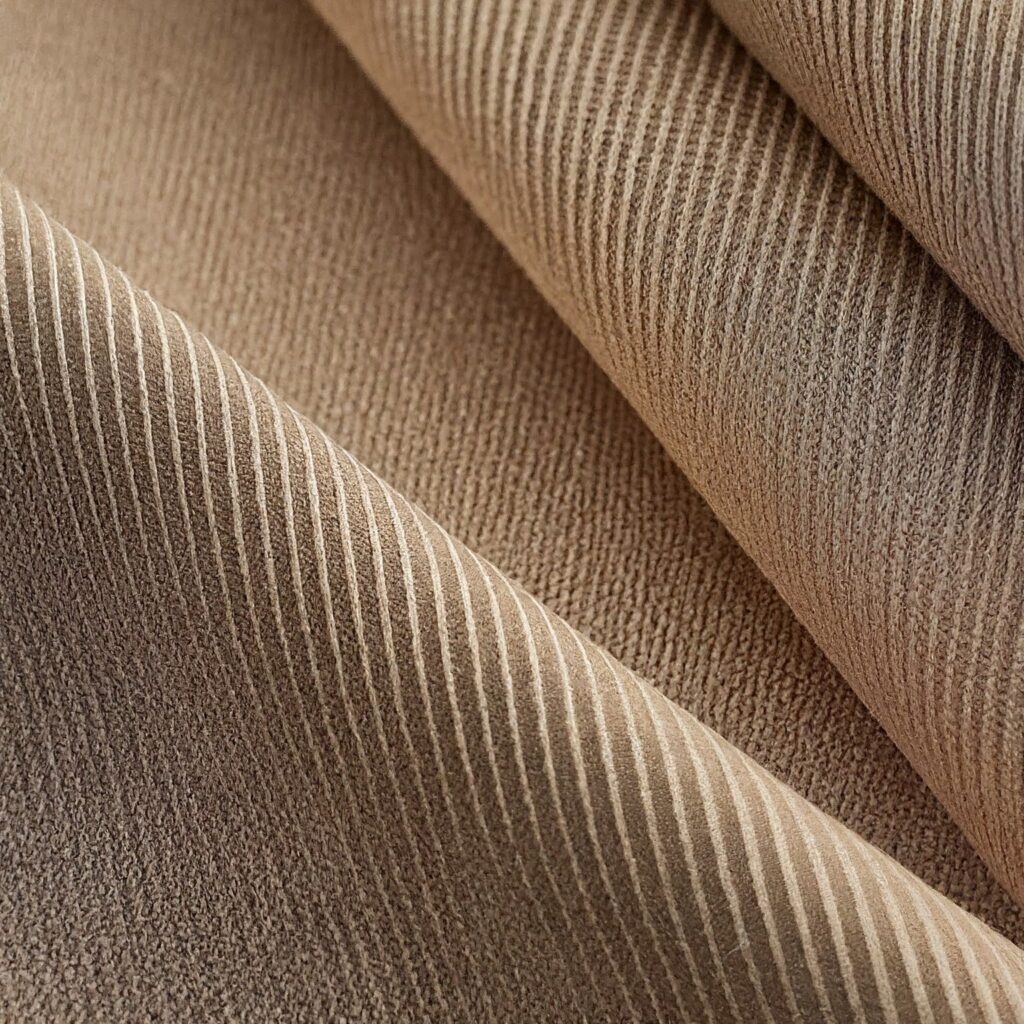
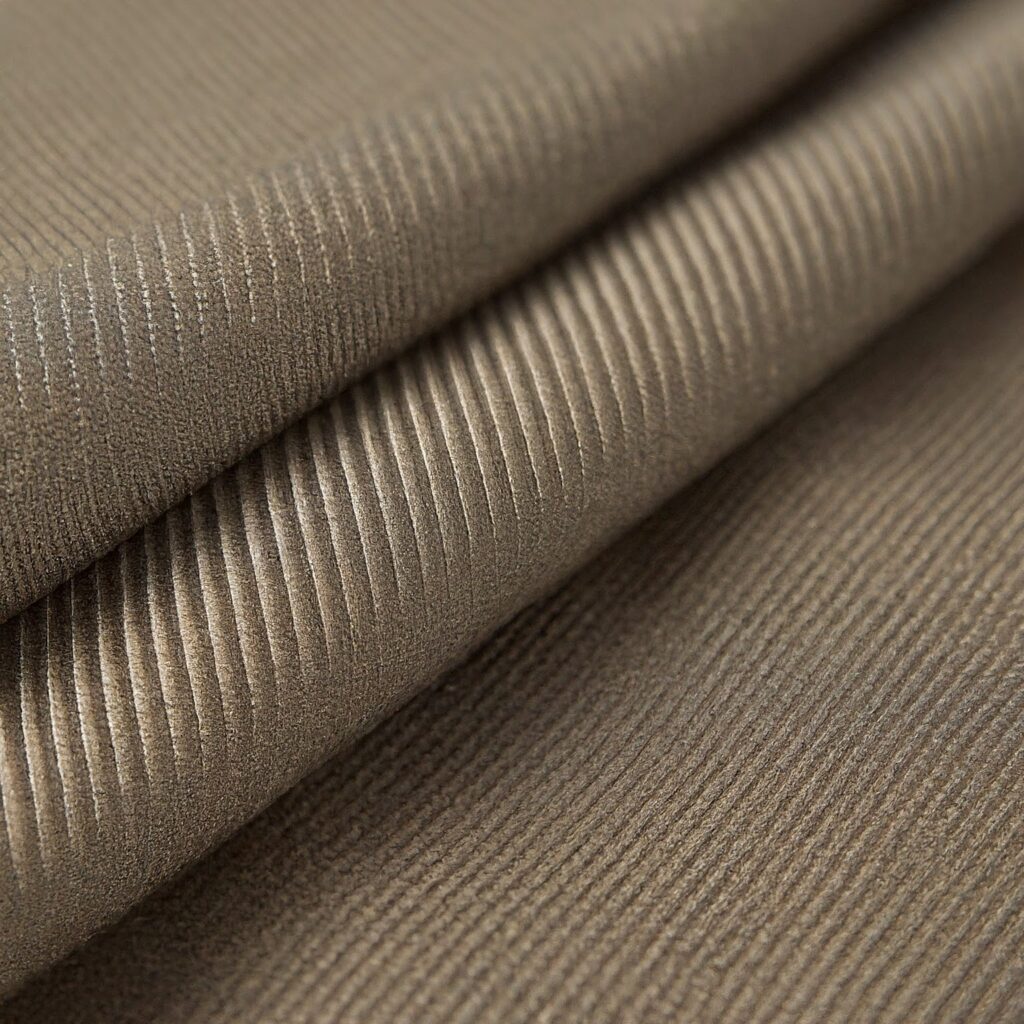
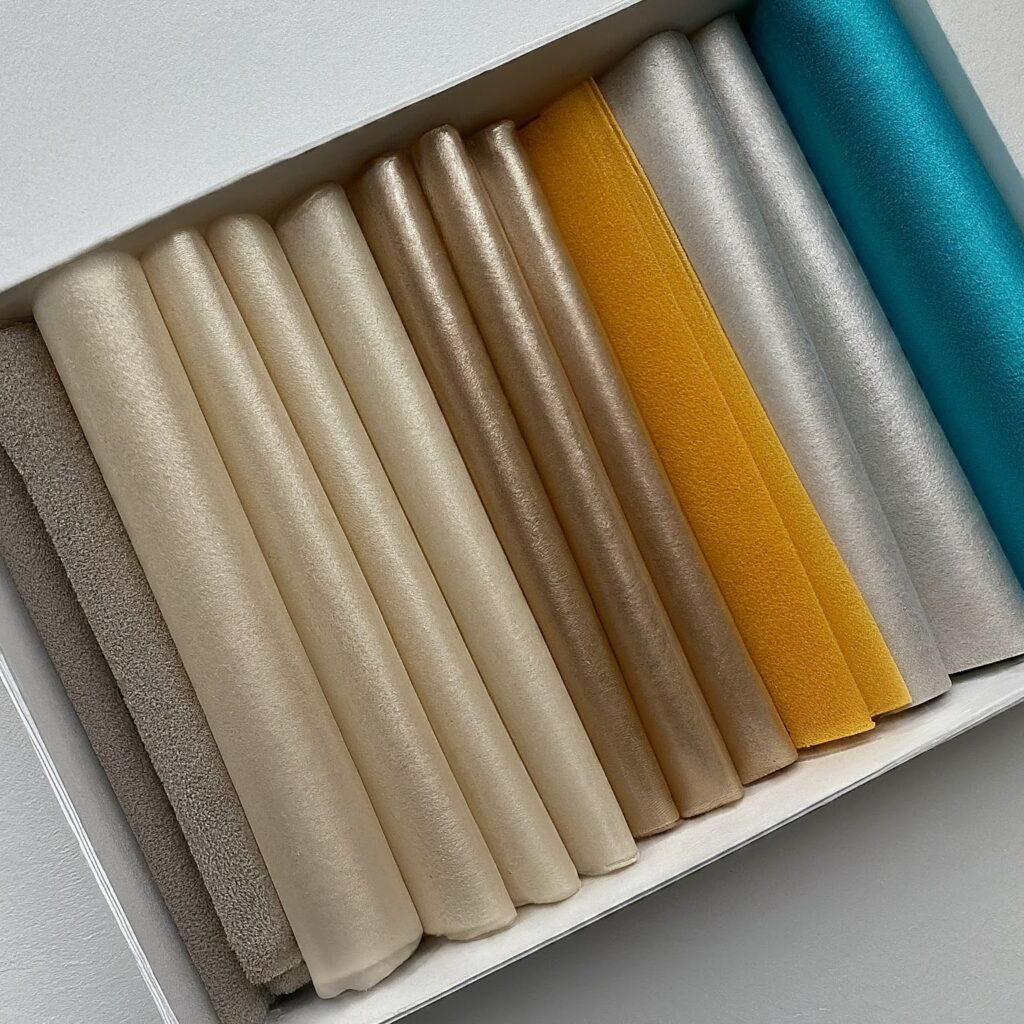
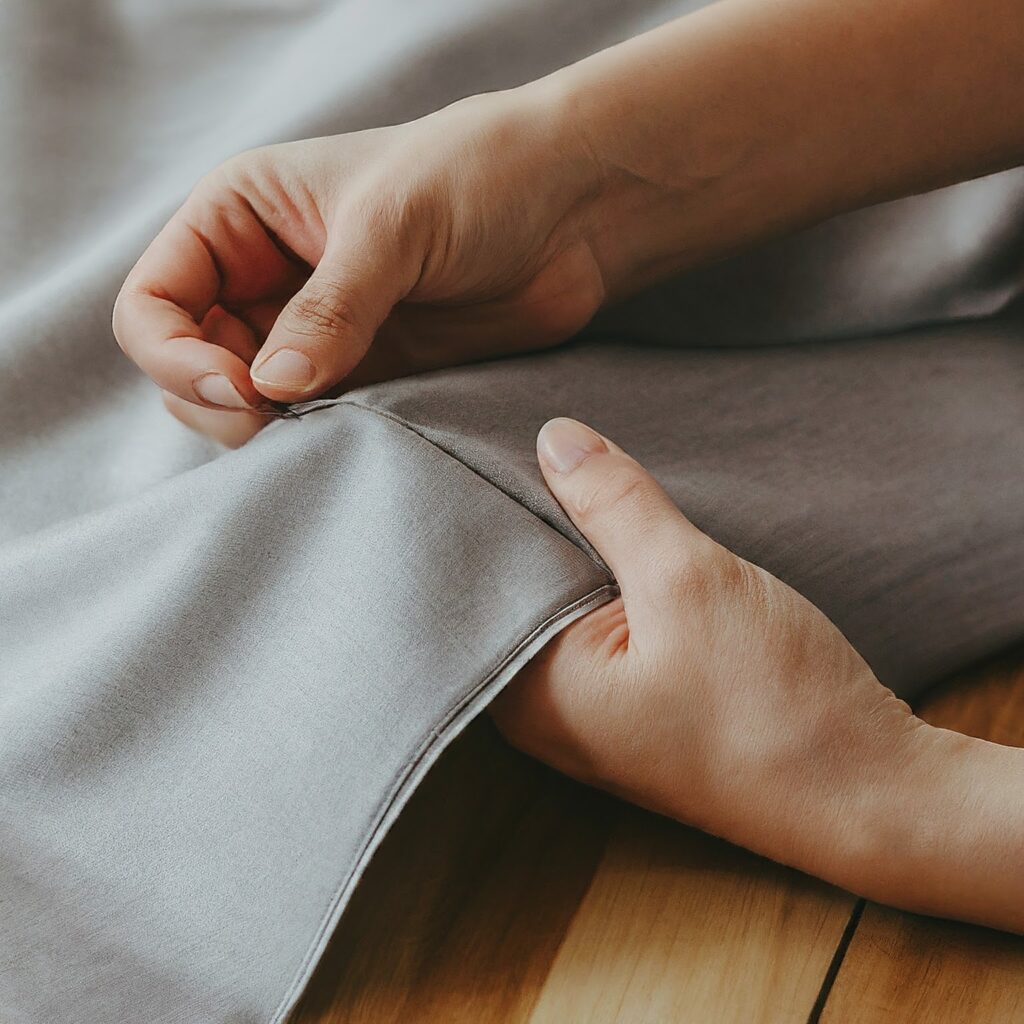
Non-woven interlining fabrics are incredibly versatile materials created by bonding fibers together using various methods, rather than weaving or knitting. These fabrics are utilized in a wide range of applications, from medical supplies to household items.
Non-woven interlining offers a host of unique advantages, including:
- Durability: They are designed to withstand various stresses and strains.
- Cost-Effectiveness: The manufacturing process is generally less expensive compared to traditional fabrics.
- Flexibility: These fabrics can be engineered to meet specific needs and applications.
Non-woven fabrics offer:
- Durability: Designed to handle various stresses.
- Cost-Effectiveness: Typically cheaper to produce than woven fabrics.
- Flexibility: Can be customized for specific needs.
Key Non-Woven Fabric Manufacturing Techniques
When it comes to producing non-woven interlining fabrics, there are several key techniques to consider:
- Spunbonding: This process involves extruding molten polymer through spinnerets to form continuous filaments. These filaments are then laid down randomly and bonded together using heat and pressure. This method is somewhat analogous to creating woven interlining fabric, where fibers are meticulously laid out and fused.
- Melt Blowing: Similar to spunbonding, melt blowing involves extruding polymer through fine nozzles to create extremely fine fibers. These fibers are collected on a conveyor belt and bonded using hot air. This technique is often used for creating non-woven fusible interlining, adding unique properties to the fabric.
- Needle Punching: This method uses barbed needles to entangle fibers, creating a dense mat. The mat is then further processed to enhance its properties. For applications requiring sturdier fabrics, this method is akin to the woven interlining process.
- Hydroentangling (Spunlacing): In this technique, high-pressure water jets are used to entangle fibers, creating a fabric with a soft, textile-like feel. This technique is similar to how non-woven interlining fabrics are processed for softer, more flexible applications.
Each technique has its own set of advantages and is chosen based on the desired characteristics of the final fabric.
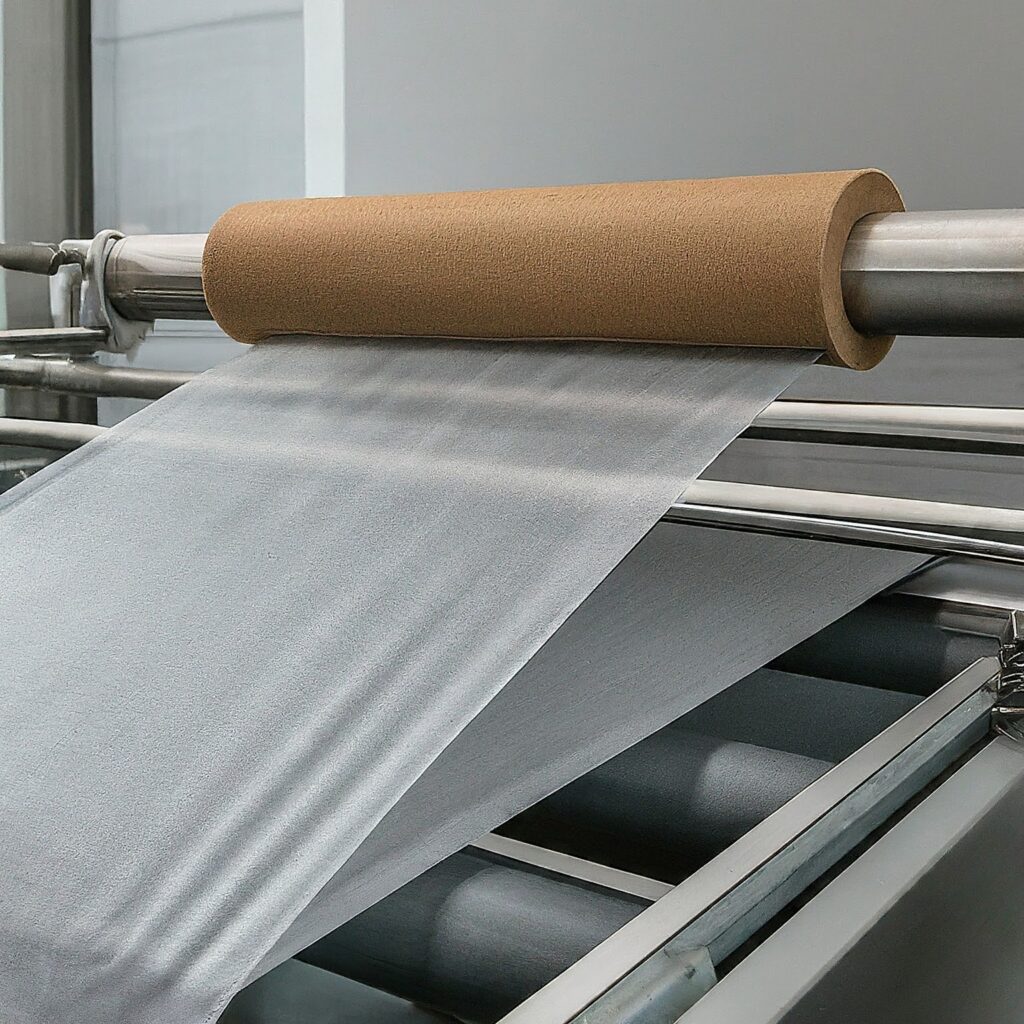
The Non-Woven Fabric Manufacturing Process
Let’s break down the non-woven interlining fabric manufacturing process into manageable steps:
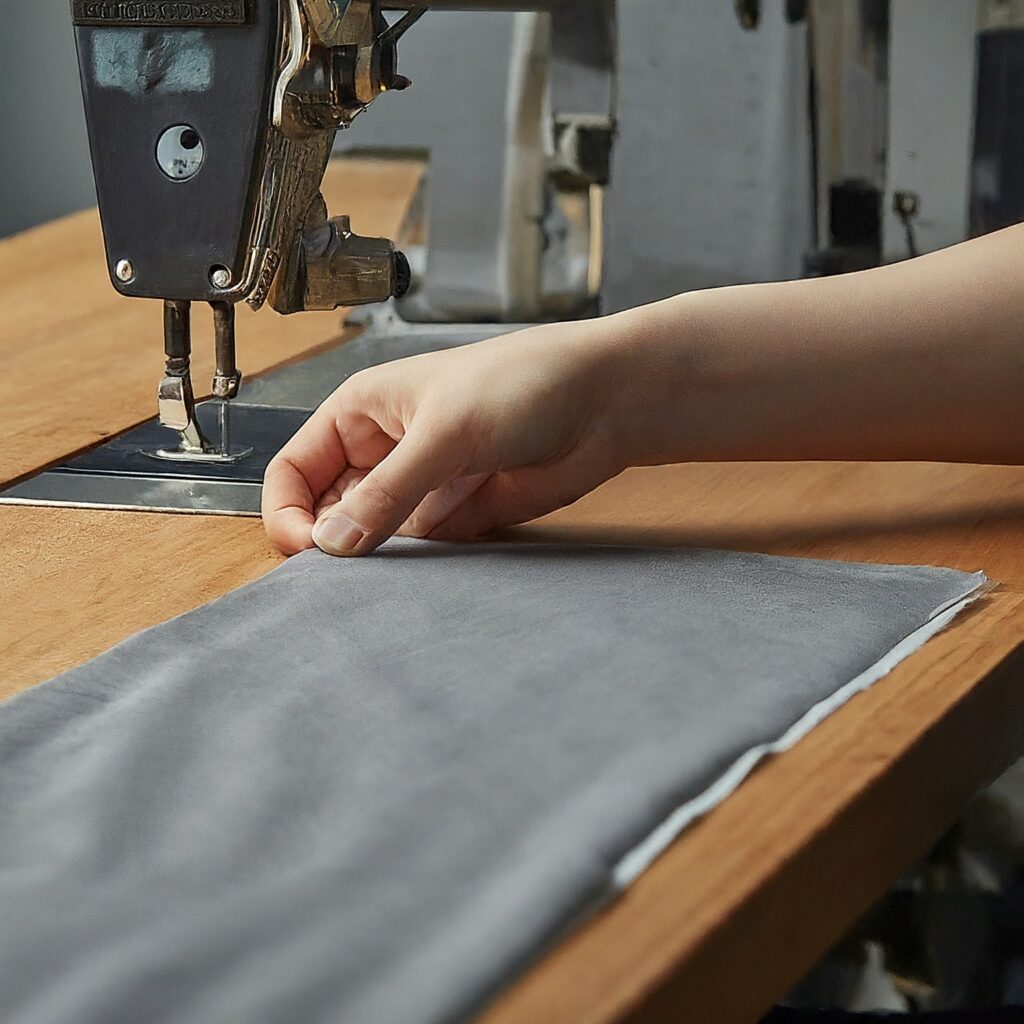
1. Fiber Preparation
- Selection: Choose the right type of fiber for your application, such as polyester, polypropylene, or nylon. For interlining fabrics, selecting the right fiber is crucial for achieving the desired properties.
- Blending: Fibers are blended to achieve the desired properties, such as strength or softness. This step is similar to preparing fibers for woven interlining fabric.
2. Web Formation
- Spunbonding: Involves melting and extruding polymer, then laying the filaments onto a conveyor belt to form a web. This process is essential for creating woven interlining materials.
- Melt Blowing: Fine fibers are created by extruding polymer through nozzles and collecting them on a belt. This is often used for non-woven fusible interlining to enhance the fabric’s performance.
- Needle Punching: Fibers are laid out in a mat and then punched with needles to interlock the fibers. This method is crucial for producing durable non-woven interlining.
- Hydroentangling: Water jets entangle fibers to form a cohesive web. This method creates fabrics with a texture similar to woven interlining fabric.
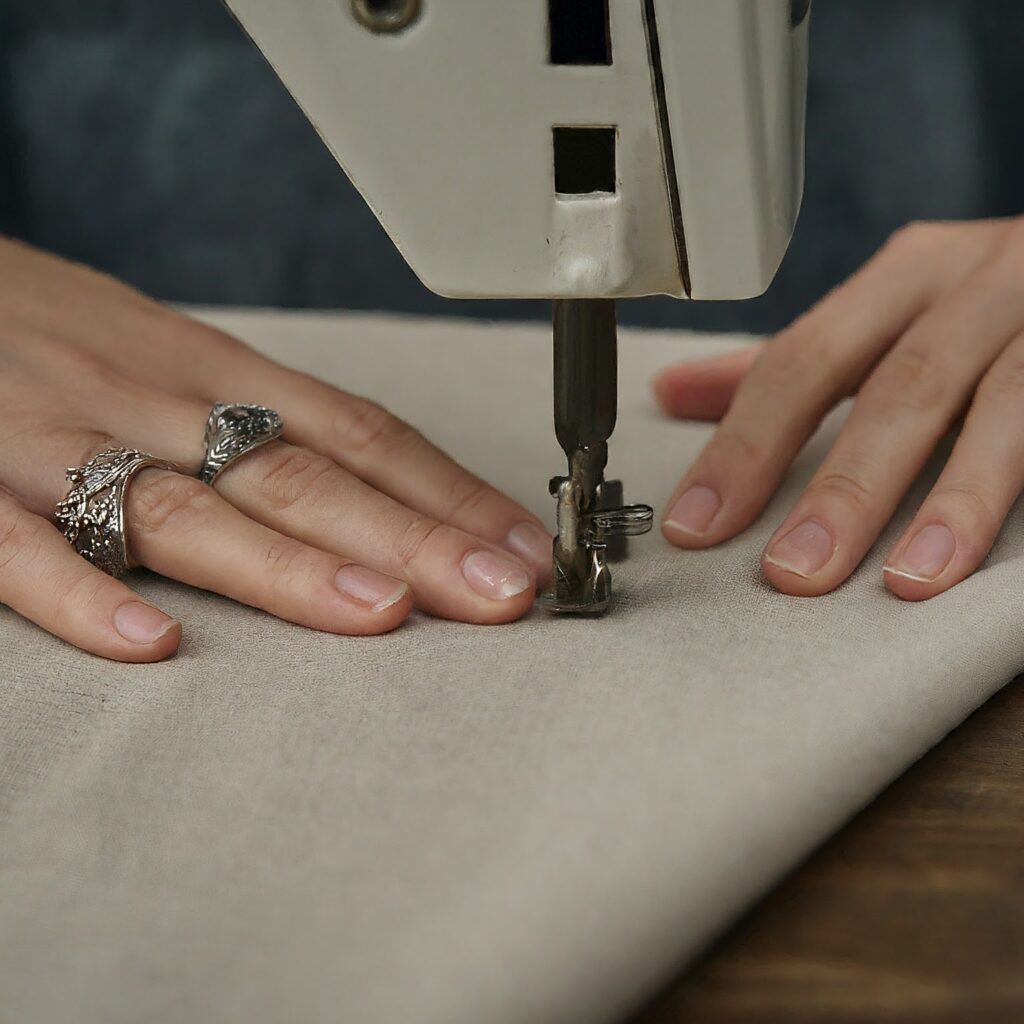
3. Web Bonding
- Heat Bonding: Involves applying heat to melt and fuse the fibers together, creating a stable fabric. This technique is akin to the fusing interlining process used for interlining fabrics.
- Chemical Bonding: Uses adhesive chemicals to bond the fibers, which are then cured to create a solid fabric. This process is similar to creating interlining fusible materials.
- Mechanical Bonding: Employs methods like needle punching or hydroentangling to mechanically bond the fibers without heat or chemicals. This is also used in creating non-woven interlining fabrics.
4. Finishing
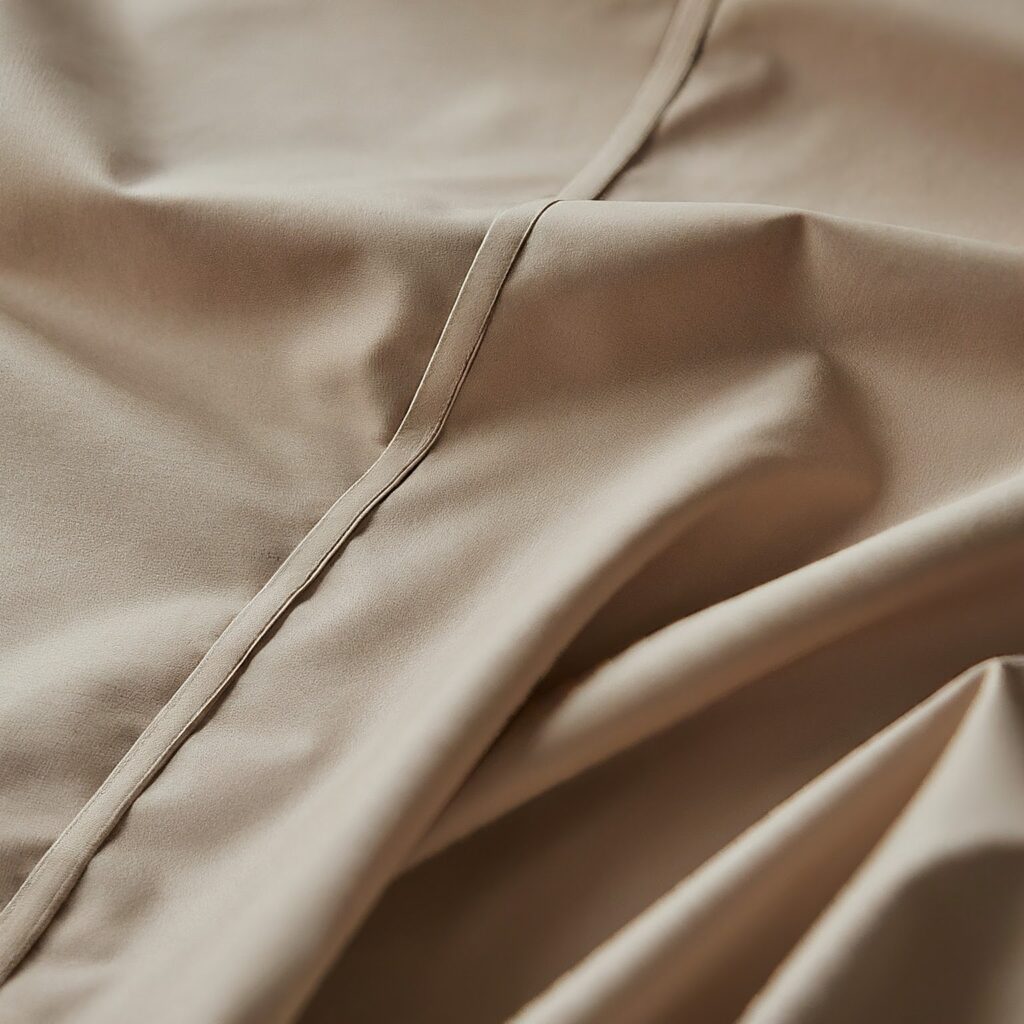
- Calendering: The fabric is passed through rollers to improve its texture and density. This finishing step is essential for both non-woven interlining and woven interlining fabric.
- Coating: Sometimes, a coating is applied to add specific properties, such as water resistance. This is particularly relevant for non-woven fusible interlining.
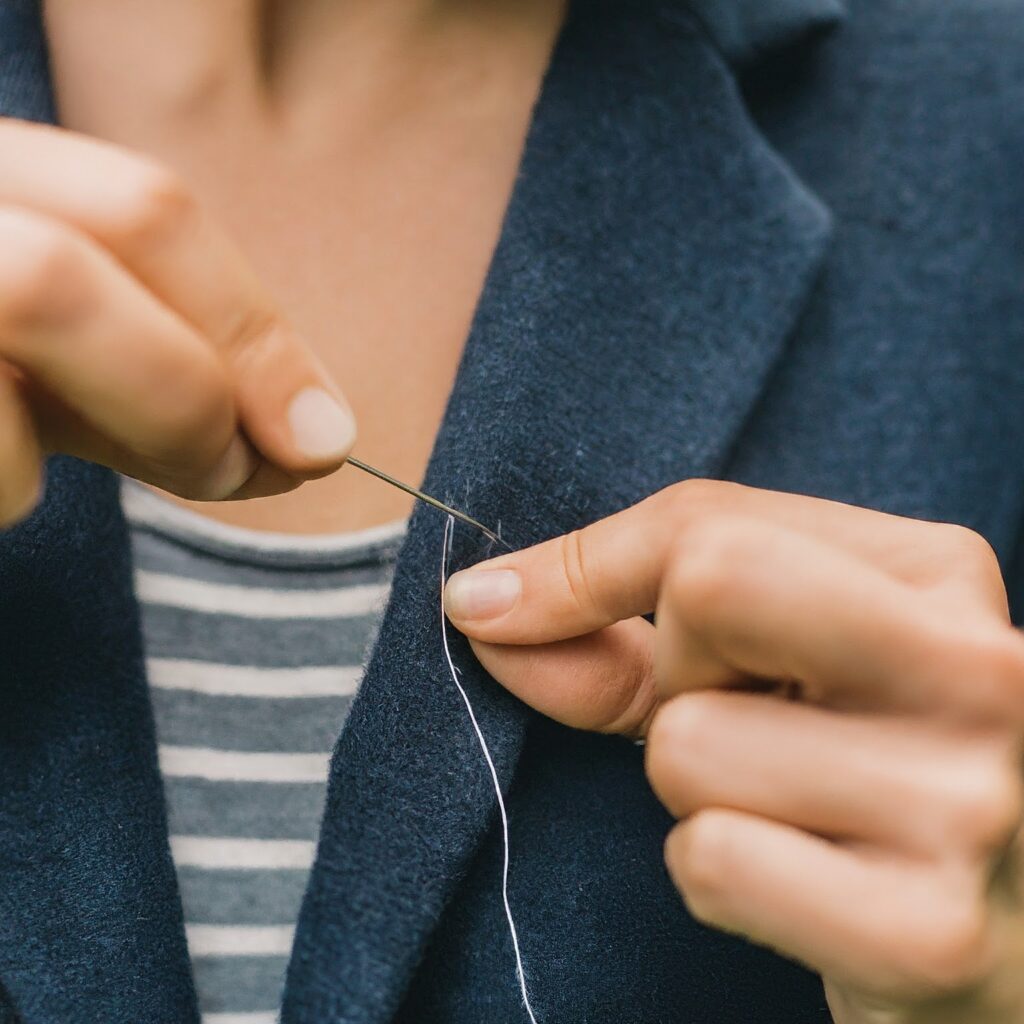
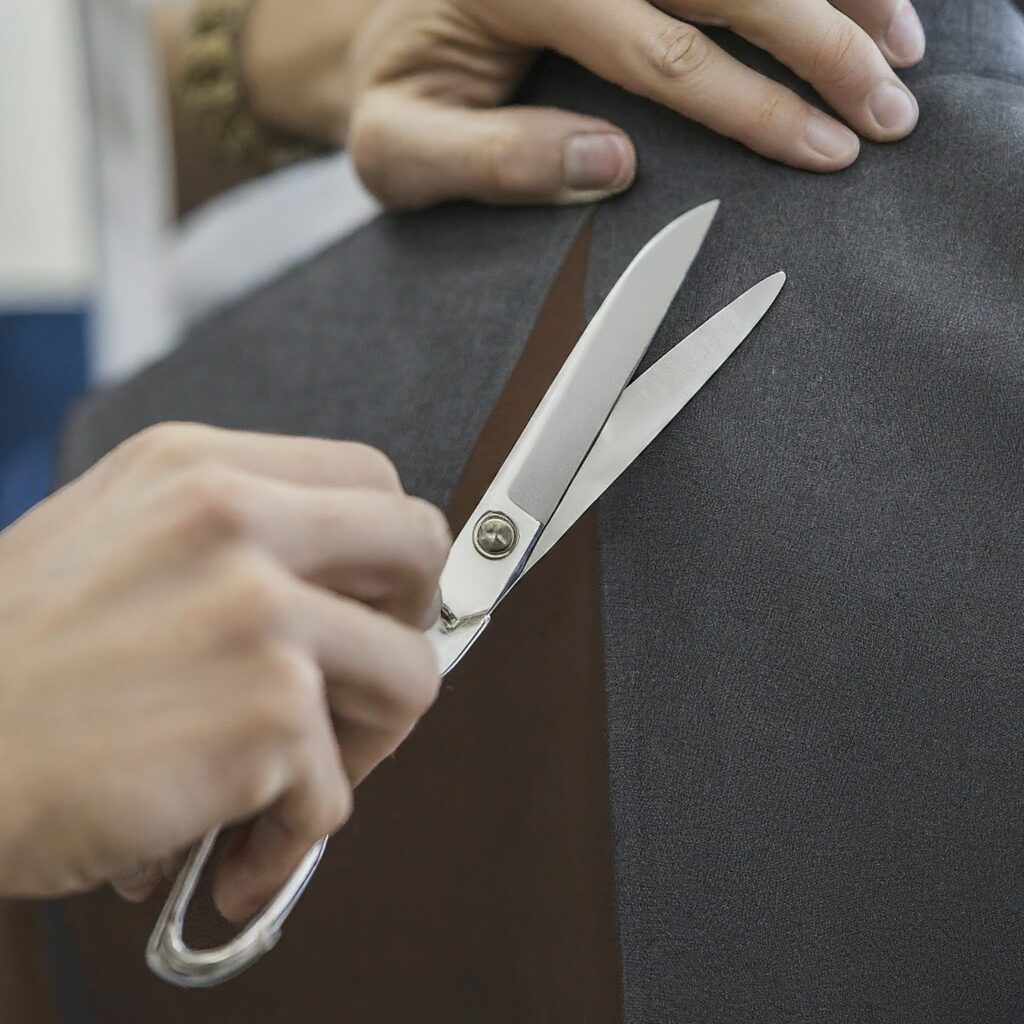
- Cutting and Shaping: The final fabric is cut and shaped according to its intended use. This step ensures the fabric meets the specifications for various applications, including lining and interlining fabrics.
Advantages of Non-Woven Fabrics
Why choose non-woven interlining fabrics? Here are some key benefits:
- Cost-Effective: The manufacturing process for non-woven fabrics is generally less expensive than traditional weaving or knitting. This is also true for interlining fabrics, making them a cost-effective choice for various applications.
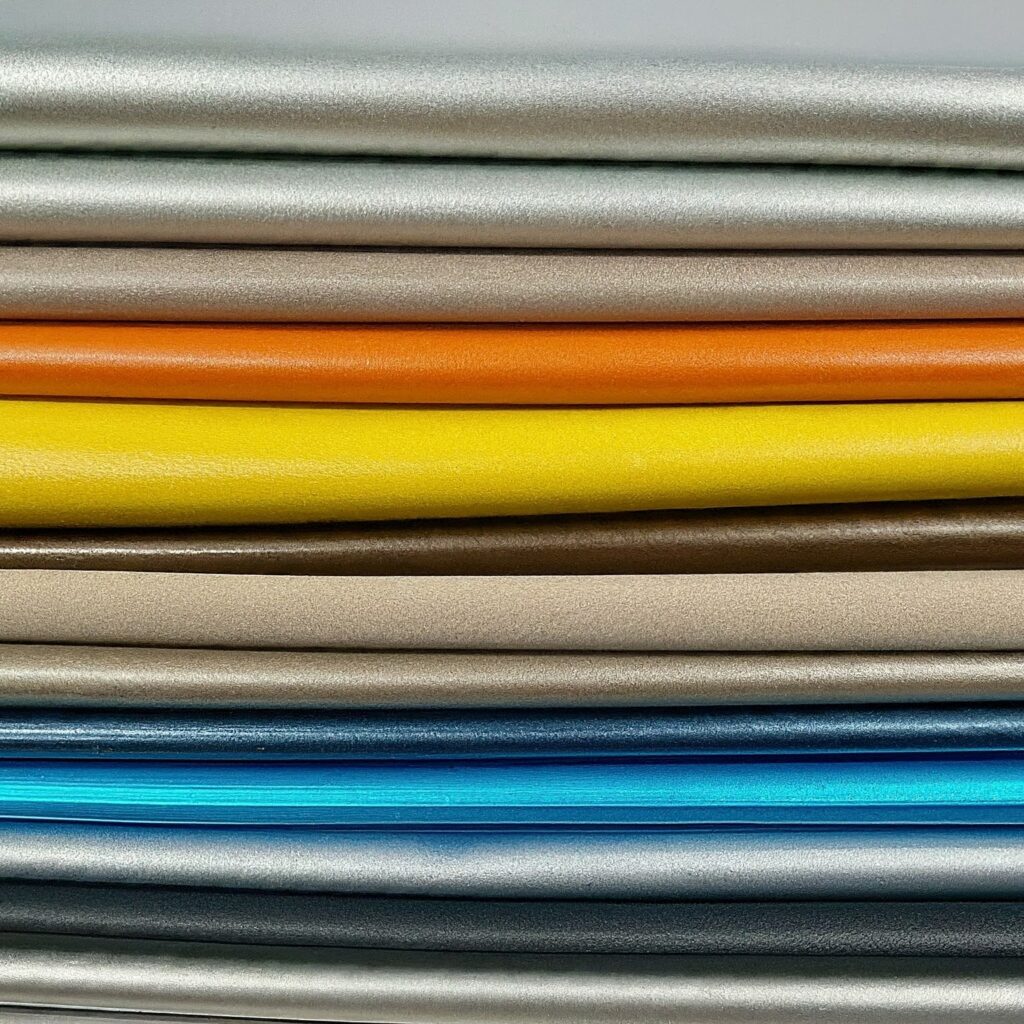
- Customizable: You can modify the fabric’s properties, such as thickness and texture, to suit different applications. This flexibility is similar to how woven interlining and interlining in garments are tailored to specific needs.
- Durable: Many non-woven fabrics are designed to be strong and long-lasting. This durability is a significant advantage for woven interlining fabrics used in demanding applications.
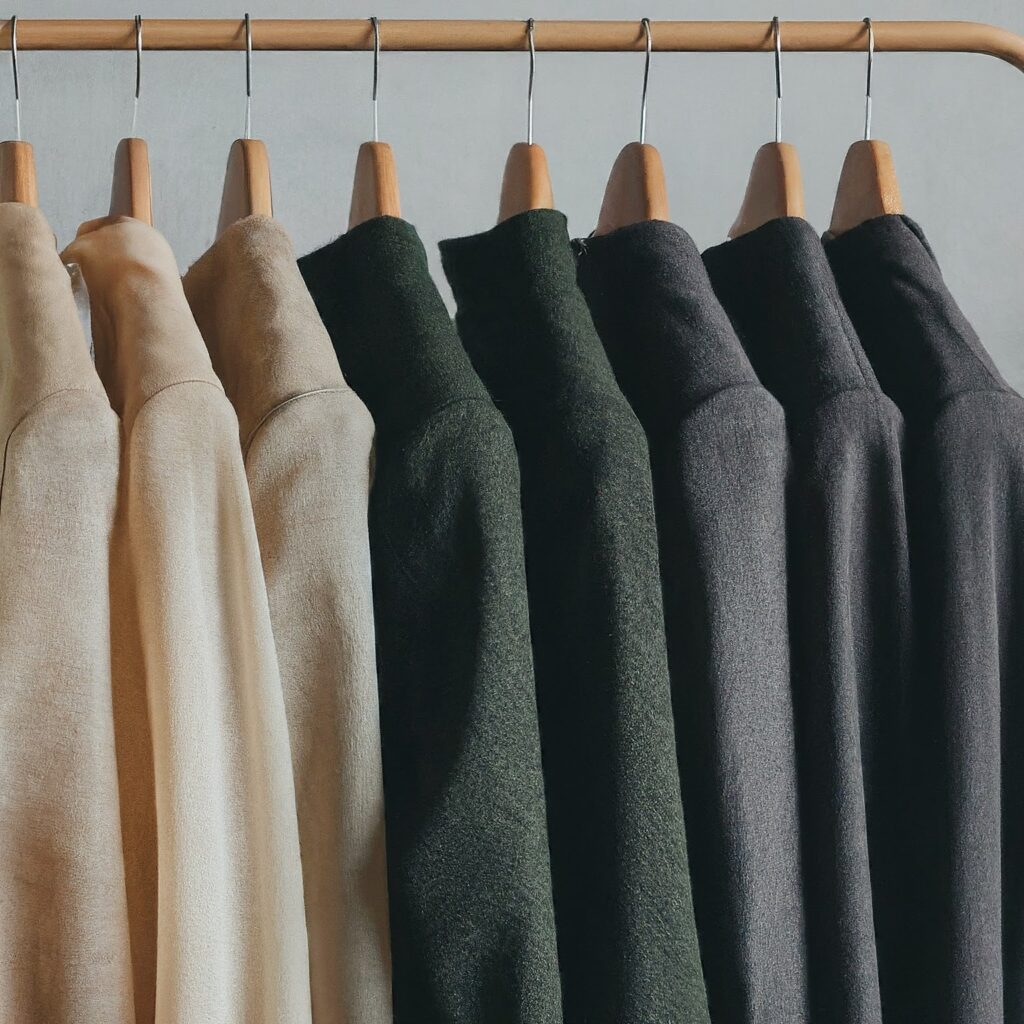
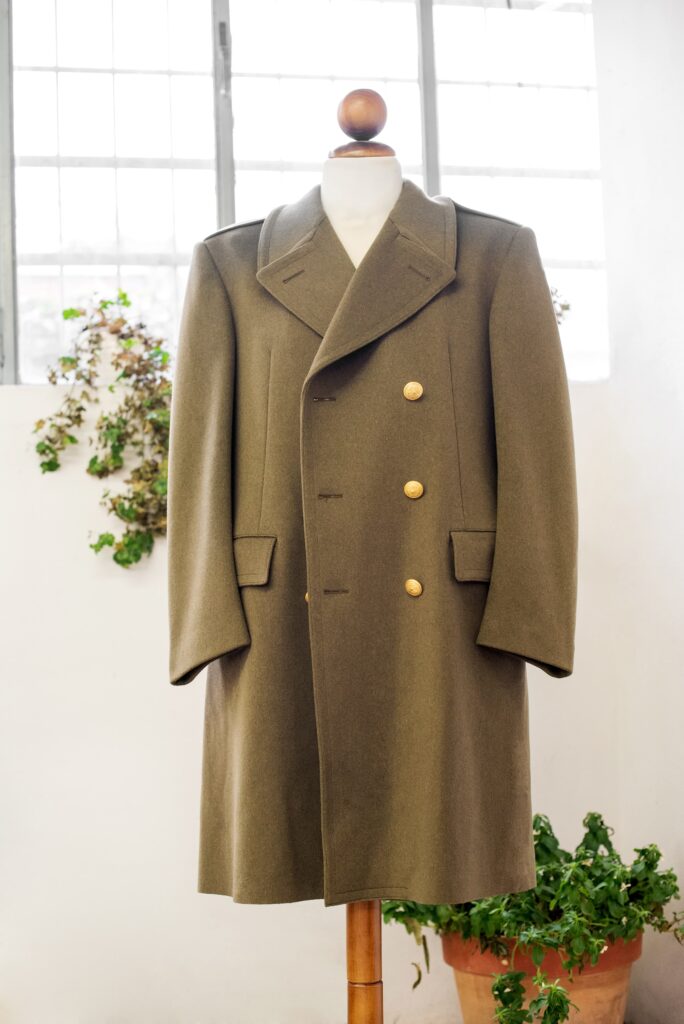
- Versatile: These fabrics can be used in a wide range of applications, from medical supplies to industrial uses. This versatility extends to various interlining types, including woven fusible interlining and non-woven interlining.

Applications of Non-Woven Fabrics
Non-woven fabrics are incredibly versatile and used in many industries:
- Medical Industry: Used for surgical gowns, masks, and dressings due to their sterile and breathable properties. This is similar to how interlining fabrics are used in medical garments.
- Automotive Industry: Applied in filters, soundproofing materials, and upholstery. The principles of non-woven interlining can be applied here for enhanced performance.
- Construction Industry: Utilized for geotextiles, insulation, and vapor barriers. Non-woven fusible interlining can offer additional benefits for construction applications.
- Consumer Goods: Found in household products like cleaning wipes, disposable diapers, and protective clothing. This mirrors the applications of various interlining types.
Choosing the Right Non-Woven Fabric for Your Needs
Selecting the appropriate non-woven fabric depends on several factors:
- Application: Consider the specific requirements of your project, such as strength, absorbency, or flexibility. This is crucial when choosing between woven interlining and non-woven interlining.
- Material: Choose from different materials like polyester, polypropylene, or blends based on your needs. This decision affects the performance of interlining fabrics.
- Manufacturing Process: Select the process (spunbonding, melt blowing, etc.) that best suits the desired characteristics of the fabric, whether it’s for woven interlining fabric or non-woven fusible interlining.
By evaluating these factors, you can choose the right non-woven interlining fabric to meet your project’s requirements.
Conclusion
Understanding the non-woven interlining fabric manufacturing process is key to appreciating the versatility and functionality of these materials. From fiber preparation to web formation and bonding, each step plays a crucial role in creating high-quality non-woven interlining.
By mastering the intricacies of non-woven interlining fabric production, you can make better choices for your projects, ensuring you achieve the desired results in terms of performance, durability, and cost-effectiveness. So, whether you’re working on medical supplies, automotive components, or consumer products, knowing the ins and outs of non-woven interlining manufacturing will set you up for success.
Link of related Articles
- What is Non-Woven Interlining Used For? | Benefits & Applications
- Woven vs. Non-Woven Interlining: The Ultimate Guide for Sewists
- Demystifying Non-Woven Interlining: Types, Weights, and Applications