How to apply interlining fabric : A Complete Guide
Do you want your clothes to look better? Interlining can help! It makes clothes look nicer and feel stronger. This guide will show you how to use interlining. You’ll learn about different kinds of interlining fabric like fusible interlining and woven interlining, and how to sew or glue them to your fabric. Get ready to make clothes that look amazing!
Table of Content
- What is Interlining Fabric?
- Why Use Interlining?
- Choosing the Right Interlining
- Preparing Your Fabrics
- Applying Interlining: Sewn Method
- Applying Interlining: Fusible Method
- Tips for Successful Interlining
- Common Mistakes to Avoid
- Conclusion
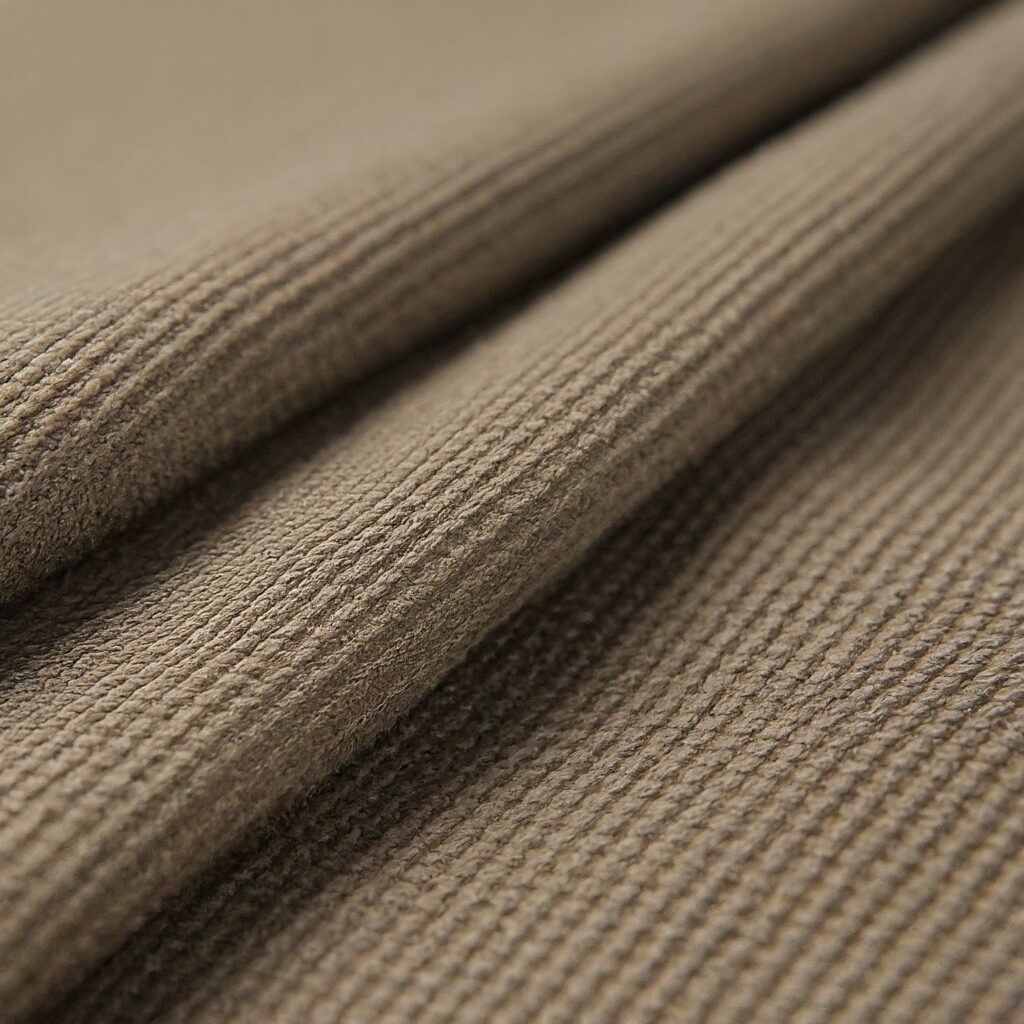
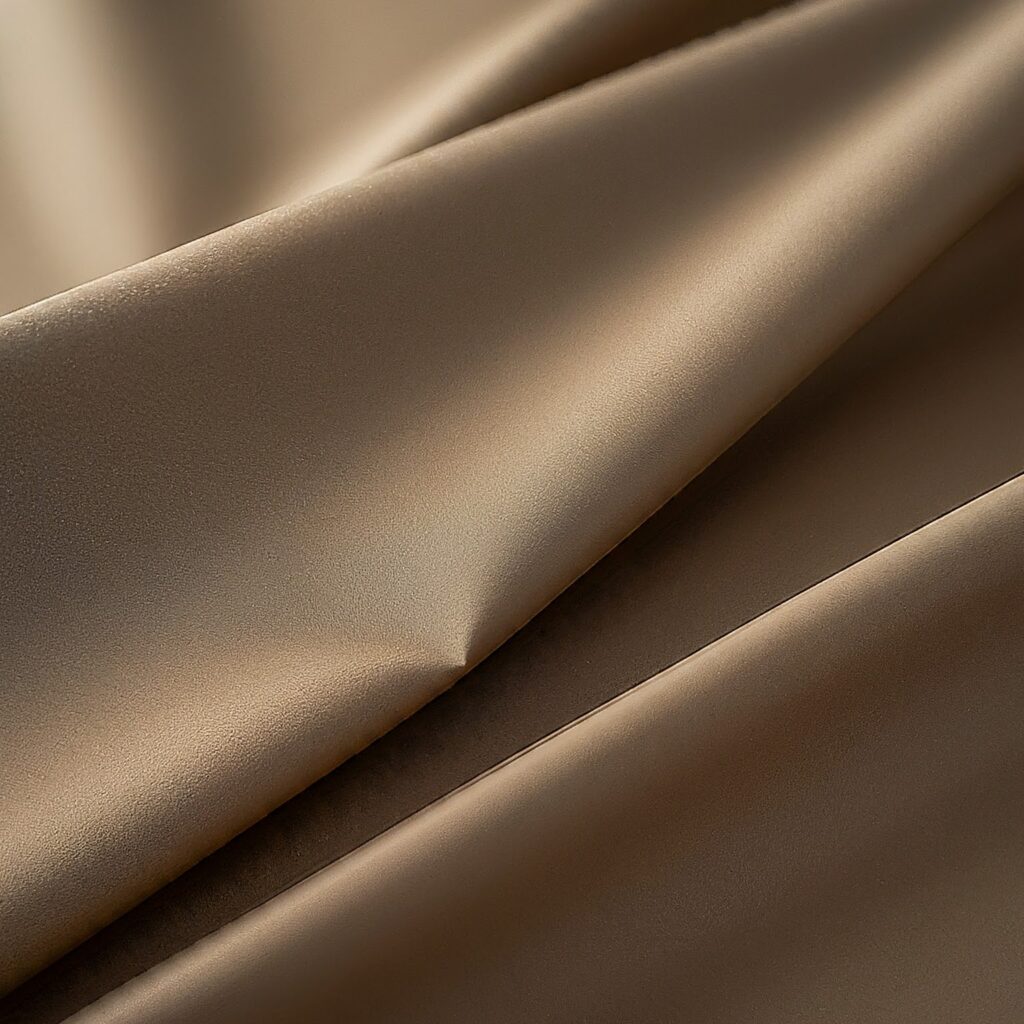
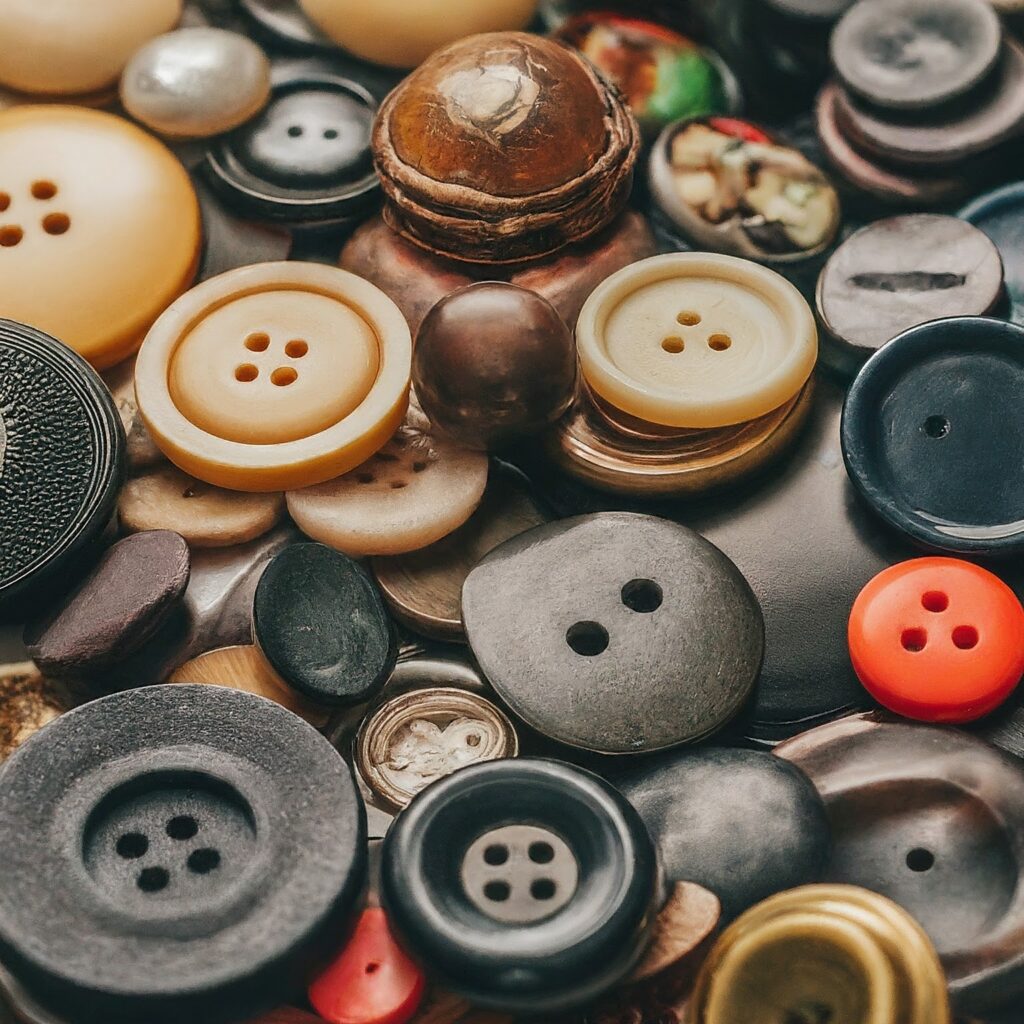
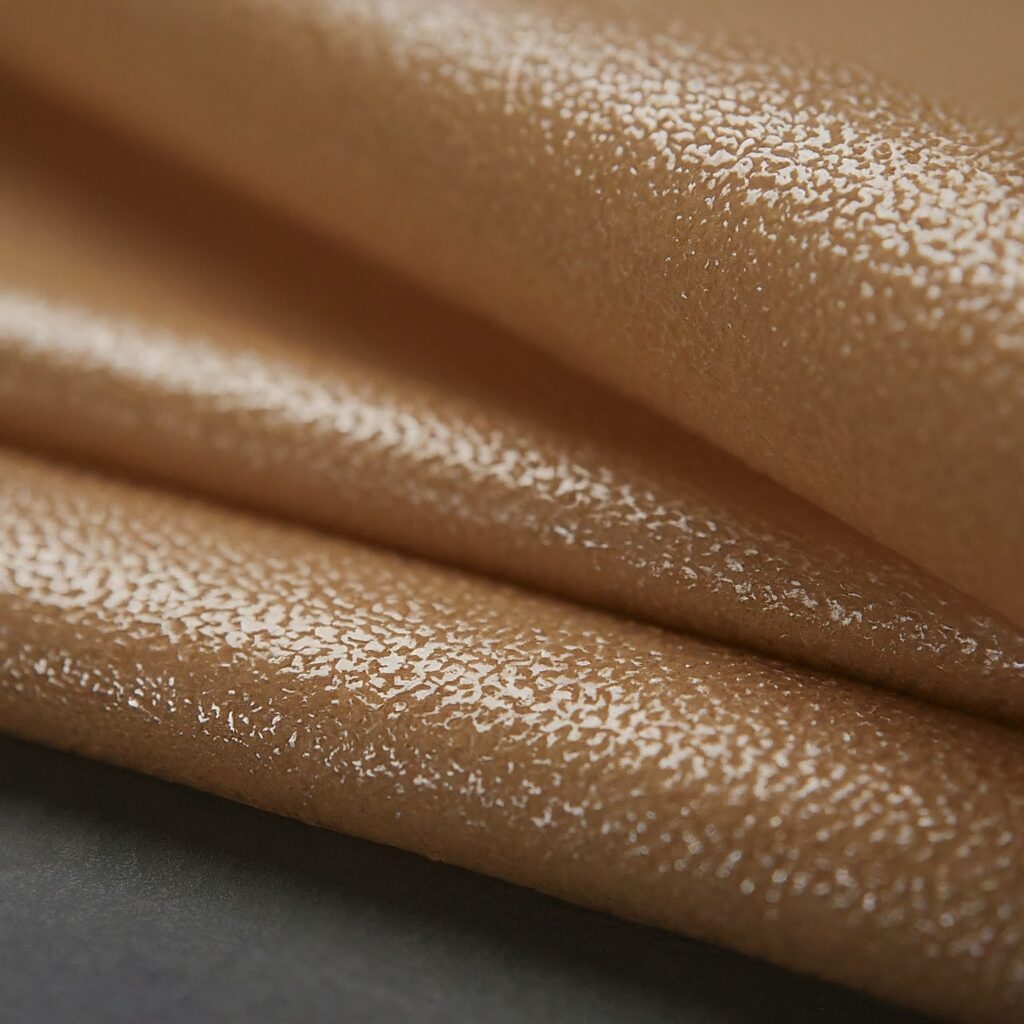
What is Interlining Fabric?
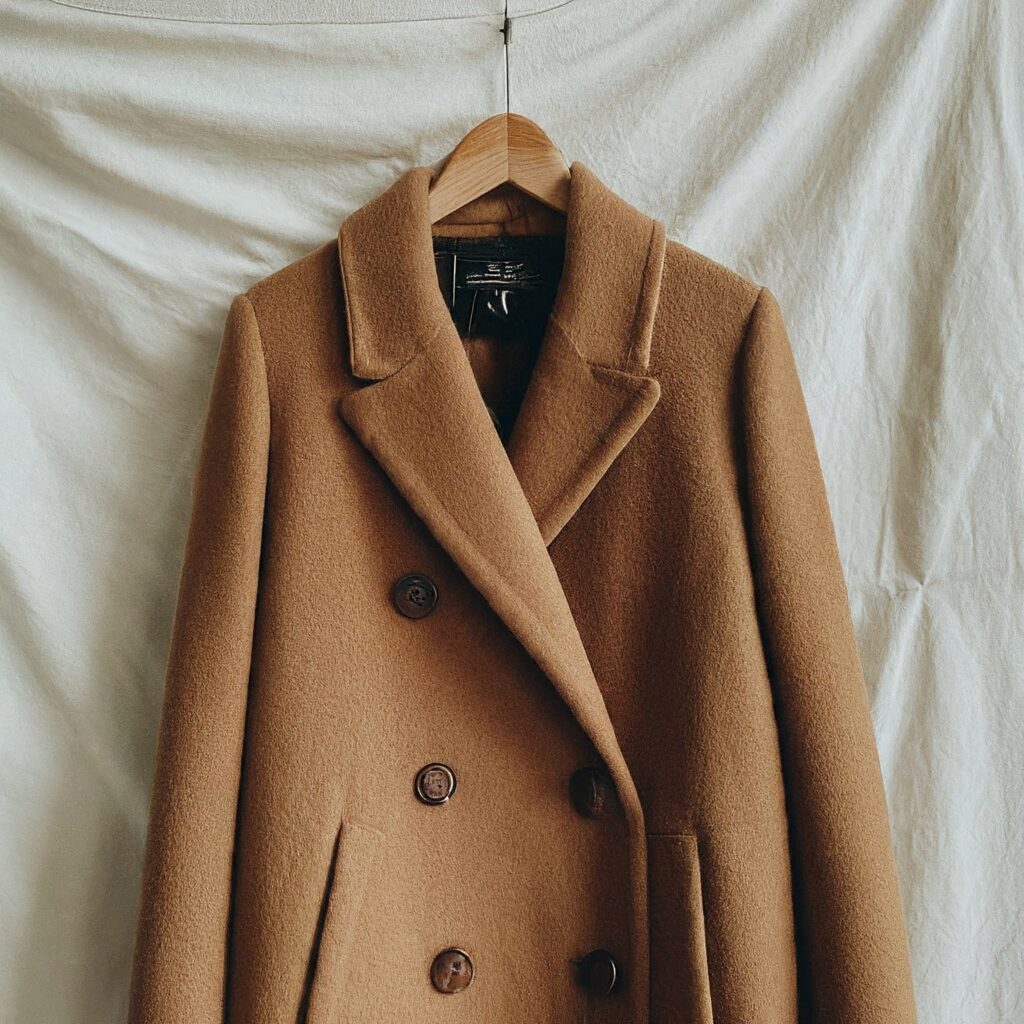
Interlining fabric, often referred to as non woven interlining or woven interlining, is a supportive material that adds structure and body to your garments. Whether you’re working with fusible interlining or non woven fusible interlining, understanding its role is crucial. It’s like the backbone of your project, providing the foundation for a perfectly shaped collar, a beautifully draped jacket, or a structured skirt.
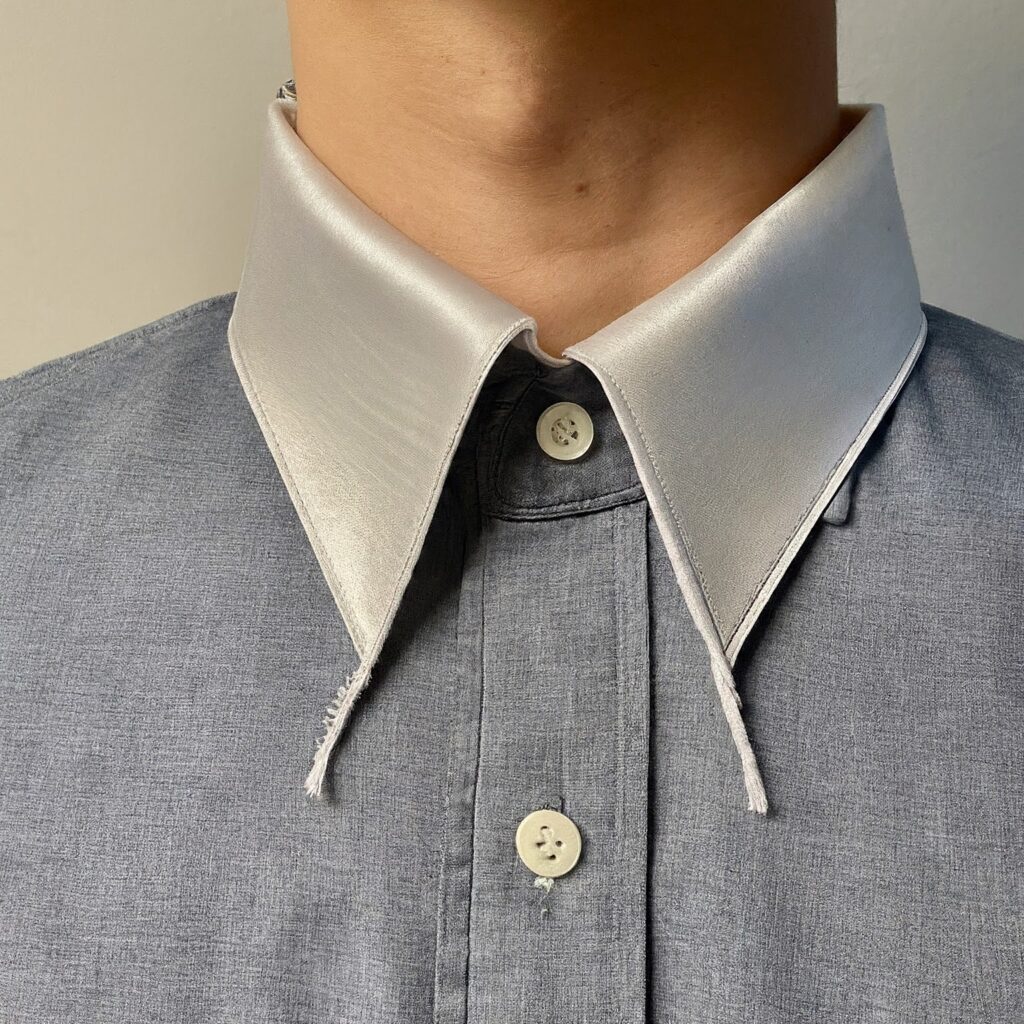
Why Use Interlining?
Adding an extra layer of interlining fabric might seem counterintuitive, but the benefits are undeniable. It enhances the overall look and feel of your garment, providing essential support and structure. Imagine the difference between a limp collar and a crisp, defined one – that’s the power of interlining.
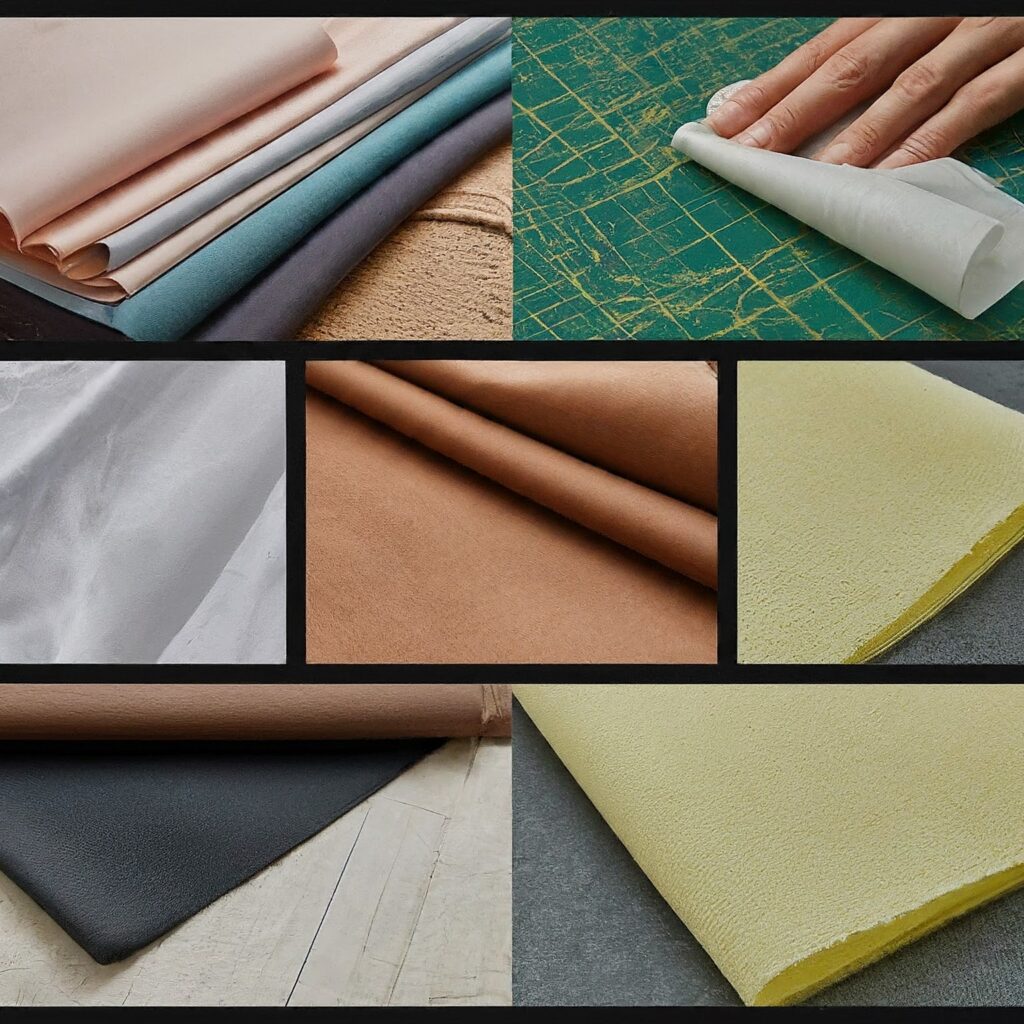
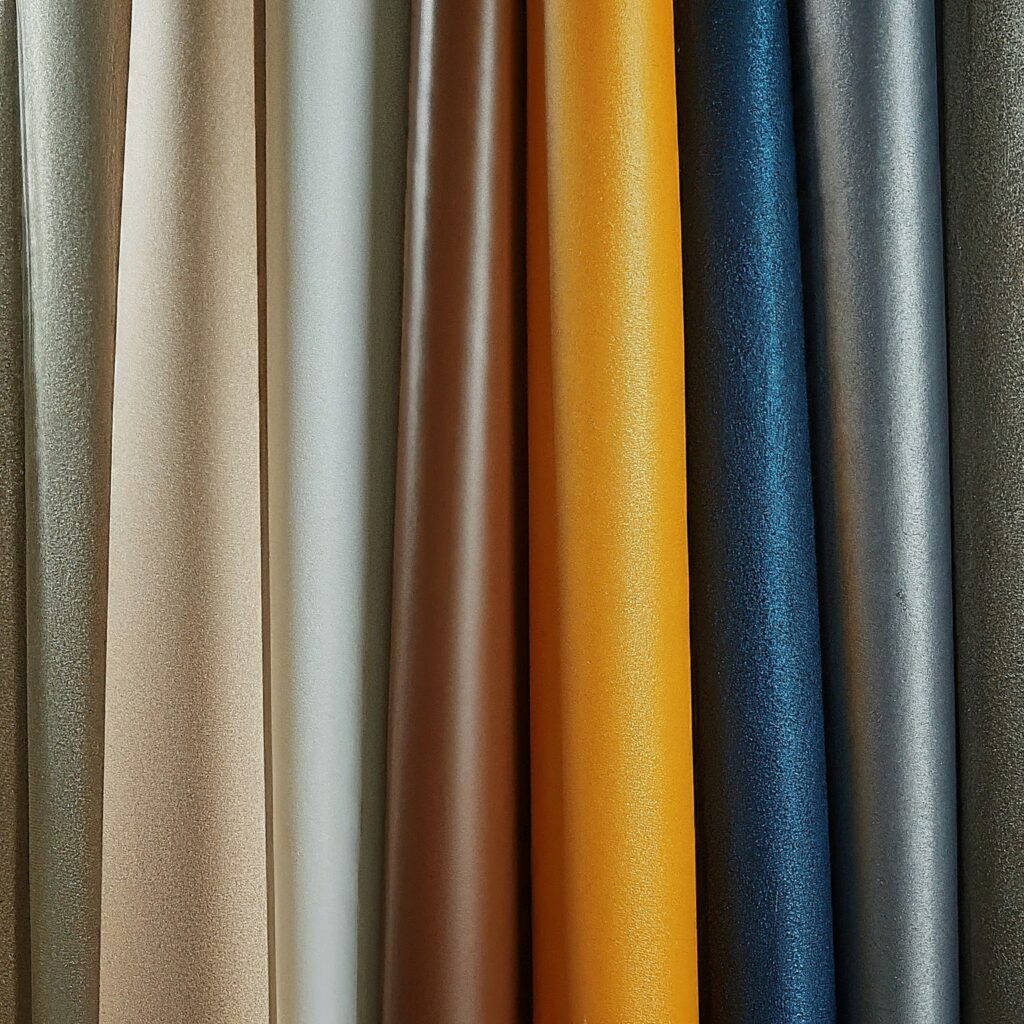
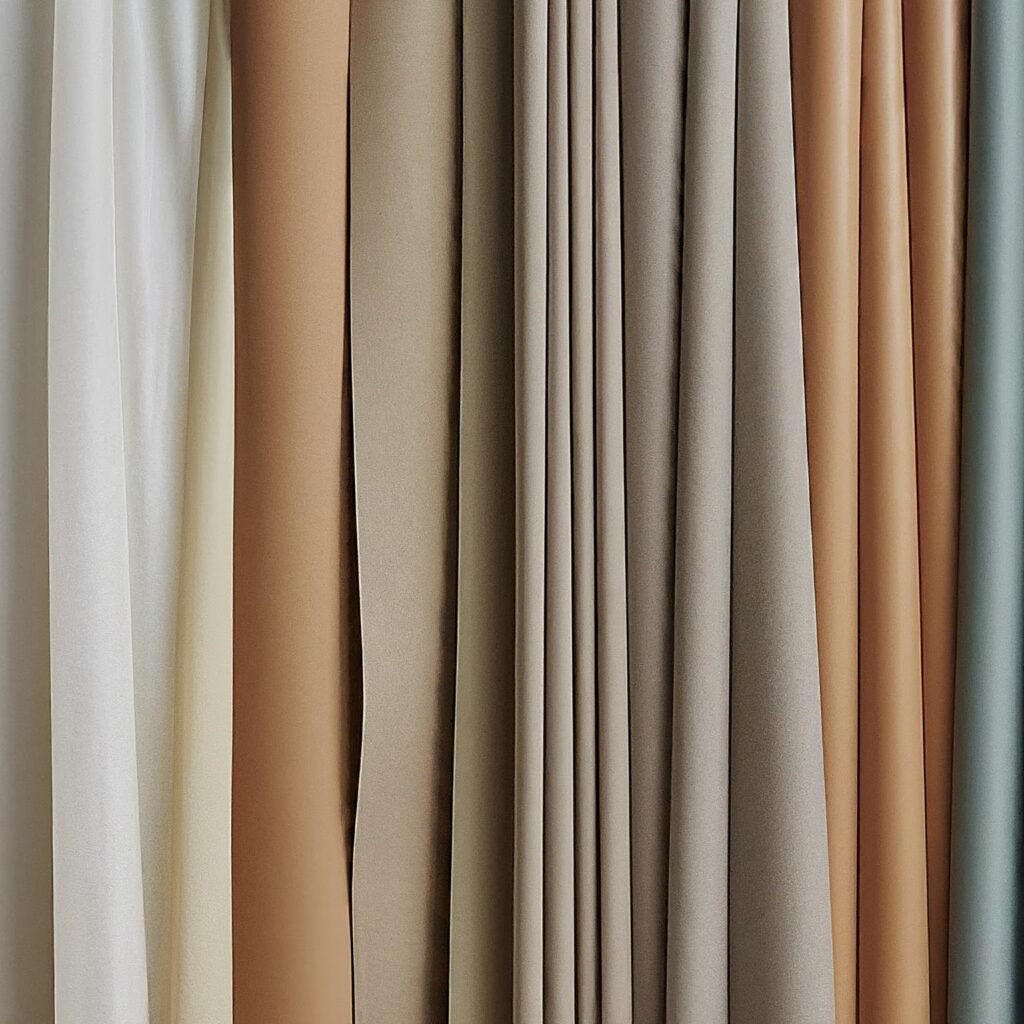
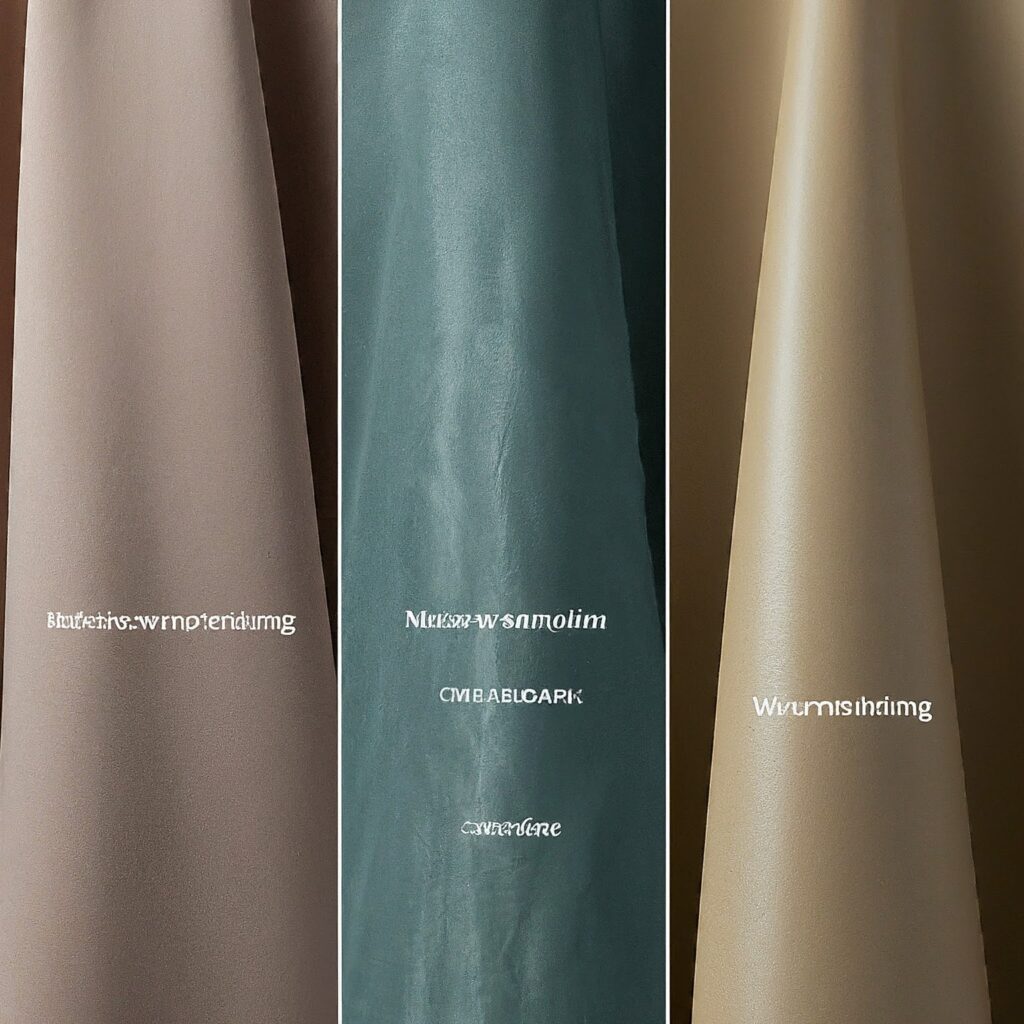
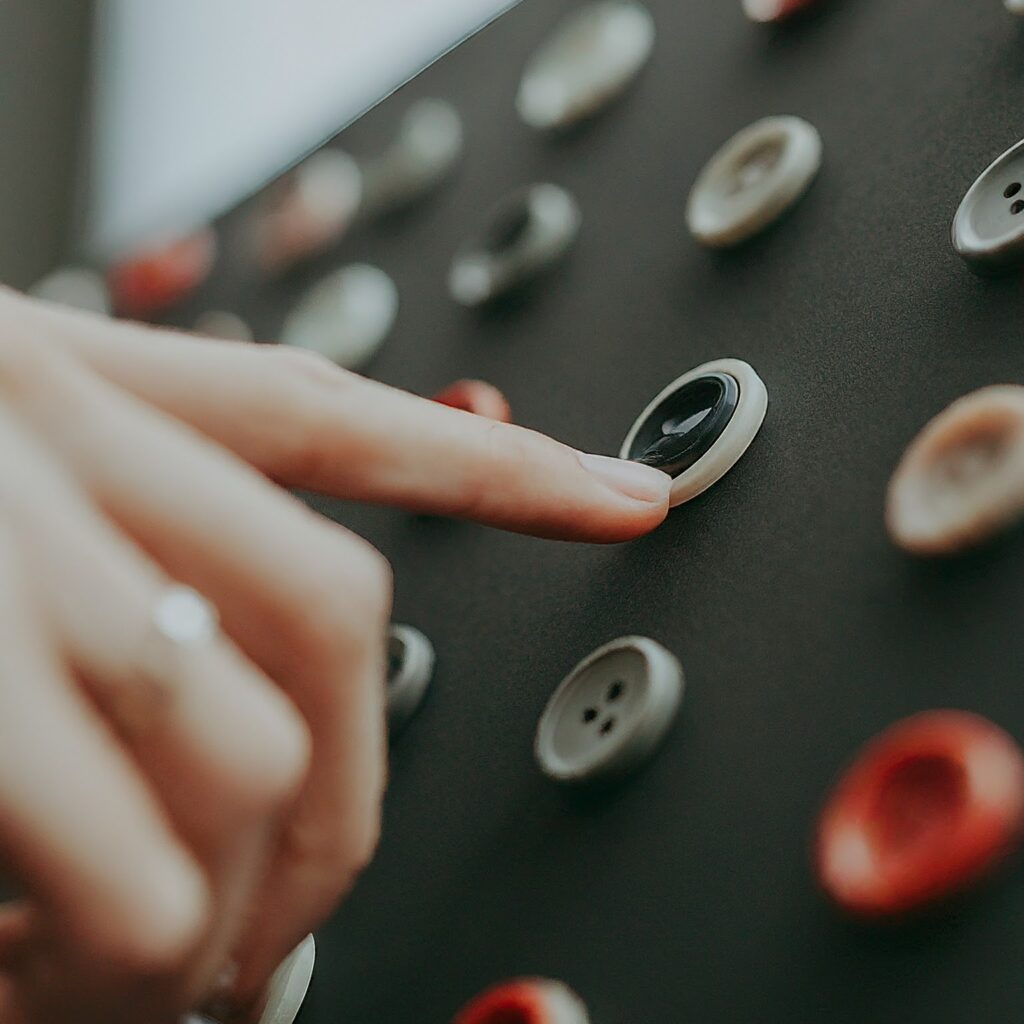
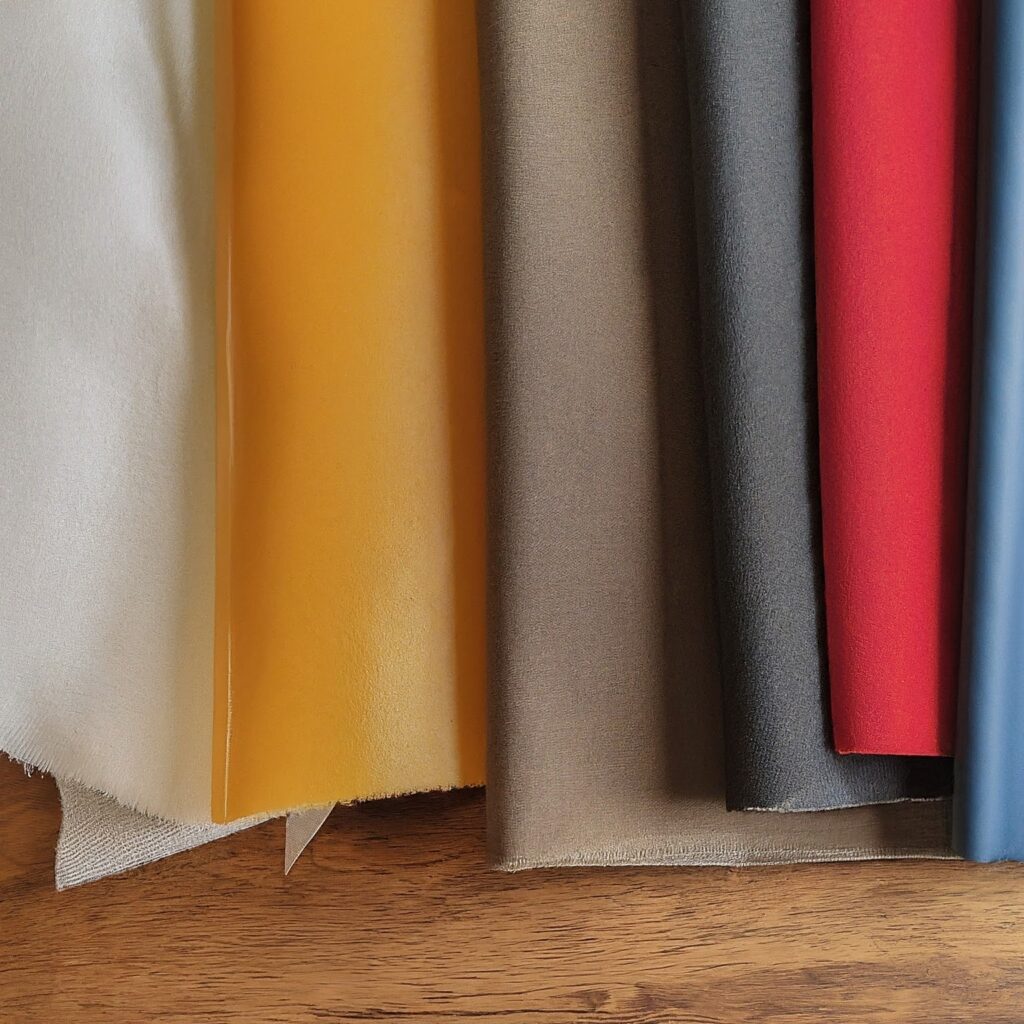
Choosing the Right Interlining
Selecting the appropriate interlining is key to achieving the desired outcome. The options are vast, from lightweight non woven interlining to heavier woven interlining fabric. Consider factors like the garment type, fabric weight, and desired level of stiffness.
- Fusible interlining: A popular choice for its ease of application. Fusible interlining bonds to the fabric with heat, making it a quick and efficient option.
- Sew-in interlining: Offers more control and versatility as it’s stitched into place.
- Horsehair interlining: Known for its stiffness, perfect for structured garments like jackets.
Peltex: A heavy-duty woven interlining ideal for blazers and coats.
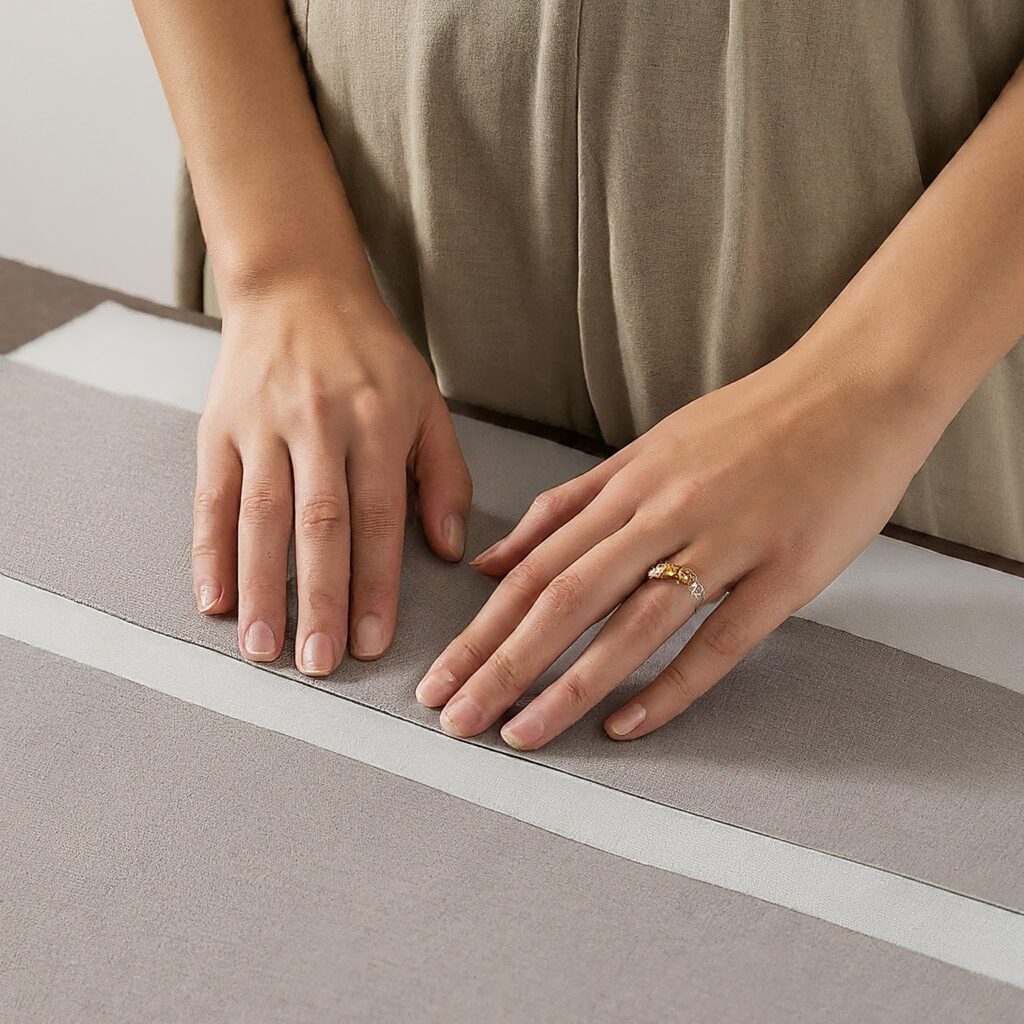
Preparing Your Fabrics
Before diving into the application process, ensure your fabrics are in optimal condition. Proper preparation is essential for a successful project.
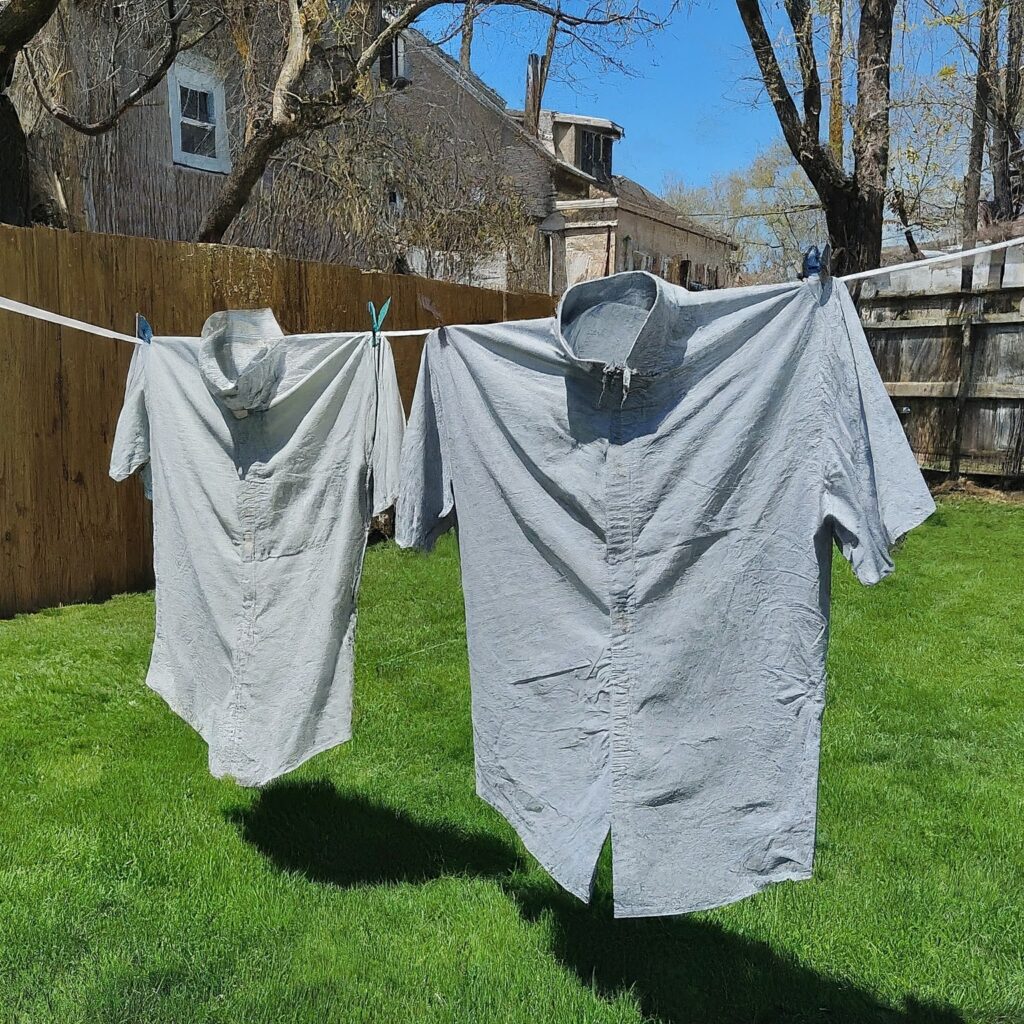
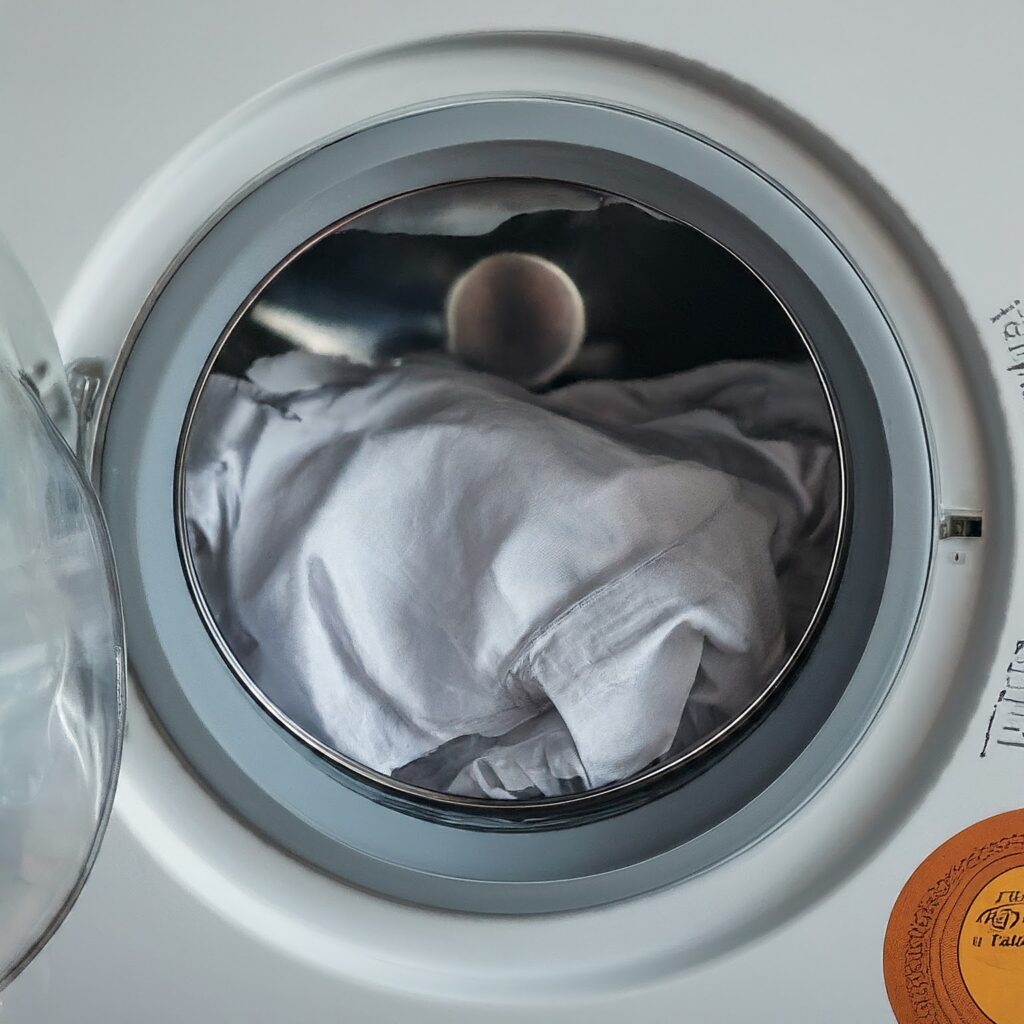
- Wash and dry your fabrics according to care instructions.
- Press out any wrinkles for a smooth foundation.
- Lay out your pattern pieces and accurately cut both the main fabric and interlining.

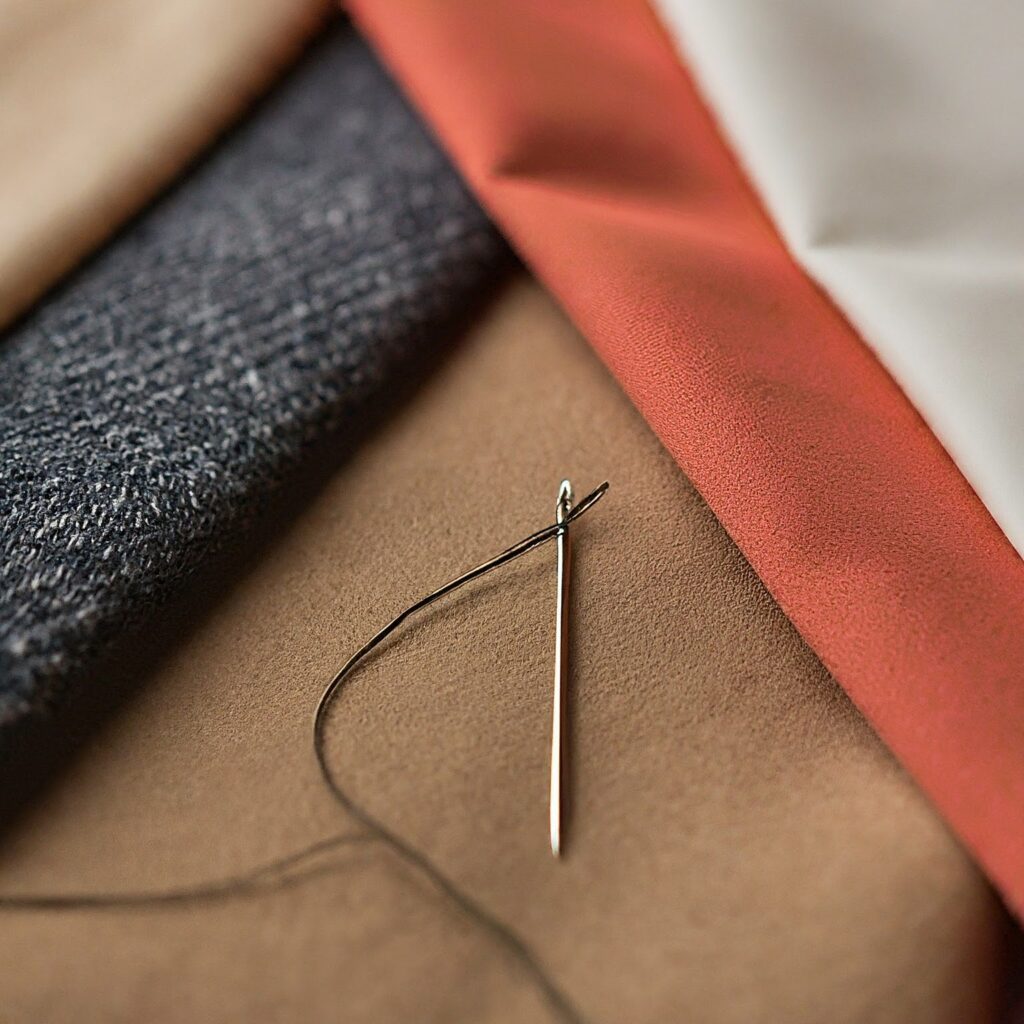
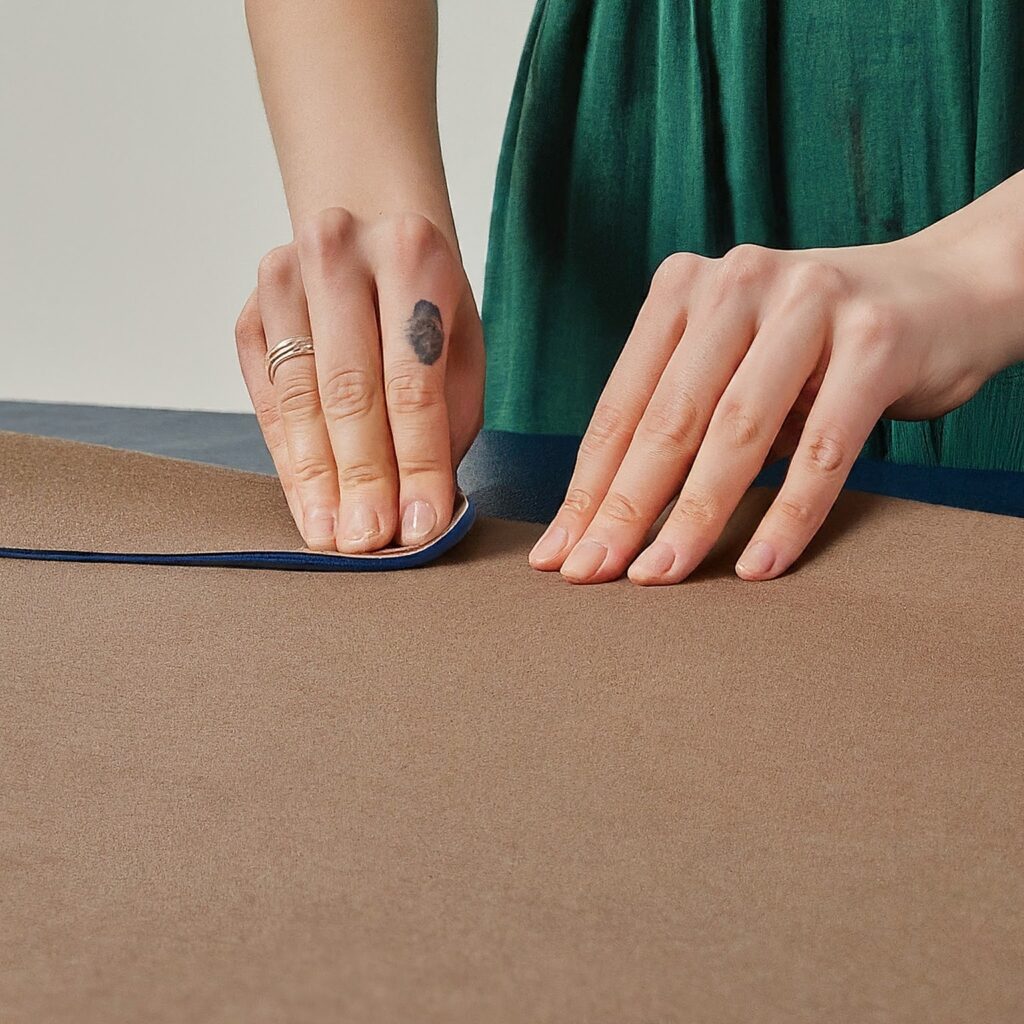
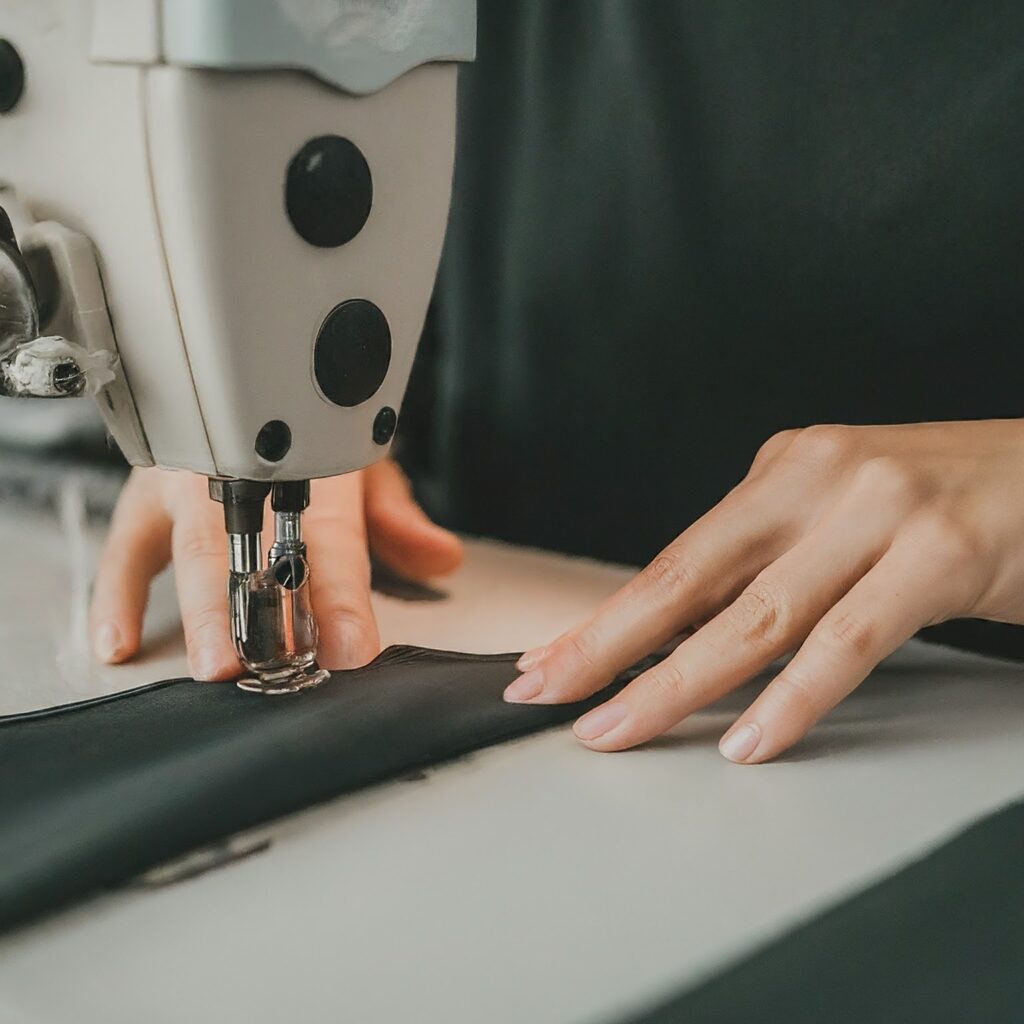
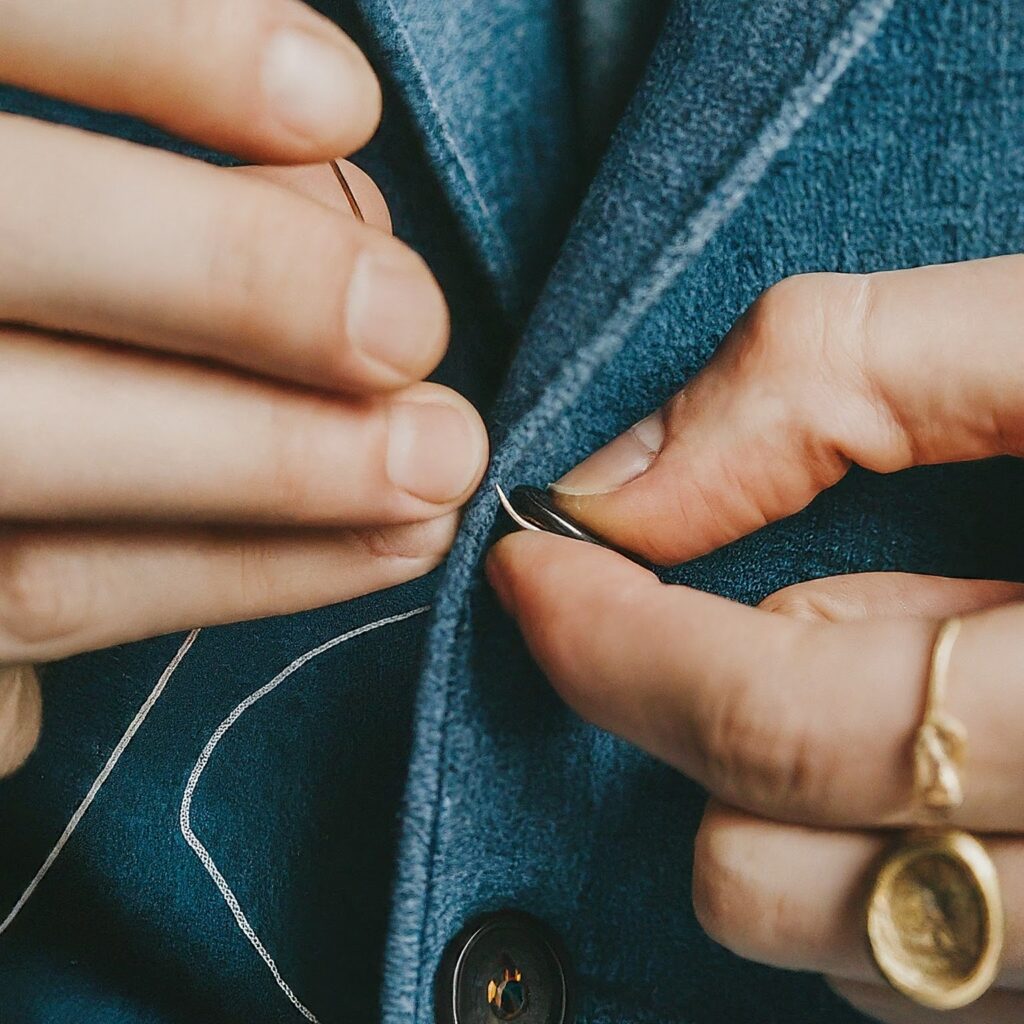
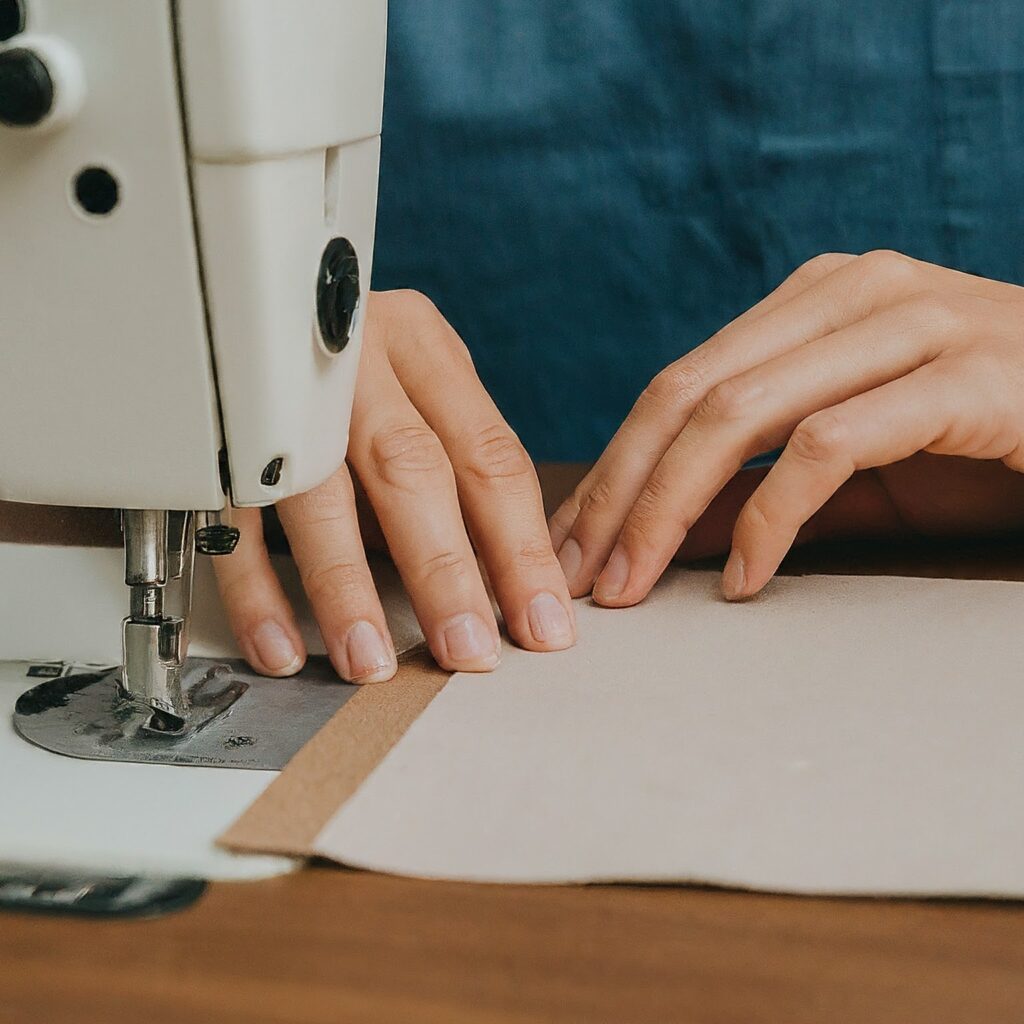
Applying Interlining: Sewn Method
For those seeking precision and control, the sewn method is ideal.
- Position the interlining right side down on your workspace.
- Place the main fabric right side up on top of the interlining.
- Secure the layers with pins.
- Stitch along the edges using a matching thread.
- Press the seams for a neat finish.
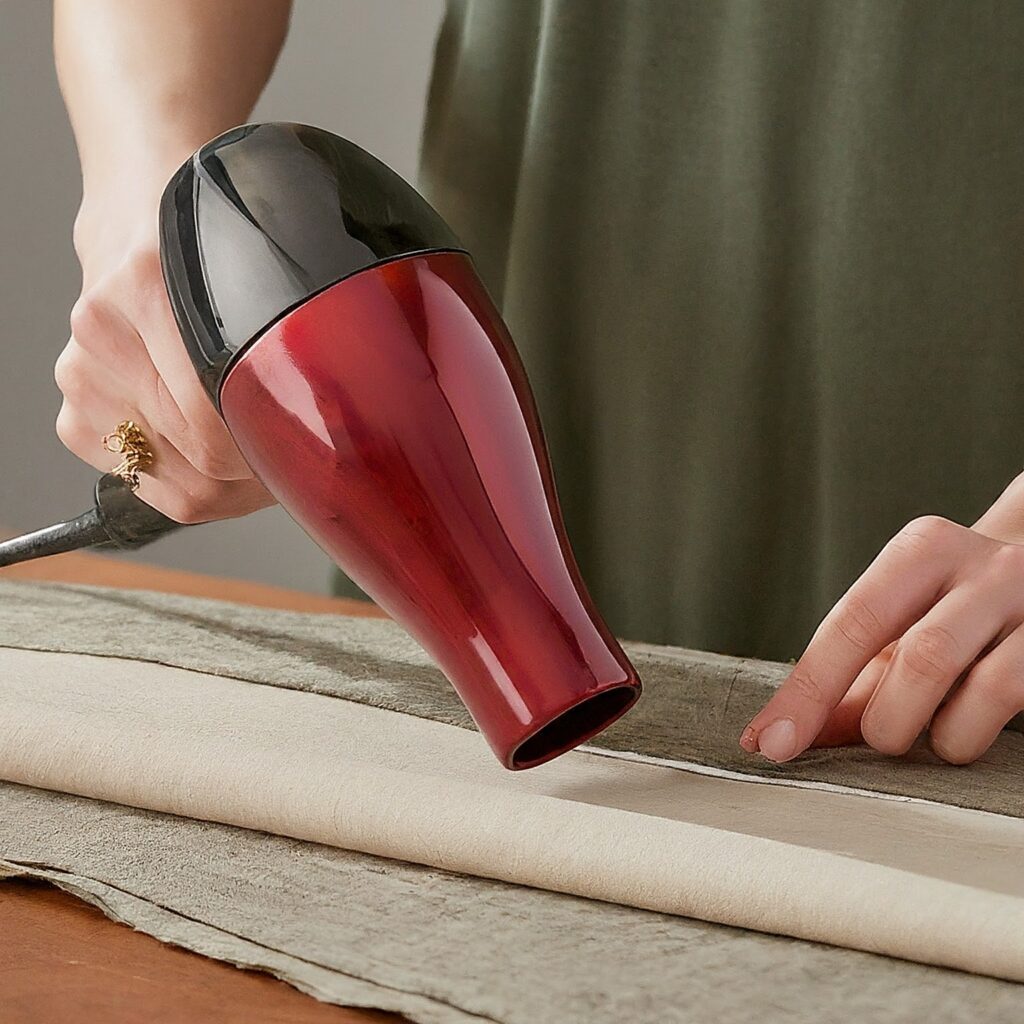
Applying Interlining: Fusible Method
If you prefer a quicker approach, fusing interlining is the way to go.
- Adhere to the care instructions on your fusible interlining.
- Place the interlining wrong side up on the ironing board.
- Position the main fabric right side down on the interlining.
- Protect your ironing board with a pressing cloth.
- Apply heat according to the interlining’s instructions.
- Let the fabric cool completely before handling.
Tips for Successful Interlining
Mastering the art of interlining fabric requires attention to detail.
- Conduct a test patch before applying interlining to the entire garment.
- Match the weight and drape of the interlining to your main fabric.
- Consider the garment’s intended use when choosing interlining.
- Employ a sharp needle and fine thread for sewing applications.
- Press carefully to avoid damaging the fabric or interlining.
Common Mistakes to Avoid
By being aware of these pitfalls, you can achieve professional results.
- Using the wrong type of interlining can lead to unexpected outcomes.
- Excessive heat can ruin both the interlining and the fabric.
- Impatience can cause the interlining to shift or wrinkle.
- Skipping the pressing step can result in a less polished finish.
Conclusion
By understanding the different types of interlining, such as fusible interlining and non-woven interlining, and their applications, you can achieve professional-looking results.With practice and attention to detail, you’ll become proficient in applying interlining fabric. Remember, the right interlining can transform your garment, elevating it from ordinary to extraordinary.
Happy sewing!
Link of related Articles
- Lightweight Interlining vs. Heavyweight Interlining
- Choosing the Right Interlining Fabric
- The Ultimate Guide to Choosing Interlining for Your Bodice