A shirt placket, commonly called patti, may be a small part of a garment, but it has an important job. It supports the button and buttonhole area, helps the front opening retain its shape and contributes to a neat finish. If the interlining is too light, the placket may lack the support it needs. If it is too heavy, the front can feel stiff or look bulky.
Choosing the right non woven fusible interlining is therefore an important step in your shirt production. The correct GSM depends on your outer fabric, the firmness you want and the way the finished shirt should look and feel.
For shirt and kurta plackets, we list an application range of 40–55 GSM for our non-woven interlining. This gives you a practical range to evaluate when selecting non-woven interlining for shirt placket applications.
In this guide, we explain what placket interlining does, how to assess GSM, what to check during fusing and how to avoid common production problems.
Why Do Shirt Plackets Need Interlining?
The placket is the section of a shirt front that holds the buttons and buttonholes. Depending on your design, it may be made by folding the fabric, attaching a separate strip or using a finished placket construction. Whatever the method, this area needs enough stability to handle repeated opening, closing and movement.
Non-woven interlining provides additional support by bonding to the reverse side of the shirt fabric. It helps the placket maintain a more controlled shape without requiring a heavier fabric layer throughout the garment.
Support around buttons and buttonholes
Buttonholes create openings in the fabric, while buttons place repeated tension on the surrounding area. During regular wear, the placket is pulled when the shirt is fastened, unfastened or adjusted.
Without suitable reinforcement, the fabric around these points may stretch, pucker or lose its original appearance. Interlining helps stabilise the area where you stitch the buttonholes and gives the placket additional body.
This is particularly relevant if you produce shirts in lightweight or soft fabrics. Such materials may need reinforcement to keep the front opening neat without making the entire shirt feel heavy.
A neat finish without excess stiffness
A shirt placket should look clean and sit properly against the body. It should not appear excessively thick compared with the surrounding front panel.
The purpose of non woven interlining fabric in this application is to provide local support. It is not meant to turn the shirt front into a rigid panel. The right selection balances reinforcement with the softness and drape you expect from the shirt.
For your team, this means assessing the finished placket rather than selecting an interlining only by its GSM number.
What GSM Is Suitable for Shirt Placket Interlining?
GSM is the usual way to compare interlining grades, but a higher GSM does not automatically give the best structure in the finished garment.
For shirt plackets, our product page specifies 40–55 GSM. This is the listed application range for the front button plackets of shirts and kurtas. The product itself has a wider stated range of 30–80 GSM, but the application-specific range is the more relevant starting point when you select interlining for shirt patti.
Understanding the 40–55 GSM application range
The following breakdown can help your production team plan sample trials within the listed range. These are selection considerations, not separate GSM grades or guaranteed results for every fabric.
- 40 GSM: Consider testing the lower end when your shirt fabric is lightweight and the finish should remain relatively soft.
- Around 45–50 GSM: Use this part of the range as a starting point when you need a balance between support and flexibility.
- Up to 55 GSM: Test the upper end when your placket design or fabric combination requires a firmer finish.
The result will depend on your outer fabric, the number of fabric layers in the placket and your fusing conditions. Two shirts made from different materials may not respond in the same way to an identical interlining grade.
Choosing based on the required finish
Before selecting a GSM, decide what your finished placket needs to achieve.
Ask yourself:
- Does the design need a soft, flexible front opening or a firmer placket?
- Is the outer fabric thin enough for additional thickness to become visible?
- Does the button area need more support because of the construction?
- Does the fused sample keep a neat appearance after stitching and handling?
A sample comparison is more useful than assuming that one GSM will suit every shirt in a production order. If two grades appear suitable, compare them on the same fabric and under the same fusing conditions.
How Does Shirt Fabric Affect GSM Selection?
Your outer fabric plays a major role in how an interlining behaves. Its weight, thickness, texture and flexibility all affect the appearance of the fused placket.
A GSM that works well with one shirt fabric may produce a different result with another. This is why you should evaluate the fabric and interlining together.
Lightweight shirt fabrics
Fine cotton, lightweight blends and other thin shirt materials need careful handling. A heavy or overly firm interlining can change the way the front panel falls and may create a visible difference between the placket and the rest of the shirt.
For these fabrics, begin by testing a grade from the lower part of the 40–55 GSM application range. Check whether the placket receives enough support while keeping a natural feel.
Pay attention to the edges and folded sections. If the fused area looks noticeably thicker than the surrounding fabric, review the GSM and the number of layers in your construction.
Medium-weight and heavier fabrics
Medium-weight shirt fabrics may tolerate a firmer placket than very lightweight materials. However, the correct selection still depends on your garment design and the finish you need.
Do not automatically choose the highest GSM because the outer fabric is heavier. The aim is a balanced construction, not as much stiffness as possible.
Test the selected non woven interlining on your actual fabric. After fusing, check whether the placket lies flat, whether the button area has sufficient support and whether the finished section is comfortable to handle.
Printed, textured and dark fabrics
Printed and textured fabrics need attention to the appearance of the fused area. An interlining that changes the surface feel or creates a noticeable difference in thickness may affect how the placket looks.
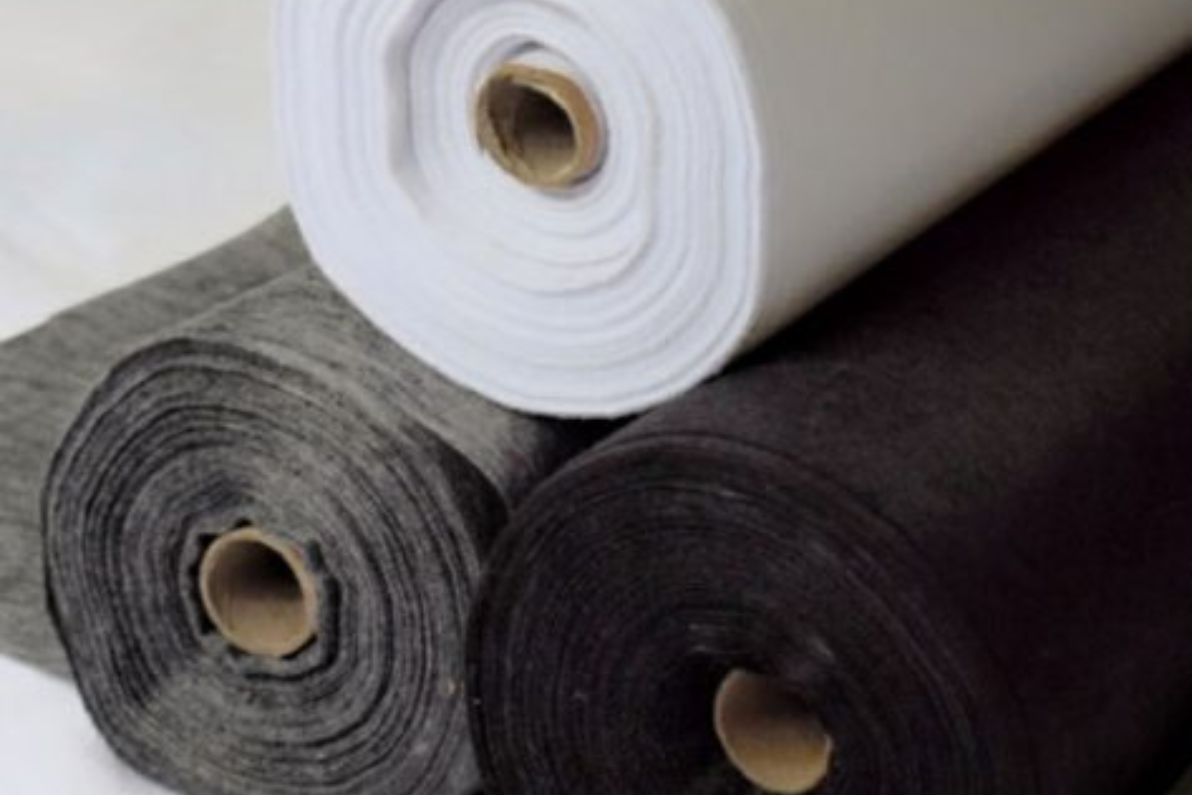
Colour is another consideration. We list our non woven fusible interlining in white and black. Select a colour that suits your outer fabric and check the result under normal production lighting.
For dark fabrics, assess whether the interlining or fused layers affect the appearance of the front panel. For light or thin fabrics, check for show-through. Do not rely on colour selection alone; inspect the fused sample from both sides.
What Should You Check When Fusing a Shirt Placket?
Selecting the right material is only one part of the process. The way you cut, position and fuse the interlining also affects the finished result.
Our product page lists a flatbed pressing machine for application and a fusing temperature of up to 120°C. This is a product-page specification, not a complete machine setting for every fabric. Establish your actual working conditions through a trial using the specific interlining and your shirt material.
Interlining placement and adhesive side
Cut the interlining to match the required placket section. Avoid leaving unnecessary material outside the intended area, as this can affect the finish and create unwanted thickness.
The adhesive-coated side should face the wrong side of your fashion fabric. Our product page describes this as the slightly rougher side. Confirm the coated side before placing the material on the fabric.
Incorrect placement can prevent the intended bonding. If the coated side is unclear, verify it with a sample before processing a full production batch.
Bonding, appearance and flexibility
After fusing, inspect the sample before moving to stitching and bulk production.
Check the following:
- Bonding: The interlining should be attached evenly to the fabric, without obvious loose areas.
- Surface: Look for bubbling, wrinkles or visible changes on the outer side.
- Edges: Check that the interlining does not create uneven or bulky edges.
- Flexibility: The placket should have the required support without becoming unnecessarily rigid.
- Appearance: Compare the fused area with the rest of the shirt front under normal lighting.
These checks help you identify problems before they affect a larger quantity of garments.
Sample testing before bulk production
A practical sample test should use your actual shirt fabric, the selected interlining grade and your intended production equipment. Keep the fabric and pressing conditions consistent when comparing different GSM options.
A useful trial process is:
- Cut small samples of the selected interlining grades.
- Prepare matching pieces of your shirt fabric.
- Fuse each sample using the settings established for the material combination.
- Allow the samples to cool before handling them.
- Compare the surface, bond, thickness and flexibility.
- Stitch a sample placket and inspect the button and buttonhole area.
Record the selected GSM and working settings after the trial. This gives your production team a reference for repeating the approved result.
Common Problems with Shirt Placket Interlining
Problems with a shirt placket may become visible during pressing, stitching or final inspection. Identifying the likely cause lets you correct the process instead of changing the material without a clear reason.
A placket that feels too stiff
A placket that feels rigid may mean the selected interlining is too firm for your fabric or construction. Multiple fabric layers can also add thickness to the finished area.
Review the GSM and compare a sample made with a lighter grade. Check whether the placket still supports the button area while letting the shirt front move naturally.
The aim is not to make the placket as stiff as possible. It is to give enough support for your garment’s design.
Poor bonding and fabric distortion
Loose bonding, bubbling or distortion can affect both appearance and durability. Possible causes include unsuitable fusing conditions, incorrect placement or a mismatch between the interlining and outer fabric.
Check that the adhesive side is correctly positioned and review the machine settings you used during the trial. Do not assume that increasing the temperature will solve every bonding issue. Follow the product and equipment requirements, and test any adjustment on a sample first.
Uneven thickness around the button area
A placket may look bulky if the interlining extends beyond the intended area or if the construction has too many overlapping layers.
Review your cutting pattern and the position of the interlining. Check the folded sections and the area around the buttonholes to see where extra thickness is developing.
A consistent cutting and placement process helps keep the finished placket even across a production batch.
FAQs About Non-Woven Interlining for Shirt Plackets
Which GSM is suitable for shirt placket interlining?
We list 40–55 GSM for shirt and kurta plackets. The suitable grade within this range depends on your outer fabric, placket construction and required finish. Test the selected grade on your actual shirt material before bulk production.
Is 40 GSM non-woven interlining enough for a shirt placket?
It may suit some lightweight shirt fabrics and softer placket finishes. However, the result depends on your fabric and construction. Compare it with other grades in the 40–55 GSM application range before finalising your selection.
Can the same non-woven interlining be used for collars and plackets?
We list 40–60 GSM for shirt collars and cuffs, and 40–55 GSM for plackets. These application ranges overlap, but that does not mean the same grade will work equally well for every component. Assess the firmness you need and test each application separately.
Is non-woven fusible interlining suitable for cotton shirts?
It can be used for shirt plackets, including where cotton is the outer fabric, provided the material combination and fusing process give you the required result. Test the interlining on your actual cotton fabric to check bonding, appearance and flexibility.
What is the difference between woven and non-woven interlining?
Woven interlining is made using woven yarns, while non-woven interlining is made from bonded fibres. Their construction and typical applications differ. We position non-woven interlining for smaller garment components such as plackets, collars and cuffs, and woven interlining where you need greater garment structure, such as suits, blazers and sherwanis.
What should you check before ordering non-woven interlining in bulk?
Confirm the GSM, colour, width, roll length and coating details you need. Also check that the material suits your shirt fabric and production process. If you are evaluating a new grade, approve a fused sample before placing a bulk order.
Non-Woven Interlining for Shirt Patti at Double Ghoda
At Double Ghoda, we supply non woven fusible interlining to garment manufacturers and wholesale buyers like you. Our range is made from bonded polyester fibres and uses PES single-dot adhesive coating, as listed in our product specifications.
For shirt and kurta plackets, we list 40–55 GSM as the application range. The overall range is 30–80 GSM, with white and black colour options, a 100 cm width and 90-metre rolls. Our product page also lists a fusing temperature of up to 120°C and a flatbed pressing machine for application.
We supply from ready stock in Bhiwandi, Maharashtra, with a minimum order quantity of 1,000 metres. If you are sourcing non-woven interlining fabric for shirt patti or other garment components, share your application requirements with us and we will help you find the right grade.
Link of related Articles
- Lightweight Interlining vs. Heavyweight Interlining
- A Beginner’s Guide to Interlining
- Choosing the Right Interlining