Categories
Woven Interlinings

How to sew with woven interlining

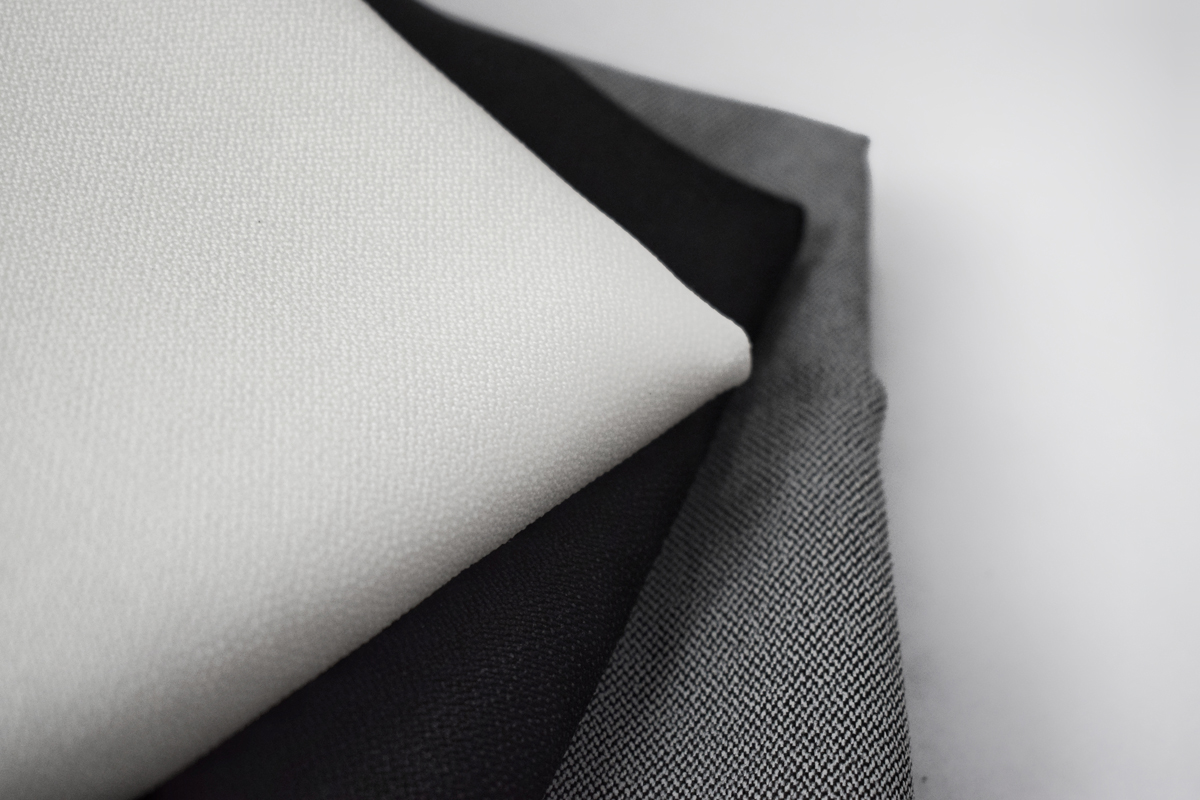
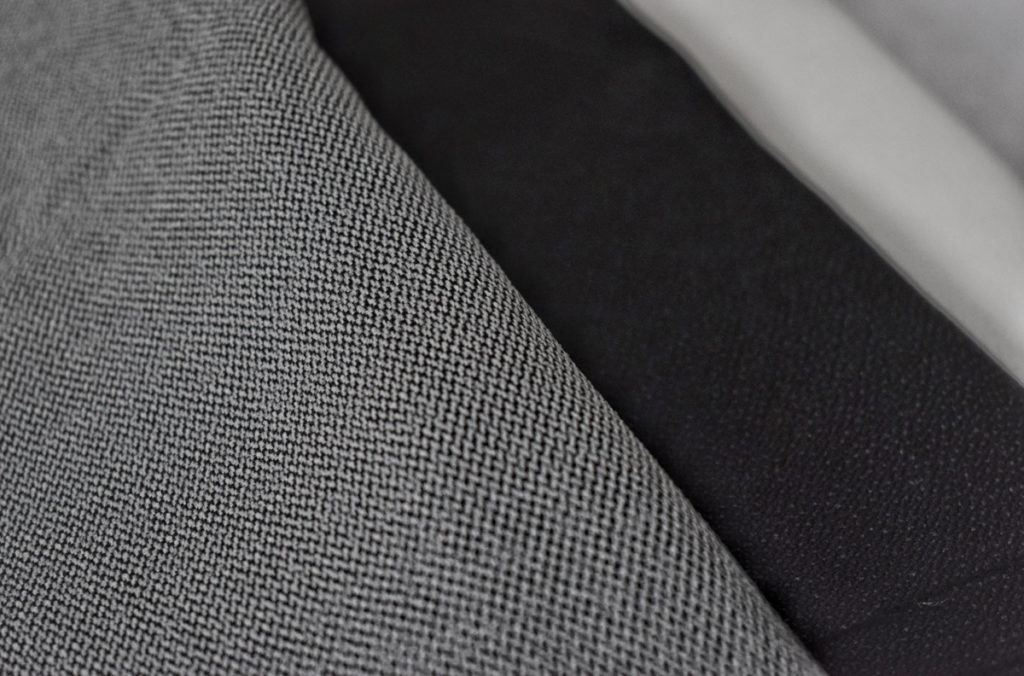
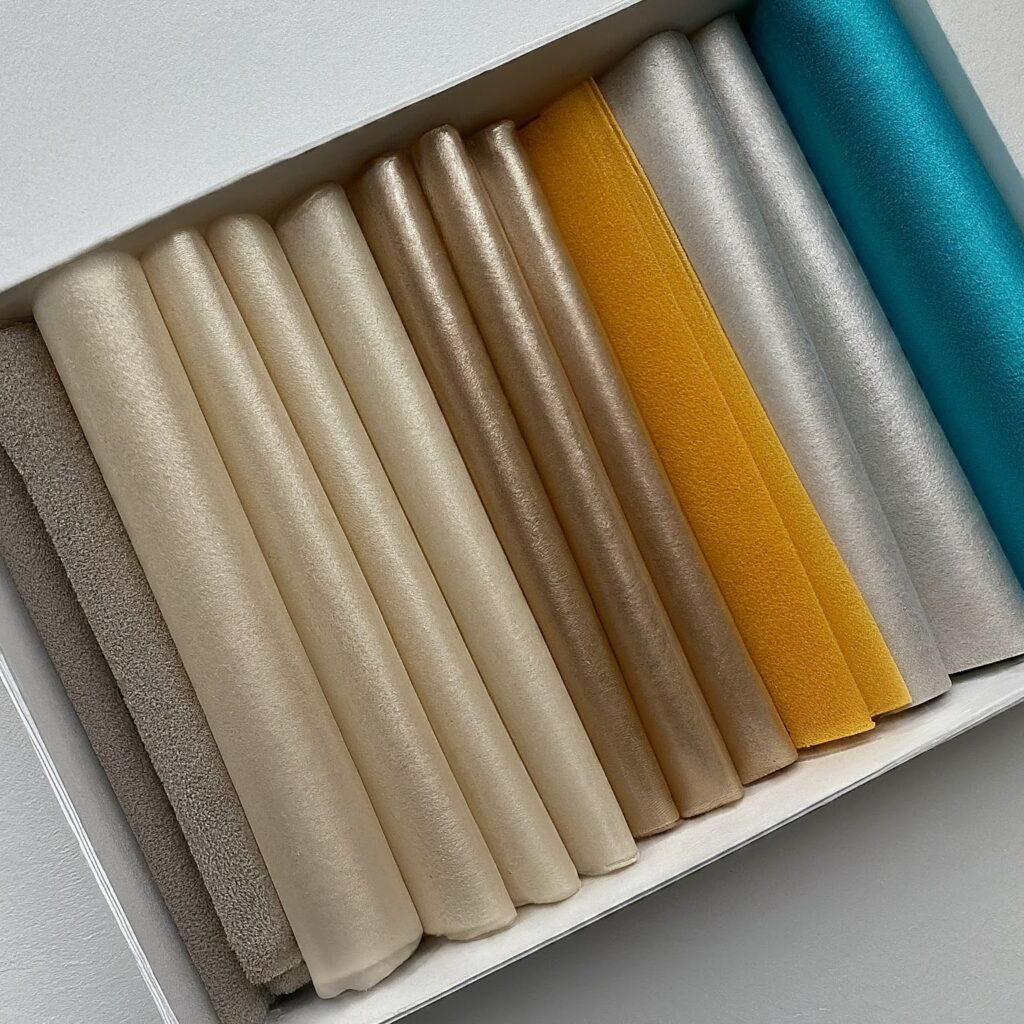
Whether you’re a seasoned or just starting your sewing journey, this guide will walk you through everything you need to know about working with this versatile material.Woven interlining fabric can make your sewing projects stronger and look better!

Table of Content

  • Getting Started with Woven Interlining
  • Best Garments for Woven Interlining
  • Choosing the right Woven Interlining?
  • Preparing Your Fabric and Interlining
  • Sewing Techniques
  • Common Mistakes to Avoid Them
  • Conclusion

Getting Started with Woven Interlining

Imagine the difference between a limp blouse and a crisp, structured shirt. That’s the magic of interlining. Unlike fusible interlining, which bonds with heat, woven interlining is sewn into place, providing a more durable and flexible foundation for your garments. It’s a type of non-woven fusible interlining that adds body, shape, and support to fabrics like chiffon, silk, and linen.

Best Garments for Woven Interlining

Wondering when to reach for woven interlining? Here are some key situations:

  • Structured garments: Jackets, coats, and blazers benefit immensely from woven interlining fabric. It’s essential for achieving those sharp collars, cuffs, and lapels.
  • Reinforcing delicate fabrics: Give lightweight fabrics like chiffon or silk the support they need with woven interlining.
  • Creating crisp edges: Achieve professional-looking hems, facings, and buttonholes with this versatile material.

Choosing the Right Woven Interlining

Selecting the appropriate woven interlining is crucial for project success. Consider these factors:

  • Fabric weight: Match the weight of your main fabric to the interlining fabric for optimal results.
  • Project requirements: Different areas of your garment might need different interlining types of woven interlining fabric.

Preparing Your Fabric and Interlining

Getting your fabrics prepped and ready is an essential first step in any sewing project, and working with woven interlining is no exception. Here’s what you need to do:

  • Pre-wash: Wash both your main fabric and woven interlining fabric to prevent shrinkage surprises.
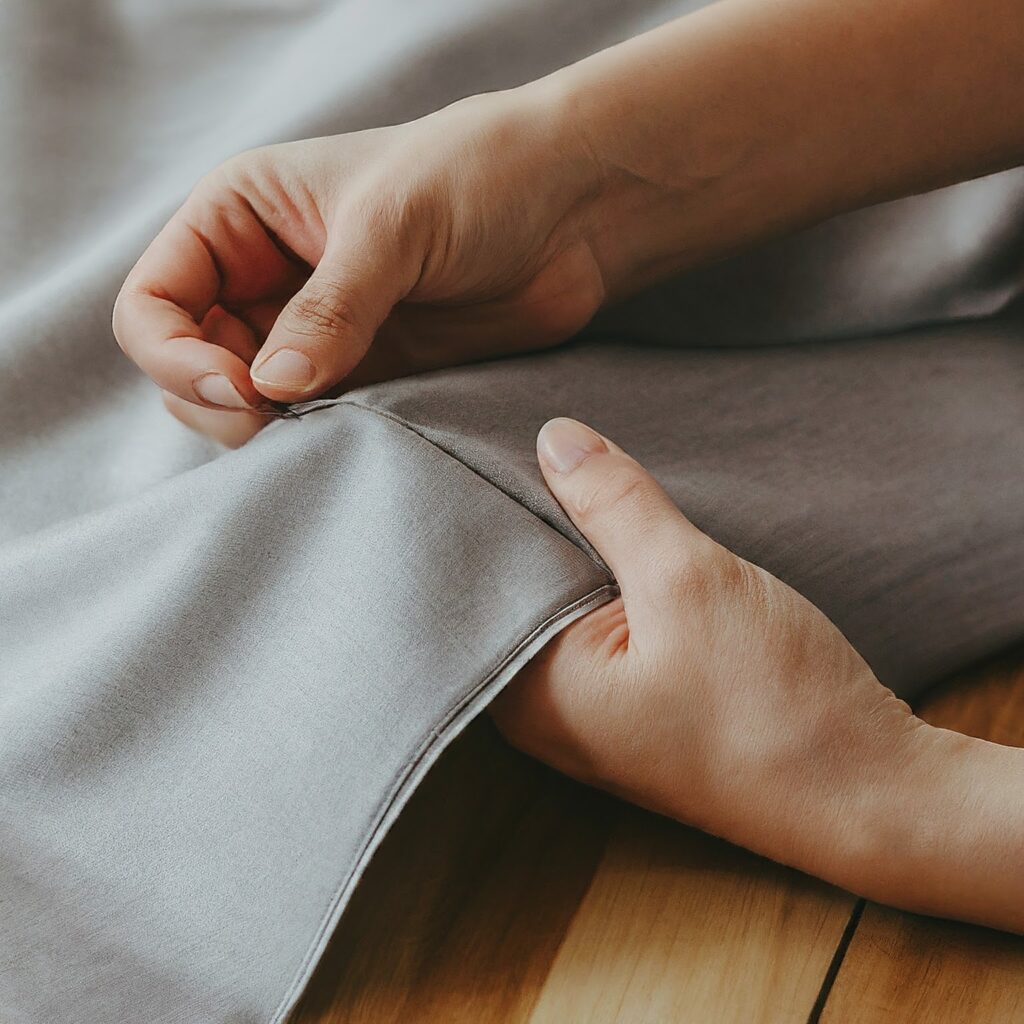
  • Laying out: Place the woven interlining right side down on a flat surface. Position your main fabric right side up on top.
  • Pinning: Secure the layers together with pins every few inches.

Sewing Techniques

Let’s dive into the sewing process!

Basting:

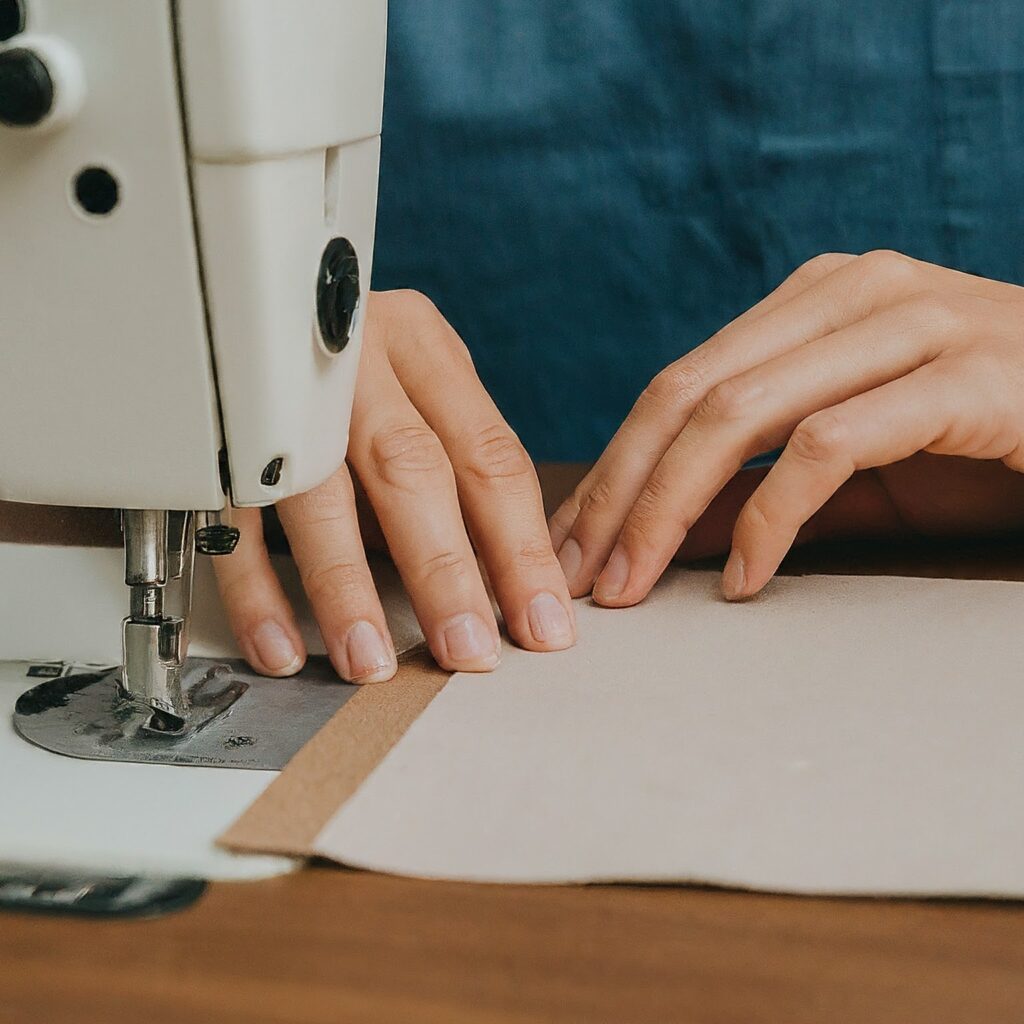
Machine stitching:

  • Choose a stitch length appropriate for the weight of your fabrics.
  • Stitch close to the edge of the woven interlining for a secure bond.
  • For added strength, consider reinforcing seams with additional rows of stitching.

Hand stitching:

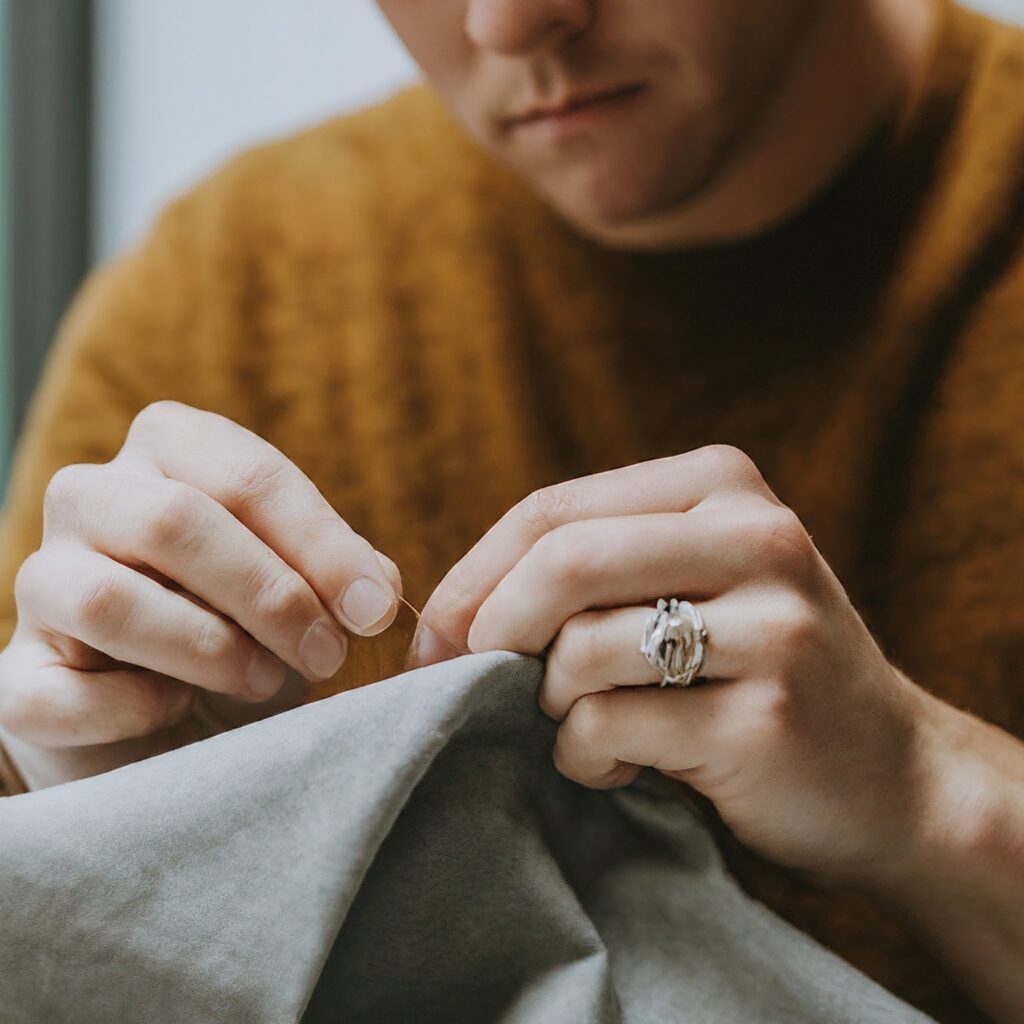
  • Ideal for delicate fabrics or intricate details.
  • Use a small, even stitch for a neat finish.

Common Mistakes and How to Avoid Them

Everyone makes mistakes, but these tips can help you avoid common pitfalls:

  • Choosing the wrong weight: An interlining fabric that’s too heavy can ruin the drape of your fabric.
  • Incorrect placement: Ensure the woven interlining is positioned correctly to prevent visible lines or puckering.
  • Skipping basting: Basting is essential for accurate placement and preventing shifting.
  • Using the wrong stitch: The wrong stitch can weaken the bond between the fabrics.

Conclusion

When you get the hang of sewing with woven interlining, your sewing skills will be even better! By learning about the different kinds of woven interlining fabrics and getting your fabrics ready in the right way, and using the correct sewing methods, you’ll make clothes that are both beautiful and last a long time.

Happy sewing!

Link of related Articles

shweta-textile-designer
Shweta, a textile designer with a keen eye and deep knowledge of fabrics, translates her passion into unique designs. She loves to share her expertise and ignite a love for textiles in others. Dive into the world of fabrics with Shweta!

Categories
Woven Interlinings

washing instructions for clothes with non-woven interlining

Do you love that sharp, ironed look of a crisp collared shirt? But worried about ruining the special thing inside that keeps it that way? Don’t worry! This guide will teach you how to wash shirts with collar interlining so they stay looking great for a long time.

We’ll delve into different types of interlining fabric, explore washing methods for various fabrics, and provide handy tips for drying and ironing to maintain that perfect collar shape. Whether you’re a seasoned laundry pro or a complete beginner, you’ll find valuable tips to keep your collared shirts looking sharp, wash after wash.

So, grab your favorite shirt with a collar (or that stack that’s been piling up!), and get ready to do laundry with no worries!

Table of Content

  • Understanding Collar Interlining
  • Washing Methods for Different Fabrics
  • Drying and Ironing for a Flawless Finish
  • Bonus Tips for Long-Lasting Collars
  • Conclusion

Understanding Collar Interlining

The thing that makes a collared shirt look sharp and keeps its shape is a hidden layer called collar interlining. This is like a thin piece of stabilizer that’s stuck onto the back of the collar. It can be made from different materials, like glue , woven fabric, or felt-like material .

Here are some common types of collar interlining to be aware of:

  • Fusible Interlining: This type has a heat-activated adhesive backing that allows it to be ironed directly onto the fabric. It’s a convenient option for manufacturers and offers good stability.
  • Woven Interlining: Made from woven fibers like cotton or polyester, this type offers a strong and stable foundation for collars. It’s often used in high-quality dress shirts. Often referred to as woven interlining fabric.
  • Non-Woven Interlining: This type is made from bonded fibers and is not as stiff as woven interlining. It’s a good option for shirts that need a bit of shape without a lot of bulk. We can also call this non woven interlining fabric.

Knowing the type of interlining in garments (woven, non-woven, or fusible) in your shirt can help you determine the best washing method.

Washing Methods for Different Fabrics

Now that you know about the special lining inside your shirt collar that helps it keep its shape, let’s learn how to wash shirts made from different fabrics so both the fabric and the lining last a long time.

Cotton and Cotton Blends

Cotton and cotton blends are popular choices for collared shirts due to their breathability, comfort, and durability. Here’s how to care for them:

  • Reading the Label: Always check the label on your shirt first, as it might provide specific washing instructions related to the lining and interlining fabric.
  • Machine Washing: Generally, cotton and cotton blend shirts can be machine-washed in warm or cold water on a gentle cycle.
  • Detergent: Use a mild laundry detergent suitable for colors or delicates, depending on the shirt’s color. Avoid harsh detergents that can damage the fabric or interlining.
  • Fasteners: Close all buttons and zippers before washing to prevent snags or tears.
Linen

Linen shirts offer a cool, luxurious feel, but require a bit more attention during washing to protect the interlining:

  • Gentle Cycle or Handwashing: Opt for a gentle machine wash cycle with cold water or hand wash your linen shirt in cool water with a mild detergent.
  • Minimize Spinning: Excessive spinning can wrinkle linen easily. If machine washing, choose a low spin speed or hand-writing gently.
  • Air Drying is Best: Avoid tumble drying as it can shrink and damage linen. Hang your shirt to air dry in a cool, shaded area. This drying method is especially important for shirts with non-woven fusible interlining, as the heat from a dryer can damage the adhesive properties.
Silk and Synthetics

Silk and synthetic shirts require special care to maintain their delicate nature and prevent damage to the interlining types, such as woven fusible interlining or non-woven interlining:

  • Handwashing or Delicate Cycle: For silk shirts, handwashing is highly recommended. For synthetics, you can use a delicate cycle on your washing machine with cold water.
  • Mild Detergent: Use a gentle detergent specifically formulated for delicates to avoid weakening the fibers or the adhesive in fusible interlining.
  • Skip the Dryer: Never put silk or synthetic shirts in the dryer. Hang them to air dry in a cool, well-ventilated area. This will help prevent the heat from damaging the fabric and the interlining.

Drying and Ironing for a Perfect Finish

Once your collared shirt is clean, the drying and ironing process plays a crucial role in maintaining a crisp collar and overall sharp look, especially for shirts with a woven interlining fabric that needs heat to set its shape:

Air Drying for a Gentle Touch

Air drying is the most gentle way to dry your collared shirts, especially those made from linen or delicate fabrics with non-woven interlining fabric. Here’s how:

  • Reshape the Collar: While the shirt is still damp, gently reshape the collar by hand to ensure it dries in the correct form, especially if the shirt has a woven interlining that needs to be molded while damp.
  • Hang Properly: Use a sturdy hanger that fits the shirt’s shoulders to prevent stretching or sagging. Hang the shirt in a well-ventilated area away from direct sunlight.

Ironing Essentials for a Crisp Collar

Imagine achieving a perfectly crisp collar, especially for shirts with a woven interlining fabric that responds well to heat:

  • Iron Settings: Always check the care label for recommended ironing temperature settings for your specific fabric. Using the wrong heat setting can damage the fabric or the interlining.
  • Start Inside the Collar: Begin ironing on the inside of the collar to avoid leaving any iron marks on the outer fabric, especially for shirts with a delicate outer fabric but a woven fusible interlining that needs heat to activate the adhesive.
  • Work Your Way Out: After ironing the inside of the collar, iron the rest of the shirt using smooth strokes, following the seams and avoiding the buttons. Be mindful of the heat setting to avoid damaging the interlining, especially for shirts with non-woven interlining that doesn’t need high heat.

Bonus Tips for Long-Lasting Collars

By following these additional tips, you can extend the life of your collared shirts and keep their collars looking sharp for longer, regardless of the type of interlining fabric used:

Pre-Treating Stains for a Flawless Finish
  • Act Quickly: The sooner you pretreat a stain, the easier it will be to remove. Identify the type of stain and use an appropriate stain remover according to the care label instructions. This will help prevent the stain from setting and potentially weakening the non woven interlining fabric or woven interlining fabric.
  • Spot Cleaning: For minor stains, try spot cleaning the area with a gentle stain remover before washing. This will help prevent the stain from spreading and potentially damaging the interlining, especially for shirts with woven interlining fabric that might absorb the stain more readily.
Storing Your Shirts Properly
  • Folding or Hanging: You can choose to fold or hang your collared shirts for storage. Folding is a space-saving option, but hanging helps maintain the collar shape, especially for shirts with a woven interlining that needs support to retain its form.
  • Use Wide Hangers: Use wide, sturdy hangers that fit the shoulders of your shirt to prevent stretching or sagging. This is important for all shirts, but especially for those with a woven interlining fabric that can lose its shape if stretched.
  • Button Up: Buttoning up the shirt before hanging helps maintain its shape and prevents wrinkles, particularly for shirts with a non-woven interlining that might not provide as much structural support.
  • Store in a Cool, Dry Place: Avoid storing your shirts in damp or humid environments, as this can encourage mildew growth and wrinkles. This is important for all fabrics, but especially for shirts with non-woven fusing interlining as moisture can weaken the adhesive properties.

Conclusion

Washing shirts with collar interlining doesn’t have to be a mystery. By understanding the different interlining types (woven Interlining, non-woven Interlining, fusible Interlining), tailoring your washing method to the fabric, and following these handy drying and ironing tips, you can ensure your collared shirts stay looking sharp, crisp, and ready to make a great impression for years to come.

Happy laundering!

Link of related Articles

shweta-textile-designer
Shweta, a textile designer with a keen eye and deep knowledge of fabrics, translates her passion into unique designs. She loves to share her expertise and ignite a love for textiles in others. Dive into the world of fabrics with Shweta!

Categories
Woven Interlinings

Fusing Interlining Without An Iron: Creative Interlining Techniques 

Hey there, sewing fans! Ever been stuck on a project, needing to attach special fabric (interlining fabric) to make it look neat and drape nicely, but then realize you don’t have an iron? Don’t worry! This guide will show you how to attach stiffening fabric to your project without needing an iron.

Table of Content

  • Understanding Interlining and Why We Fuse It?
  • Iron-Free Interlining Fusion Techniques
  • Choosing the Right Technique for Your Project
  • Bonus Tips for Flawless Interlining Fusion 
  • Conclusion

Understanding Interlining and Why We Fuse It

Interlining is a  magical fabric that provides structure, stability, and a touch of shape to your project. It prevents your fabric from sagging, helps collars and cuffs maintain their crispness with collar interlining, and even adds a touch of weight for a more luxurious feel.

Traditionally, we fuse interlining using heat – that’s where the iron comes in. But what if you don’t have one, or maybe you’re working with a heat-sensitive fabric? No worries! We’ve got some alternative techniques up our sleeves 

Iron-Free Interlining Fusion Techniques

Now that we’re ready to use our sewing skills, let’s explore some creative ways to fuse stiff interfacing without an iron. Here are some effective methods, each with its pros and cons for different situations:

  1. The Power of Double-Sided Tape:

This sticky tape you can find anywhere is a great way to attach different kinds of interfacing to your fabric, like the kind that’s woven or nonwoven.

  • Prep: Cut your interlining fabric  to the desired size and ensure your fabric is clean and dust-free.
  • Application: Apply thin strips of double-sided tape along the edges of the interlining, leaving a small gap between the strips. For larger areas, create a grid pattern with the tape.
  • Bonding: Carefully place the interlining onto the wrong side of your fabric, aligning the edges precisely. Press down firmly to ensure a good bond, especially between the fabric and the gaps in the tape grid.

Pros: Easy to find, readily available, good for small to medium-sized projects.

Cons: Not ideal for large areas as the tape might not provide enough hold. Might leave residue on delicate fabrics.

2. Stitch Witchery to the Rescue:

This double-sided fusible web is a popular choice for sewists working with interlining fabrics. Here’s how to use it:

  • Prep: Cut your interlining and Stitch Witchery to the same size.
  • Application: Place the Stitch Witchery between the wrong side of your fabric and the interlining, with the sticky sides facing outwards.
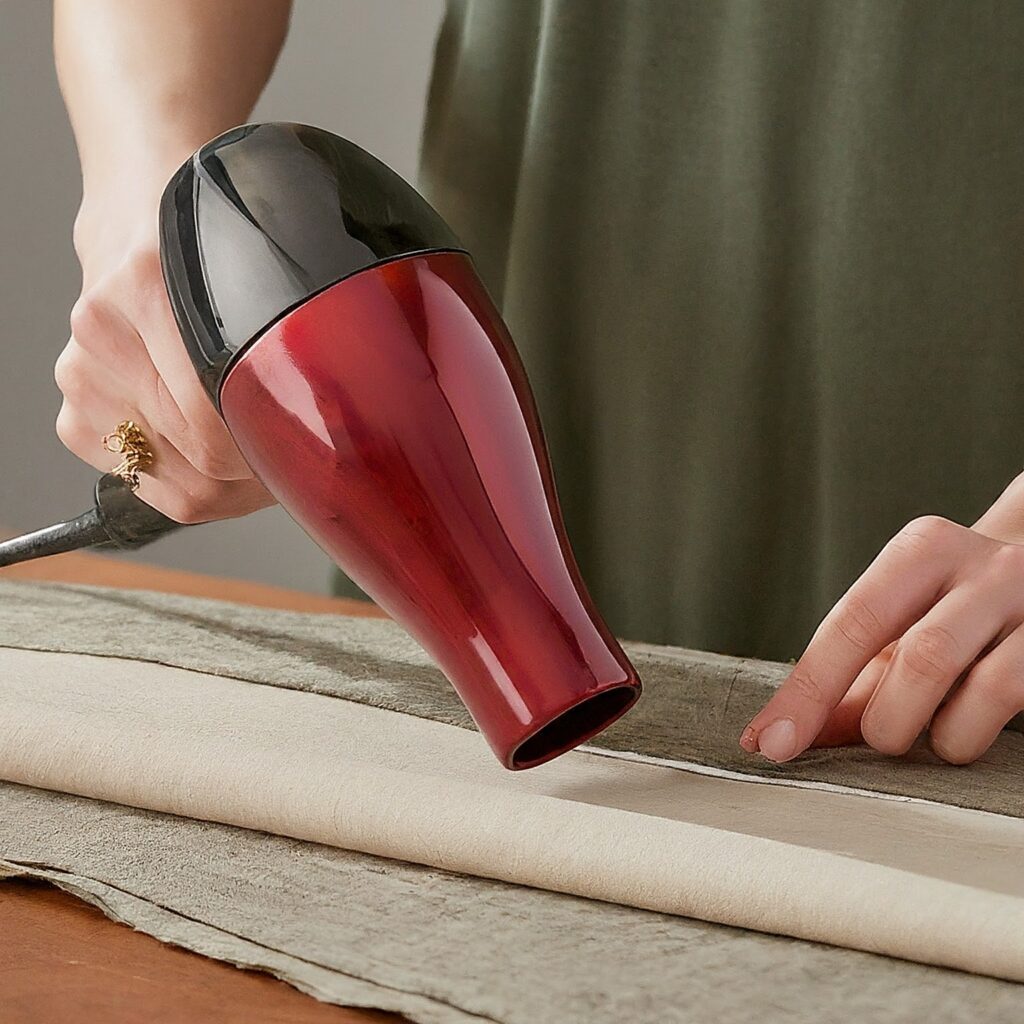
  • Bonding: Following the manufacturer’s instructions, use a heat source like a hairdryer on low heat to activate the adhesive. Gently move the hairdryer in a circular motion, applying even pressure until the interlining and fabric are securely fused.

Pros: Easy to use, strong bond, good for intricate shapes.

Cons: Requires a heat source (hairdryer), might not be suitable for all fabrics .

3. Wonder Web: A Weaver of Fabric Bonds:

Similar to Stitch Witchery, Wonder Web offers a fusible web solution for fusing interlining. Here’s the process:

  • Prep: Cut your interlining and Wonder Web to the same size. Ensure your fabric is clean and ironed (if possible) to remove any wrinkles.
  • Application: Following the Wonder Web instructions, place the web between the fabric and interlining with the rough sides facing outwards.
  • Bonding: Iron on low heat (if possible) according to the Wonder Web instructions. Alternatively, use a damp cloth and a heavy object (like a stack of books) to press firmly for several minutes, activating the adhesive.

Pros: Strong bond, good for curved edges and intricate shapes.

Cons: Might require low-heat ironing, check Wonder Web compatibility with your fabric. Pressing with a damp cloth requires more effort and time.

4. Get Rolling with Heat Activation Tape:

This specialized tape offers a strong bond activated by heat, but not necessarily from an iron. Here’s how to use it for fusing interlining fabrics:

  • Prep: Cut your interlining and heat activation tape to the desired size. Ensure your fabric is clean and dust-free.
  • Application: Following the tape’s instructions, apply thin strips of heat activation tape along the edges of the interlining, leaving a small gap between the strips. For larger areas, create a grid pattern.
  • Bonding: Use a heat source like a hairdryer on its highest heat setting (check the tape’s instructions for specific temperature recommendations). Move the hairdryer in a circular motion, applying even heat until the tape activates and the interlining securely bonds with the fabric.

Pros: Strong bond, good for larger areas, allows for precise placement.

Cons: Requires a heat source with adjustable temperature control, might not be readily available in all sewing stores.

5. Let’s Get Sticky with Fabric Glue:

Fabric glue offers a permanent bond for fusing interlining(woven interlining or non-woven interlining), but requires careful application to avoid mess. Here’s how to use it:

  • Prep: Cut your interlining to the desired size. Ensure your fabric is clean and dust-free.
  • Application: Apply a thin, even layer of fabric glue to the wrong side of your fabric. Less is more here!
  • Bonding: Carefully place the interlining onto the fabric with the glue, aligning the edges precisely. Press down firmly for several minutes to ensure a good bond. For larger areas, work in sections to avoid the glue drying before you can position the interlining.

Pros: Strong, permanent bond, good for small and intricate shapes.

Cons: Requires meticulous application to avoid glue stains, might not be suitable for delicate fabrics.

By understanding these different techniques, you can choose the best method for fusing woven interlining or non-woven interlining to your project, whether you’re working with collars (collar interlining), linings (lining and interlining fabric), or other garment components.

Choosing the Right Technique for Your Project

Now that you’re armed with a toolbox of iron-free fusion techniques for various interlining types, let’s explore how to choose the best method for your project:

  • Project Size: Double-sided tape and fabric glue work well for small to medium-sized projects. For larger areas with interlining fabrics, consider heat activation tape or Stitch Witchery if you can manage a low-heat iron application.
  • Fabric Type: Delicate fabrics might not handle the heat from a hairdryer or require special fabric glue. Opt for double-sided tape or parchment paper and pressure for these delicate materials.
  • Interlining Type: Check the manufacturer’s instructions for your specific interfacing. Some might be compatible with the parchment paper and pressure technique, while others might require a low-heat iron for Wonder Web activation.
  • Desired Bond Strength: Double-sided tape and Stitch Witchery offer a good bond for lighter fabrics and less structural applications. Fabric glue and heat activation tape provide a stronger, more permanent bond for heavier fabrics and projects requiring extra stability, like collars needing collar interlining .

Conclusion

There you have it! With these alternative techniques and handy tips, you can confidently fuse your Interlining fabrics , even without an iron. Remember, a little creativity and resourcefulness can go a long way in the world of sewing. So, grab your Interlining fabrics , interfacing (woven Interlining or non-woven Interlining , fusible Interlining , collar interlining or sew-in), and get ready to create something amazing – iron-free and fearless!

Link of related Articles

shweta-textile-designer
Shweta, a textile designer with a keen eye and deep knowledge of fabrics, translates her passion into unique designs. She loves to share her expertise and ignite a love for textiles in others. Dive into the world of fabrics with Shweta!

Categories
Woven Interlinings

How to Wash Clothes with Non-Woven Interlining

Hey there, laundry lovers! Ever wonder how some clothes keep their nice shape? It’s often thanks to a special fabric called non-woven interlining that’s hidden inside. This special material adds body and support to things like collars, cuffs, and other parts that need a little extra strength. But can you just toss those clothes in the wash with everything else? Let’s explore the best ways to care for your clothes with non-woven interlining.

Table of Content

  • What is Non-Woven Interlining and Why Do We Use It?
  • Understanding the Care Label
  • Tips and Techniques for Washing Clothes with Non-Woven Interlining
  • Drying Clothes with Non-Woven Interlining
  • Conclusion

What is Non-Woven Interlining and Why Do We Use It?

Non-woven interlining is a unique interfacing fabric backing made by bonding fibers together (unlike woven interlining fabrics where threads are interlaced). This creates a lightweight yet supportive material that’s perfect for adding structure to various garment components.

Benefits of using non-woven interlining:
  • Enhanced Shape and Drape: It helps collars and cuffs maintain their crispness, prevents garments from sagging, and creates a more polished look.
  • Added Stability: It provides extra support in areas that experience stress during wear, like pockets and buttonholes.
  • Lightweight Comfort: Despite its structural properties, non-woven interlining is typically thin and breathable, ensuring comfortable wear.

Understanding the Care Label

Look for the tag! It’s like a little instruction booklet sewn onto your clothes. This tag tells you how to wash, dry, and iron your clothes, including any special instructions for the stiffener fabric inside.

Here’s what to look for on the care label for clothes with non-woven interlining:

  • Washing Instructions: Look for symbols indicating hand washing or machine washing for interfacing .
  • Water Temperature: The care label will specify the recommended water temperature .
  • Drying Instructions: Symbols will indicate whether to tumble dry, line dry, or dry flat.

Remember, following the manufacturer’s recommendations is crucial to ensure the longevity of your garment and its interlining (fusible interlining or non-fusible interlining , woven interlining or non-woven interlining ). 

How to Wash Clothes with Non-Woven Interlining: Tips and Techniques

Now that you’ve consulted your garment’s care label, let’s explore how to wash clothes with non-woven interlining, focusing on both hand washing and machine washing techniques:

Washing by Hand

Some garments with non-woven interlining, especially those made from delicate fabrics like silk or lace, might require a gentler approach. Here’s how to hand wash them effectively:

  • Preparation: Fill a basin with cool or lukewarm water (depending on the care label instructions) and add a mild detergent specifically formulated for delicate fabrics.
  • Pre-treat Stains: If there are any stains, pre-treat them with a gentle stain remover before submerging the garment with the interfacing (woven interlining or non-woven interlining ).
  • Gentle Swishing: Turn the garment inside out and gently swish it in the water for a few minutes. Avoid vigorous scrubbing, as this might damage the interfacing.
  • Rinsing: Rinse the garment thoroughly with clean, cool water until all soap residue is removed.
Tips for Handwashing:
  • Avoid wringing or twisting the garment, as this can stress the interlining and distort the shape.
  • Gently squeeze out excess water by pressing the fabric between your palms.
  • Lay the garment flat on a clean towel to dry. Do not hang delicate garments with interlining, as the weight of the water can pull on the fabric and damage the interlining bond.
Machine Washing

If your garment’s care label allows for machine washing, you can follow these steps for a safe and effective clean:

  • Preparation: Turn the garment inside out to protect the interfacing. Close zippers and buttons to prevent snags.
  • Washing Machine Settings: Choose a gentle cycle with cold water .
  • Detergent: Use a mild detergent suitable for the fabric type. Avoid harsh detergents or bleach, as they can damage the interlining.
  • Washing Bag : For extra protection, consider using a mesh laundry bag, especially for delicate garments with woven interfacing fabric or non-woven interfacing fabric.
Tips for Machine Washing:
  • Avoid overloading the washing machine. This can cause excessive agitation and stress on the interlining.
  • Skip the spin cycle if possible. The high spin speeds can damage the interlining

While these tips offer general guidance, remember to prioritize the specific care instructions on your garment’s label for fusing interfacing , woven or non-woven.

Drying Clothes with Non-Woven Interlining

Drying is just as important as washing when it comes to maintaining the integrity of your interlined garments. Here’s how to ensure proper drying for both hand-washed and machine-washed clothes:

Drying Hand-Washed Clothes:
  • Reshape: After gently squeezing out excess water, reshape the garment carefully, paying attention to areas with interlining like collars and cuffs. This helps maintain the shape and prevent wrinkles from setting in the interfacing fabric.
  • Towel Drying: Lay the garment flat on a clean, absorbent towel. You can roll the towel with the garment inside to remove additional moisture.
  • Air Drying: Choose a well-ventilated location away from direct sunlight to air dry your garment completely. Avoid hanging delicate pieces, as the weight of the water can pull on the fabric and damage the interlining bond.
Drying Machine-Washed Clothes:
  • Check the Label: Always refer to the care label for drying instructions. Some fusible interlining might tolerate low heat tumble drying, while others might require line drying.
  • Low Heat Tumble Drying : If the care label permits, use the lowest heat setting possible on your dryer. Consider adding a few tennis balls to the dryer to help fluff the garment and prevent wrinkles. However, avoid using tennis balls with delicate garments with collar interlining.
  • Line Drying: For garments that require line drying, hang them on a sturdy drying rack or clothesline. Choose a shady location with good air circulation.
Tips for Drying Clothes with Non-Woven Interlining:
  • Avoid High Heat: High heat from dryers can damage the adhesive holding the interlining in place, especially for non-woven fusible interlining.
  • Remove Promptly: Once the garment is dry, remove it from the dryer or clothesline promptly to prevent wrinkles.

Conclusion

By following these tips and understanding the care requirements for non-woven interlining, you can confidently wash and dry your garments, ensuring they maintain their shape, structure, and overall beauty. Remember, a little knowledge goes a long way in caring for your clothes and extending their lifespan.

So, Happy Sewing

Link of related Articles

shweta-textile-designer
Shweta, a textile designer with a keen eye and deep knowledge of fabrics, translates her passion into unique designs. She loves to share her expertise and ignite a love for textiles in others. Dive into the world of fabrics with Shweta!

Categories
Woven Interlinings

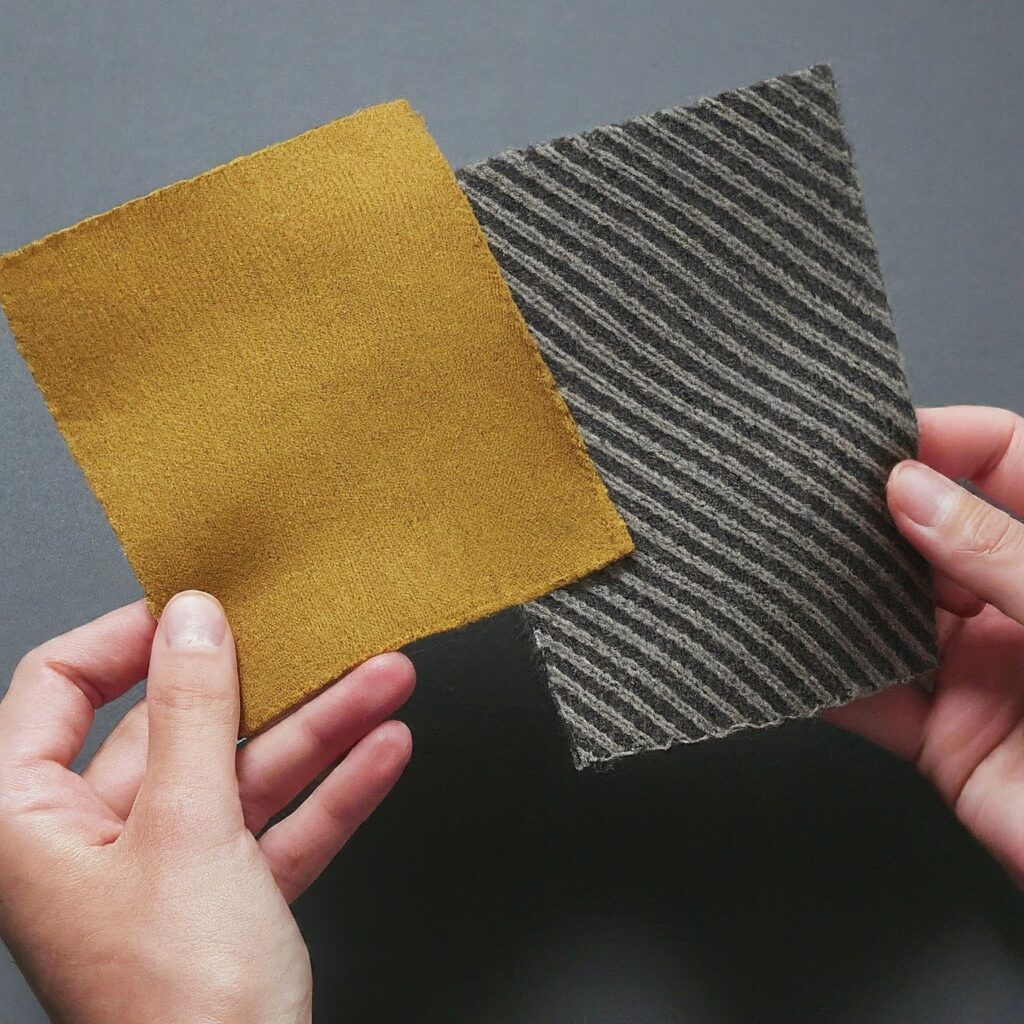
Woven vs. Non-Woven Interlining: The Ultimate Guide for Sewists

Ever dreamt of creating garments with that perfect balance of structure and drape? Well, the secret lies in – interlining fabric! But with two main types – woven interlining and non-woven interlining – choosing the right one can feel overwhelming. Fear not, fellow sewist! This guide will break down the battle of non-woven interlining vs. woven interlining, helping you pick the perfect match for your next project.

Table of Content

  • Understanding Garment Interlining
  • Features of Woven Interlining
  • What is Non-Woven Interlining?
  • The Ultimate Showdown: Non-Woven vs. Woven Interlining
  • Conclusion

Understanding Garment Interlining

Imagine a hidden layer that adds structure and stability to your garments, preventing them from becoming flimsy or sagging. That’s the magic of interlining fabric! It’s a fabric strategically placed between the outer fabric (like your beautiful silk) and the lining (the comfy cotton on the inside). Interlining fabric works its wonders in several ways:

  • Provides structure and stability: Keeps collars, cuffs, and waistbands crisp, and prevents your garment from losing its shape.
  • Enhances drape and shape: Helps your fabric fall beautifully, creating a polished and professional look.
  • Adds body and weight: Gives certain garments, like jackets and blazers, a more substantial feel.

Features of Woven Interlining

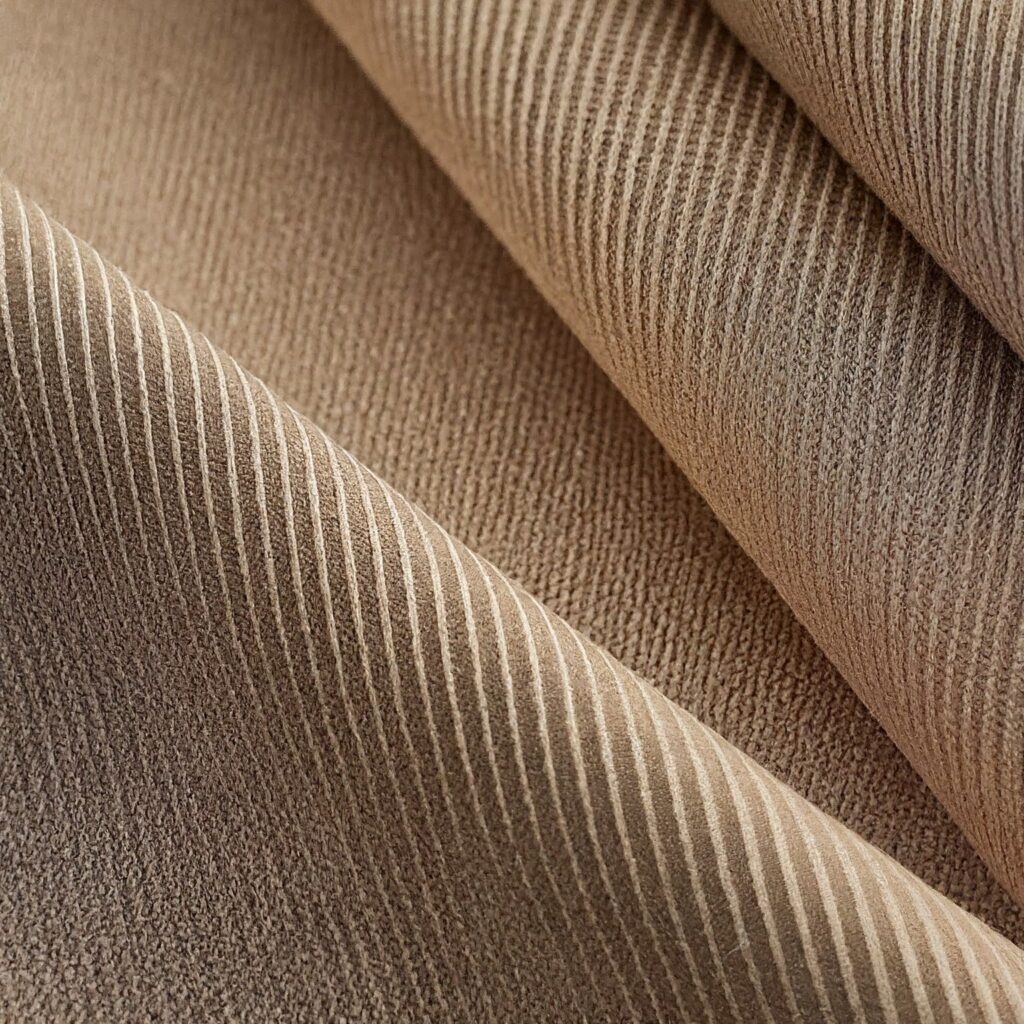
Woven interlining fabric, as the name suggests, is constructed from finely woven threads. It’s been a trusted choice for generations of sewers, offering a reliable level of structure and stability.

Advantages of Woven Interlining Fabric:
  1. Crisp finish: Perfect for achieving sharp collars, cuffs, and tailored garments.
  2. Durable: Withstands wear and tear well, making it ideal for frequently worn pieces.
  3. Variety of weights: Available in various weights to cater to lightweight fabrics like silk or heavier fabrics like wool.
  4. Easy to find: A staple in most sewing stores.
Disadvantages of Woven Interlining Fabric:
  1. Can be bulky: For delicate fabrics like chiffon, woven interlining fabric might add too much stiffness and affect the drape.
  2. Less flexible: Not ideal for garments requiring a lot of movement, like activewear.
  3. Limited breathability: Densely woven options can trap heat, making them less suitable for summer garments.

What is Non-Woven Interlining?

Non-woven interlining fabric is a more modern option, made by bonding fibers together through heat, chemicals, or mechanical processes. This creates a fabric-like material with unique properties.

Advantages of Non-Woven Interlining Fabric:
  • Lightweight and flexible: A great choice for delicate fabrics and garments that require movement, like activewear.
  • Breathable: Allows for better airflow, making it ideal for summer clothing.
  • More affordable: Generally less expensive than woven interlining fabric.

Wide range of options: Available in various weights, textures, and even fusible varieties that adhere to fabric with heat (non-woven fusible interlining).

Disadvantages of Non-Woven Interlining Fabric:
  • Less structured: May not offer the same level of crispness as woven interlining fabric, especially in heavier weights.
  • Not as durable: May break down over time, especially with frequent washing.
  • Can be bulkier in heavier weights: While lighter than woven options, heavier non-wovens can still add some bulk.

The Ultimate Showdown: Non-Woven vs. Woven Interlining

Now that you know the strengths and weaknesses of each contender, let’s see when each shines:

When to Choose Woven Interlining Fabric:
  • Structured garments: Tailored jackets, blazers, collars, cuffs, and waistbands that need a crisp finish (collar interlining).
  • Heavier fabrics: Wool coats, structured bags, or garments requiring extra body.
  • Classic look: For a timeless, polished look that mimics ready-to-wear garments.
When to Choose Woven Interlining Fabric:
  • Structured garments: Tailored jackets, blazers, collars, cuffs, and waistbands that need a crisp finish (collar interlining).
  • Heavier fabrics: Wool coats, structured bags, or garments requiring extra body.
  • Classic look: For a timeless, polished look that mimics ready-to-wear garments
  • Delicate fabrics: Silks, chiffons, or lightweight cottons that need a touch of structure without losing drape.
  • Activewear: Leggings, yoga pants, or workout shirts that require flexibility and breathability.
  • Summer garments: Dresses, blouses, or skirts where breathability and a lighter weight are important.
  • Simple projects: Hem reinforcement, lightweight collars, or stabilizing buttonholes where a no-sew option (Non-woven fusible interlining) is preferred.
  • Budget-friendly projects: When cost is a concern, non-woven interlining fabric offers a more affordable option.

Conclusion

Now you’re armed with the knowledge to choose the perfect interlining for your next project! Remember, the key lies in understanding:

  • Fabric weight and drape: Match the interlining weight to your fabric for optimal results (woven interlining fabric for heavier fabrics, non-woven interlining fabric for lighter fabrics).
  • Garment structure and function: Consider the level of structure and flexibility needed for the garment’s purpose (interlining in garments for structured jackets vs. fusible interlining for simple projects).
  • Your sewing skills and preferences: Choose between sew-in (more control) or fusible (easier to use) options based on your comfort level .

Don’t be afraid to experiment! Grab some scrap fabric and try out different interlining types to see how they affect the drape and structure. With a little practice, you’ll be a master of interlining types, creating garments that not only look stunning but also function flawlessly.

So, Happy Sewing

Link of related Articles

shweta-textile-designer
Shweta, a textile designer with a keen eye and deep knowledge of fabrics, translates her passion into unique designs. She loves to share her expertise and ignite a love for textiles in others. Dive into the world of fabrics with Shweta!

Categories
Woven Interlinings

Choosing the Right Interlining Fabric 
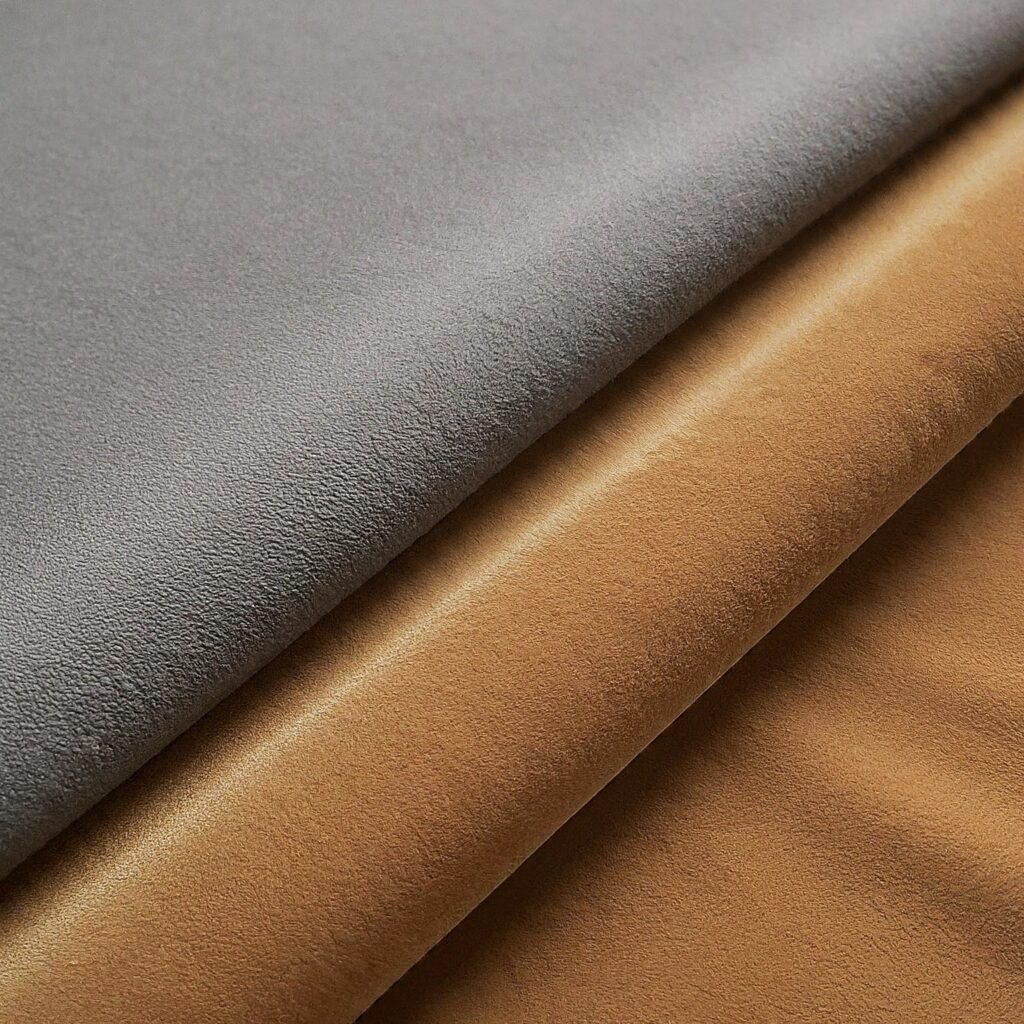
Ever wondered what makes your favorite jacket so stiff and keeps its shape? Or how your tote bag stays upright even when it’s full of stuff? The secret weapon behind these well-made garments is often hidden inside – it’s called interlining fabric. This special fabric acts like a hidden helper, giving your projects more body, support, and a finished look.

But with so many different kinds of interlining fabric out there, picking the right one can be confusing. Don’t worry, stitchers! This guide will explain all about interlining for different clothes, like jackets, bags, dresses, and more. 

Table of Content

  • What is Interlining Fabric and Why Do We Use It?
  • Different Types of Interlining Fabrics
  • Choosing the Right Interlining Fabric for your garment
  • Pro Techniques and Troubleshooting
  • Conclusion

What is Interlining Fabric and Why Do We Use It?

Imagine a cool jacket that flops over instead of looking sharp. Or a tote bag that bulges and droops when you fill it with stuff. Interlining fabric is like a secret layer that helps your clothes keep their shape. It goes between the outer fabric and the lining of your garment.

Here’s why interlining fabric important:

  • Makes your clothes stronger: It adds body and support, especially to areas like collars, cuffs, waistbands, and bag straps, so they don’t get floppy.
  • Helps clothes drape better: For some flowy dresses, interlining can help the fabric hang nicely without making it stiff.
  • Keep clothes looking good longer: Interlining helps clothes keep their shape, even after you wash them many times.

Different Types of Interlining Fabrics

let’s explore Different types of interlining fabrics are :

Woven Interlining Fabric
  • Material: Made by weaving threads together, creating a strong and structured fabric.
  • Weight: Comes in various weights, from lightweight for collars to heavyweight for jackets.
  • Applications: Ideal for jackets, coats, collars, cuffs, waistbands, and bags that require substantial structure.
Non-Woven Interlining Fabric
  • Material: Fibers bonded together using heat or chemicals, resulting in a lightweight and breathable fabric.
  • Weight: Generally lighter than woven interlining, offering a range from very lightweight to medium weight.
  • Applications: Perfect for garments like dresses, skirts, and lighter jackets where a touch of structure without added bulk is desired.
Fusible Interlining Fabric
  • Special Feature: Has a heat-activated adhesive backing that allows you to iron it directly onto your fabric.
  • Material and Weight: Available in both woven and non-woven options, with varying weights.
  • Applications: A convenient choice for collars, cuffs, pockets, and other areas that require a secure bond without sewing.
Sew-In Interlining Fabric:
  • Application Method: Attached to the garment using sewing techniques rather than ironing.
  • Material and Weight: Similar options to fusible interlining, offering woven and non-woven varieties in different weights.
  • Applications: Suitable for projects where ironing might damage

Choosing the Right Interlining Fabric for Your Garment
let’s delve into specific garment types and explore how to choose the perfect interlining for each:

Jackets and Coats:
Bags and Totes:
Dresses and Skirts:
  • Goal: Enhance drape, add some structure without stiffness, and improve shape retention.
  • Ideal Interlining Fabric:
Shirts and Blouses:
  • Goal: Crisp collars, structured plackets, and improved shape retention.
  • Ideal Interlining Fabric:

Pro Techniques and Troubleshooting

Here are some additional pointers to ensure your interlining journey is smooth sailing:

  • Pre-wash your fabric: Washing your fabric before attaching interlining fabric helps prevent shrinkage and ensures the finished garment fits properly.
  • Test on Scraps: Always test the interlining fabric on a scrap of your fabric first to ensure proper adhesion (for fusible interlining) and compatibility.
  • Use the right heat setting: Refer to the iron and interlining instructions to avoid scorching the fabric or melting the adhesive backing on fusible interlining fabric.

Troubleshooting Interlining Issues: If your interlining fabric bubbles or peels after ironing, it might indicate incorrect heat settings or incompatible materials. Experiment with a lower heat setting or try a different type of interlining fabric.

Conclusion

By understanding the different types of interlining fabrics and how to choose the right one for your project, you’ve unlocked a powerful tool in your sewing arsenal.

So, Happy Sewing

Link of related Articles

shweta-textile-designer
Shweta, a textile designer with a keen eye and deep knowledge of fabrics, translates her passion into unique designs. She loves to share her expertise and ignite a love for textiles in others. Dive into the world of fabrics with Shweta!

Categories
Woven Interlinings

Woven Interlining: The Secret to Sharp Clothes

So, you’ve got a fabulous piece of clothing with a structured silhouette or crisp lapels. But have you ever wondered what keeps it looking that way, wash after wash? The answer is woven interlining fabric

This article is your one-stop guide to understanding and caring for garments with woven interlining. We’ll break down everything you need to know, from what interlining fabric is to how to keep your clothes looking their best.

Table of Content

  • What is Woven Interlining?
  • Benefits of Woven Interlining in Garments
  • Different Types of Woven Interlining
  • Caring for Clothes with Woven Interlining
  • Common Issues with Woven Interlining and How to Fix Them
  • Tips for Spot Cleaning Garments with Woven Interlining
  • Professional Cleaning for Garments with Woven Interlining
  • Tailoring and Repairs for Garments with Woven Interlining

What is Woven Interlining?

Imagine a secret layer sandwiched between the outer fabric of your garment and the lining. That’s woven interlining! It’s a woven interlining fabric, typically made from materials like cotton, polyester, or blends, that adds structure, support, and shape retention to specific areas of your clothes.

Think of it like an invisible backbone for your garment’s form. It helps jackets maintain their sharp lines, prevents collars from flopping, and gives structured dresses a defined silhouette.

Benefits of Woven Interlining in Garments

Woven interlining is more than just a structural element; it offers several benefits to your clothes:

  • Enhanced Shape Retention: By adding an extra layer of stability, woven interlining fabric helps garments maintain their intended shape, even after multiple wears and washes.
  • Improved Drape: Depending on the type of interlining used, it can create a crisp or a softer drape, giving your clothes a more polished look.
  • Increased Durability: Woven interlining acts as a protective layer, reinforcing areas like collars, cuffs, and pockets that are prone to wear and tear.
  • Smoother Seams: It helps to create smoother and bulk-free seams, making your clothes look more professional and finished.

Different Types of Woven Interlining

The world of woven interlining is vast, with different types designed for specific applications. Here’s a quick breakdown of some common varieties:

  • Hair Canvas: A strong and heavyweight interlining often used in tailored jackets and coats for a structured and classic look.
  • Fusible Interlining: This type has a heat-activated adhesive backing that allows it to be ironed directly onto the garment fabric. It’s popular for collars, cuffs, and belts.
  • Non-Fusible Interlining: This interlining is sewn onto the garment and is ideal for delicate fabrics that wouldn’t handle the heat of ironing. 
  • Woven Pellon: A lightweight and versatile interlining commonly used in shirt collars, cuffs, and bags for added support without too much stiffness.

Caring for Clothes with Woven Interlining

Here are some key tips for laundry and storage:

  • Always check the care label: This is your garment’s golden rulebook. It will specify the recommended washing temperature, drying method, and any ironing instructions.
  • Turn garments inside out: This helps protect the outer fabric and the interlining fabric from abrasion during washing.
  • Use a gentle laundry detergent: Harsh detergents can damage the interlining and the outer fabric. Opt for a gentle detergent designed for delicates.
  • Skip the dryer: High heat can shrink or damage the interlining. Air-dry your garments on a flat surface or hanger, depending on the care label instructions.
  • Store clothes properly: Hang garments with woven interlining on sturdy hangers to maintain their shape. Avoid folding them, as creases can become permanent.

Common Issues with Woven Interlining and How to Fix Them

Even with proper care, issues can arise with woven interlining. Here’s how to tackle some common problems:

  • Shrinking: If your garment with woven interlining shrinks slightly after washing, try gently steaming it while pulling on the fabric to restore its shape.
  • Bubbling: If fusible interlining starts to bubble or peel away from the fabric, it’s best to consult a professional tailor for repair. Heat reactivation might be an option, but a professional can assess the damage and recommend the best course of action.
  • Loss of Shape: Over time, woven interlining can lose some of its structure. You can try using a garment steamer to help reshape the garment, but for a more permanent fix, a tailor might need to replace the interlining altogether.

Tips for Spot Cleaning Garments with Woven Interlining

  • Act fast: The sooner you address a stain, the easier it will be to remove.
  • Identify the stain: Knowing the culprit (coffee, oil, etc.) will help you choose the right cleaning method.
  • Blot, don’t rub: Rubbing can spread the stain and damage the fabric. Use a clean, absorbent cloth to blot up as much of the stain as possible.
  • Test on an inconspicuous area: Before applying any cleaning solution directly to the stain, test it on a hidden seam or inner hem to ensure it doesn’t discolor the fabric, especially important for garments with non-woven interlining fabric which may react differently than woven materials.
  • Use gentle cleaning solutions: Avoid harsh chemicals or bleach, which can damage both the interlining and the outer fabric. Opt for a mild detergent solution or a stain remover specifically designed for delicates.
  • Work from the outside in: This prevents the stain from spreading further into the fabric and the interlining.
  • Rinse thoroughly: After treating the stain, use clean water to remove any cleaning residue.
  • Air dry completely: Don’t apply heat directly to the stain until it’s completely dry.

Professional Cleaning for Garments with Woven Interlining

For delicate garments with intricate interlining or stubborn stains, professional cleaning is always the safest option. Here’s what to keep in mind:

  • Inform the cleaner about the interlining: Let them know your garment has woven interlining fabric, so they can choose the appropriate cleaning methods.
  • Ask about cleaning solutions: Inquire about the types of cleaning solutions they use and ensure they are safe for garments with interlining.
  • Consider specialty cleaning: Some dry cleaners offer specialty cleaning services for delicate fabrics and interlining type

Tailoring and Repairs for Garments with Woven Interlining

Over time, woven interlining can wear down or become damaged. Here’s when a tailor can be your best friend:

  • Replacing interlining: If your garment has lost its shape or the interlining is starting to bubble or peel, a tailor can replace it with a new piece. They can advise on the most suitable interlining types (woven or non-woven) based on the garment’s construction and desired outcome.
  • Repairing seams: If seams with interlining come loose, a tailor can expertly repair them to restore the garment’s structure.
  • Customizing fit: A skilled tailor can adjust the fit of your garment while considering the presence of interlining to ensure it maintains its shape and flatters your figure.

By following these tips, you can ensure your clothes with woven interlining stay looking sharp and last for years to come. Remember, a little care goes a long way in keeping your wardrobe looking its best!

Link of related Articles

shweta-textile-designer
Shweta, a textile designer with a keen eye and deep knowledge of fabrics, translates her passion into unique designs. She loves to share her expertise and ignite a love for textiles in others. Dive into the world of fabrics with Shweta!

Categories
Woven Interlinings

Master the Two-Button Suit: Button Up Your Style with Confidence

The two-button suit jacket – a timeless classic that exudes sophistication and style. But have you ever gotten confused about how to button it properly? Fear not, this guide will help you, specifically focusing on the ever-important “buttoning rule” for blazer buttons, coat buttons, or jacket buttons, as they’re all interchangeable terms.

Table of Content

  • The Two-Button Suit
  • Button Up or Down?
  • Advanced Two-Button Suit Buttoning Tips
  • The History of the Two-Button Suit Jacket
  • Two-Button Suit vs. Three-Button Suit
  • Button Up with Confidence

The Two-Button Suit

The two-button suit jacket offers a sleek and versatile silhouette that flatters a wide range of body types. It sits comfortably between the more formal three-button suit and the more relaxed single-button option. Here’s what makes the two-button suit a wardrobe staple:

  • Versatility: Two-button suits can be dressed up or down depending on the occasion. Pair it with dress pants and a tie for a formal event, or rock it with chinos and a button-down shirt for a more casual look.
  • Flattering Silhouette: The two-button placement creates a visually elongated torso, making it a great choice for both taller and shorter gentlemen.
  • Modern Appeal: The two-button suit offers a clean and contemporary aesthetic, perfect for the modern man who wants to look sharp without feeling overly formal.

Button Up or Down? 

The golden rule of the two-button suit is to button the top button, and leave the bottom one unbuttoned. This creates a clean and balanced look that flatters the silhouette. Here’s why this rule exists for blazer buttons, coat buttons, and jacket buttons:

  • Function and Form: Two-button suits are designed with this specific buttoning rule in mind. Buttoning both blazer buttons (or coat buttons/jacket buttons) can restrict movement and create an unflattering bunching effect at the waist.
  • Historical Context: The two-button suit originated in the early 20th century, a time when a more relaxed and comfortable silhouette became popular. Leaving the bottom button undone became the norm as it reflected this shift in style for blazers, coats, and jackets.

Advanced Two-Button Suit Buttoning Tips

While the one-button-up rule is the foundation for blazer buttons (or coat buttons/jacket buttons), there are some additional tips to consider:

  • Sitting Down: When you sit down, it’s perfectly acceptable to unbutton the top button on your blazer (or coat/jacket) to avoid any pulling or strain on the fabric. Just remember to button it back up when you stand.
  • Body Type: If you have a shorter torso, consider experimenting with buttoning both buttons on your blazer (or coat/jacket) occasionally. This can visually elongate your torso and create a more balanced look. However, always ensure it doesn’t create any tightness or discomfort.
  • Matching Your Style: The two-button suit rule is a guideline, not a rigid law for blazer buttons (or coat buttons/jacket buttons). If you have a very specific and bold style, you can experiment with buttoning both buttons for a more dramatic look.

The History of the Two-Button Suit Jacket

The two-button suit jacket emerged in the early 20th century as a reaction to the more formal and restrictive styles of the previous era. Men started favoring a more relaxed and comfortable silhouette, and the two-button jacket became a popular choice for blazers, coats, and jackets.

Throughout the decades, the two-button suit has seen various interpretations. From the wide lapels of the 1930s to the slimmer cuts of the modern era, it has continuously adapted to changing fashion trends. However, the core principle of buttoning the top button and leaving the bottom one undone has remained a constant for blazer buttons, coat buttons, and jacket buttons.

Two-Button Suit vs. Three-Button Suit

Both two-button and three-button suits are classic choices, but they offer slightly different vibes for blazers, coats, and jackets. Here’s a breakdown to help you decide:

  • Two-Button Suit:
    • Offers a more modern and relaxed feel.
    • It’s a versatile option for various occasions and flatters a wide range of body types.
    • The two-button blazer (or coat/jacket) is a great choice for a clean and contemporary look.
  • Three-Button Suit:
    • Exudes a more formal and traditional aesthetic.
    • It might be a better choice for very formal events or for men with a longer torso, especially for three-button blazers or coats.
    • Three-button jackets can sometimes appear a bit too structured for casual settings.

Ultimately, the best choice depends on your personal style and the occasion. If you’re unsure, the two-button suit (or blazer/coat/jacket) is always a safe bet due to its versatility.

Button Up with Confidence

The two-button suit jacket is a timeless wardrobe essential that offers both style and versatility. By mastering the buttoning rule for blazer buttons (or coat buttons/jacket buttons) and understanding the history and nuances of this classic garment, you can confidently rock your two-button suit for any occasion.

  • Confidence is Key: The most important factor is to wear your two-button suit (or blazer/coat/jacket) with confidence. When you feel good in what you’re wearing, it shows!
  • Accessorize Wisely: Elevate your two-button suit with the right accessories. A well-chosen tie, pocket square, or belt can add personality and polish to your look, especially for blazers and coats.
  • Take Care of Your Suit: A well-tailored and well-maintained two-button suit (or blazer/coat/jacket) will last you for years to come. Invest in proper cleaning and storage to keep it looking its best.

So, the next time you reach for a suit blazer button (or coat button/jacket button), consider the timeless appeal of the two-button option. With the knowledge and confidence gained from this guide.

Link of related Articles

shweta-textile-designer
Shweta, a textile designer with a keen eye and deep knowledge of fabrics, translates her passion into unique designs. She loves to share her expertise and ignite a love for textiles in others. Dive into the world of fabrics with Shweta!

Categories
Woven Interlinings

Metal vs. Plastic Blazer Buttons

We all know a well-fitting blazer can elevate any outfit, but have you ever stopped to consider the power of the buttons? Believe it or not, blazer buttons (also called coat buttons or jacket buttons) can make a huge difference! Today, we’re diving deep into the world of metal vs. plastic blazer buttons, helping you choose the perfect finishing touch for your next statement piece.

Table of Content

  • Metal Blazer Buttons
  • Plastic Blazer Buttons
  • Metal vs. Plastic Blazer Buttons
  • Choosing the Right Blazer Buttons for You
  • Exploring Other Button Options
  • Conclusion

Metal Blazer Button

Metal buttons have graced blazers for decades, offering a timeless and sophisticated look. They come in various finishes like gold, silver, gunmetal, and even antique brass, adding a touch of luxury and weight to your garment. Here’s what makes them stand out:

  • Durability: Metal buttons are generally more durable than their plastic counterparts. They’re less prone to chipping or breaking, making them a great choice for blazers you plan to wear often.
  • Versatility: Metal buttons come in a wide range of styles, from sleek and minimalist to ornate and eye-catching. This allows you to find the perfect match for both classic and trendy blazers.
  • Style: Metal buttons often exude a sense of sophistication and formality. They can elevate a simple blazer into a more polished and put-together piece.

Plastic Blazer Buttons

While metal buttons have a long history, plastic buttons offer a more modern and playful alternative. They’re available in a vast array of colors, finishes, and textures, allowing you to add a pop of personality to your outfit. Here’s why plastic buttons might be the answer:

  • Versatility: Plastic buttons come in an endless variety of styles and colors. You can find everything from classic black or navy to vibrant neons or fun patterns. This opens up a world of possibilities for customizing your blazer.
  • Lightweight: Plastic buttons are lighter than metal ones, which can be beneficial for certain fabrics or styles. They won’t weigh down your blazer and might be a better choice for a more casual look.
  • Cost: Plastic buttons are generally more affordable than metal buttons. This can be a great option if you’re on a budget or want to experiment with different looks without breaking the bank.

Metal vs. Plastic Blazer Button

let’s compare them across key factors:

FactorMetal ButtonsPlastic Buttons
DurabilityHighModerate
VersatilityHigh (styles), Limited (colors)High (colors/styles)
StyleClassic, sophisticated, formalModern, playful, casual
MaintenanceMay require polishingEasy to clean
CostGenerally higherGenerally lower

Choosing the Right Blazer Buttons for You

The perfect blazer button choice depends on several factors:

  • Blazer Style: Metal buttons complement traditional styles, while plastic buttons can add a fun touch to contemporary blazers.
  • Fabric: Heavyweight fabrics like wool might benefit from the weight and structure of metal buttons. For lighter fabrics like linen, plastic buttons can be a good option.
  • Occasion: Are you dressing for a formal event or a casual outing? Metal buttons often add a touch of formality, while plastic buttons can be more versatile for various occasions.
  • Personal Style: Ultimately, the best button choice reflects your personal style. 

Beyond Metal and Plastic

While metal and plastic are the most common choices, there are other materials to consider:

  • Natural materials like horn, wood, or shell offer a unique and luxurious look.
  • Fabric-covered buttons can add a touch of texture and coordinate with your blazer fabric.
  • Enamel buttons come in vibrant colors and intricate designs, perfect for a statement piece.

Conclusion

Don’t underestimate the power of buttons! Choosing the right ones can elevate your blazer from ordinary to extraordinary. By considering the factors mentioned above, you can confidently select metal, plastic, or even another alternative to create a blazer that reflects your unique style and makes you feel confident and ready to take on

Link of related Articles

shweta-textile-designer
Shweta, a textile designer with a keen eye and deep knowledge of fabrics, translates her passion into unique designs. She loves to share her expertise and ignite a love for textiles in others. Dive into the world of fabrics with Shweta!

Categories
Woven Interlinings

The Ultimate Guide to Choosing Interlining for Your Bodice

Ever dreamt of crafting a garment with a bodice that boasts sharp lines, defined curves, and a touch of supportive magic? The secret weapon in your arsenal is interlining fabric.

But with so many interlining options available, choosing the right one for your structured bodice project can feel overwhelming. Don’t worry, I’m here to guide you through the selection process! In this article, we’ll explore the interlining fabrics, and their properties, and help you pick the perfect match for your dream bodice.

Table of Content

  • What is Interlining Fabric and Why Use it for Bodices?
  • Types of Interlining Fabric for Structured Bodices
  • Choosing the Right Interlining Fabric for Your Bodice Project:
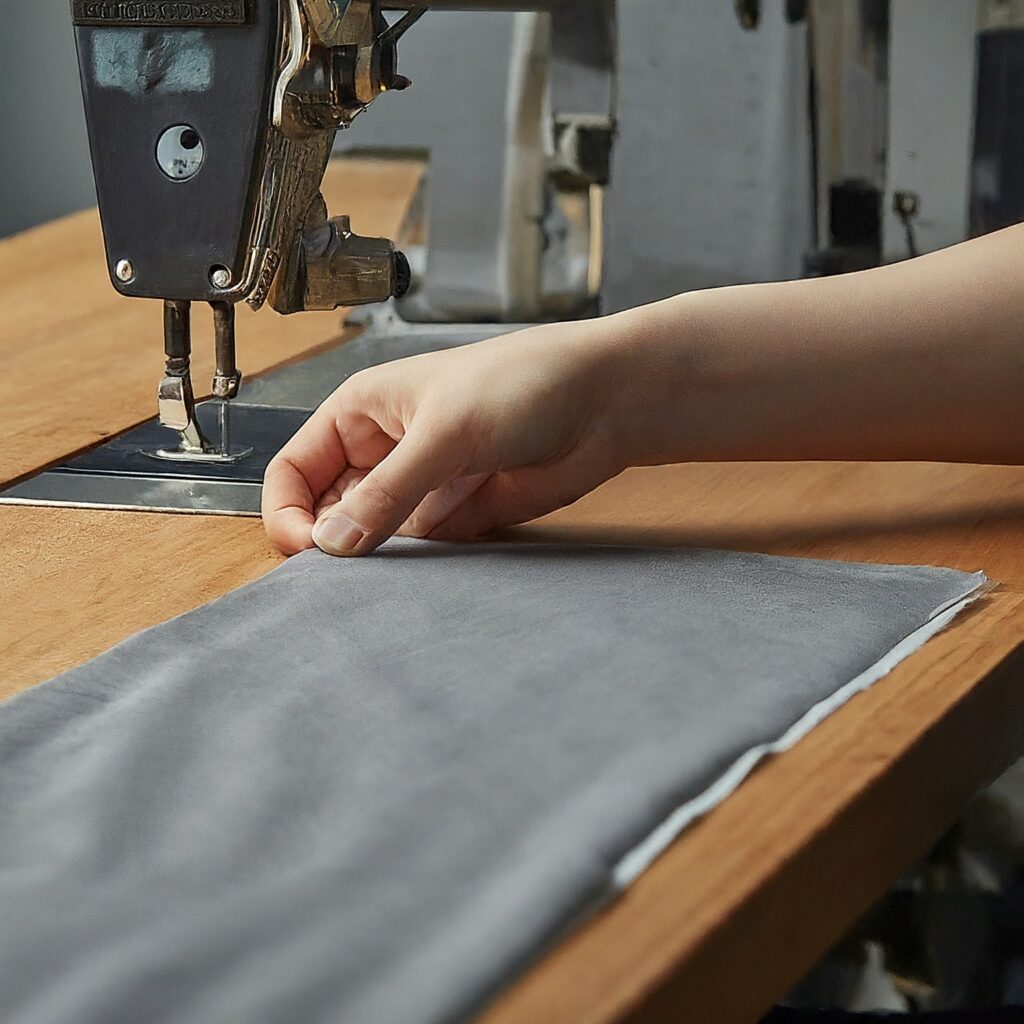
  • Tips for Using Interlining Fabric in Your Bodice Project
  • Conclusion

What is Interlining Fabric and Why Use it for Bodices?

Interlining is a sheet-like material that comes in various weights and types, designed to enhance the shape and stability of your garments, specifically for interlining in garments like bodices.

So, why is interlining so important for structured bodices? Here are some reasons:

  • Structured Silhouette: Interlining provides the backbone for maintaining a defined shape in your bodice. It prevents unwanted sagging or drooping, especially in areas like sweetheart necklines, fitted waistlines, and structured seams.
  • Crisp Lines and Edges: Adding interlining creates crisp and polished edges, giving your bodice that professional, tailored look.
  • Improved Drape: The right interlining can actually enhance the drape of your bodice fabric by adding a touch of weight and fullness. This can create a flattering silhouette and smooth out any unwanted wrinkles.
  • Enhanced Durability: Interlining reinforces your fabric, making your bodice more resistant to wear and tear. This is particularly important for garments you plan to wear often.

Types of Interlining Fabric for Structured Bodices

Now that you know the benefits, let’s explore the different types of interlining fabrics available:

Woven Interlining Fabrics:

  • Made from natural fibers like cotton or synthetic fibers like polyester.
  • Offer a range of weights from lightweight to heavyweight.
  • Provides excellent structure and stability, perfect for creating tailored looks.
  • Can be more challenging to work with for beginners due to its directional grain.

Non-Woven Interlining Fabrics:

  • Made from bonded fibers, offering a sheet-like construction with no grain.
  • Comes in various weights and types, with options for sew-in or fusible interlining application.
  • Easier to work with for beginners due to its flexibility and lack of grain.
  • Offers good to excellent structure depending on the weight and type chosen.

Fusible vs. Sew-in Interlining:

  • Fusible Interlining: Has a heat-activated adhesive backing that allows you to iron it directly onto your fabric. This is a quick and easy option for beginners or projects with simple shapes.
  • Sew-in Interlining: Requires stitching it to your fabric for a permanent bond. Offers more flexibility for intricate shapes and allows for precise placement. This is a good choice for experienced sewers or projects requiring more control.

Choosing the Right Interlining Fabric for Your Bodice Project
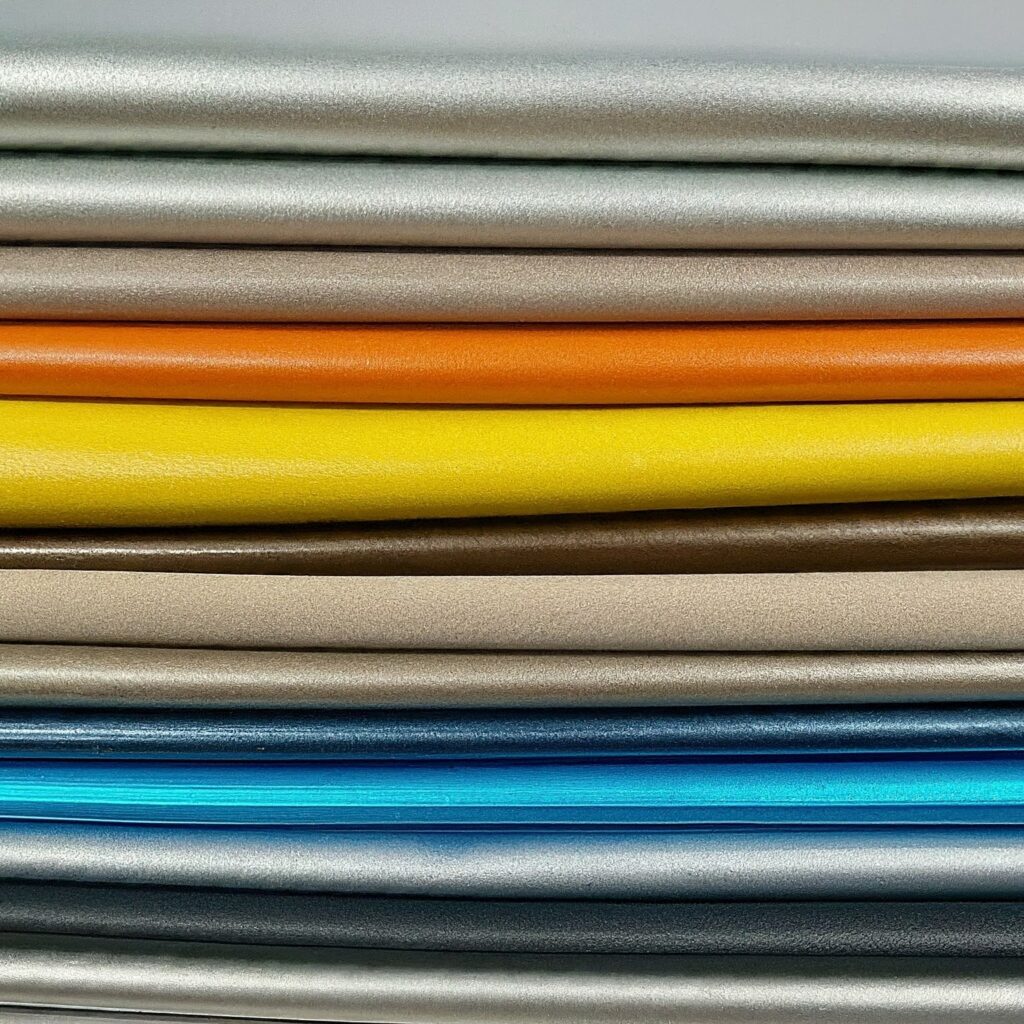
Selecting the perfect interlining for your structured bodice project depends on several factors:

  • Fabric Weight and Drape:Lightweight Fabrics (chiffon, voile): Opt for a lightweight, non-woven interlining to maintain a soft drape.
    • Medium Weight Fabrics (cotton, linen): A mediumweight, woven or non-woven interlining offers good structure for tailored bodices.
    • Heavyweight Fabrics (wool): Heavyweight, woven interlining provides the most support for structured bodices in heavier fabrics.
  • Bodice Style and Desired Structure:
    • Simple Bodice (sweetheart neckline): A lightweight to medium weight interlining can provide enough structure for crisp edges.
    • Structured Bodice (bustier, corset): A heavyweight, woven interlining is ideal for achieving a defined and supportive bodice.
  • Sewing Skill Level and Project Complexity:
    • Beginner: Fusible interlining is a user-friendly option for simple bodices. Its ease of application makes it a great choice for those starting their interfacing journey.
    • Experienced Sewer: Sew-in interlining offers more control and is suitable for complex bodice shapes with intricate details. It allows for precise placement and fine-tuning of the structure.

Tips for Using Interlining Fabric in Your Bodice Project
The perfect interlining for your structured bodice, here are some helpful tips for using it effectively:

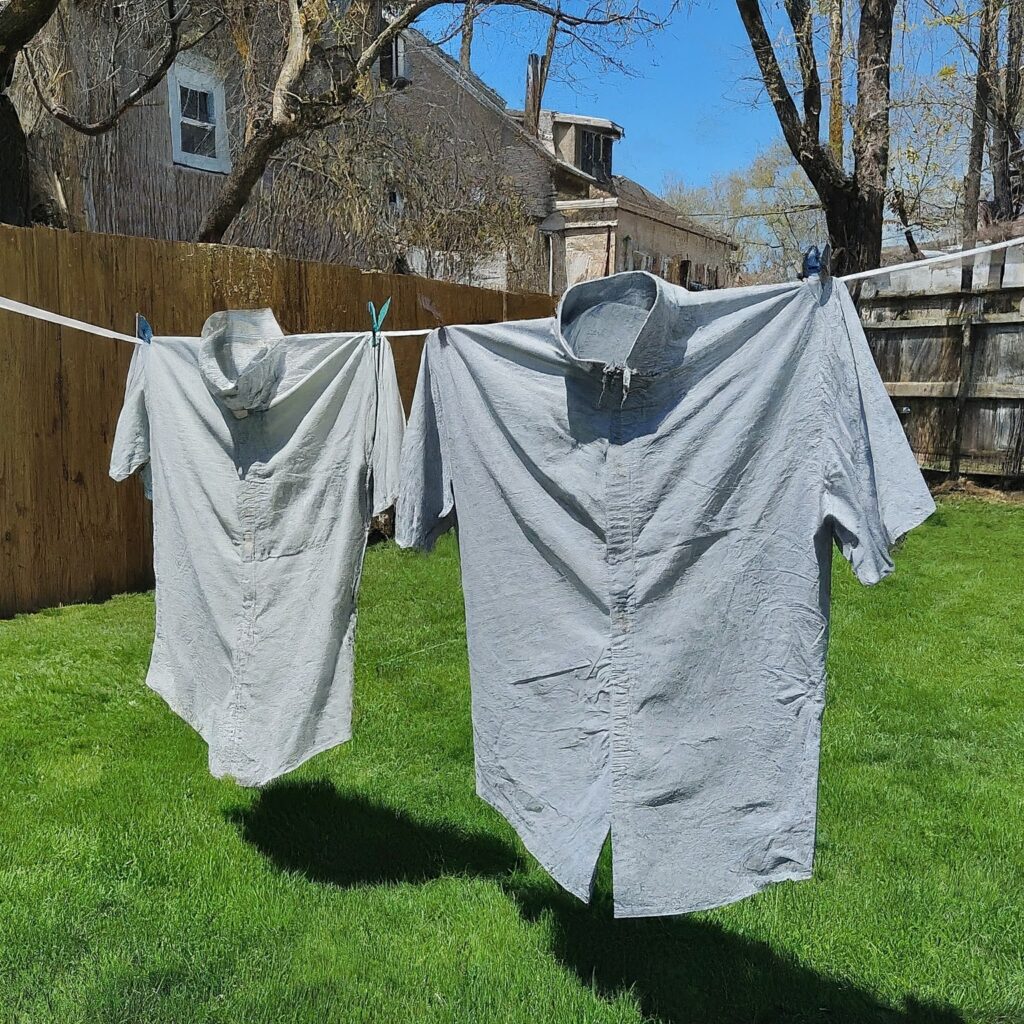
  • Pre-Wash Your Fabric : If your bodice fabric is washable and you plan to wash the finished garment, pre-wash and dry it according to the fabric care instructions. This prevents the fabric from shrinking after attaching the interlining.
  • Test the Interlining on a Scrap: Before using the interlining on your main fabric, test a small piece on a scrap of your bodice fabric. This allows you to check the adhesion (for fusible interlining) and ensure the interfacing (another term for interlining) doesn’t cause any puckering or distortion.
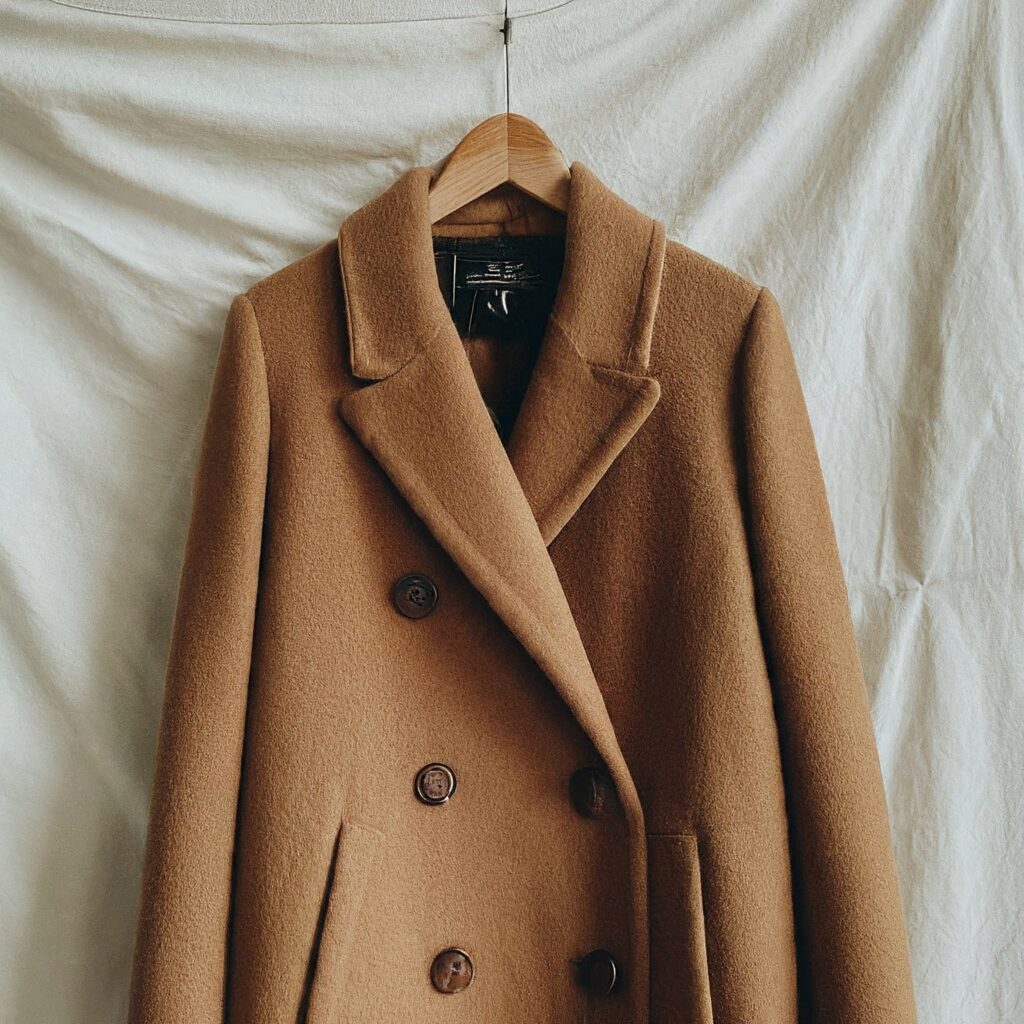
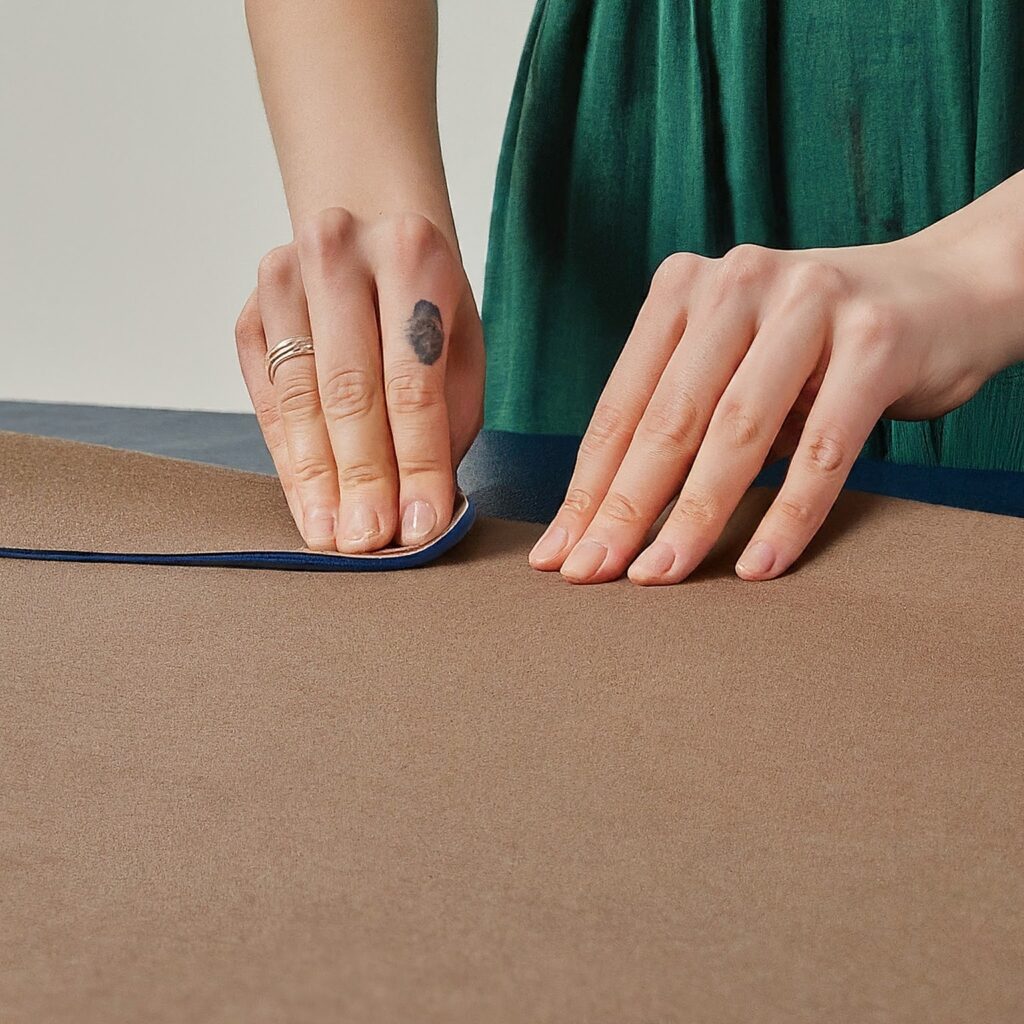
  • Mark Your Bodice Pieces: Clearly mark darts, seams, and other bodice markings on both the fabric and interlining pieces before attaching them. This ensures everything lines up perfectly.
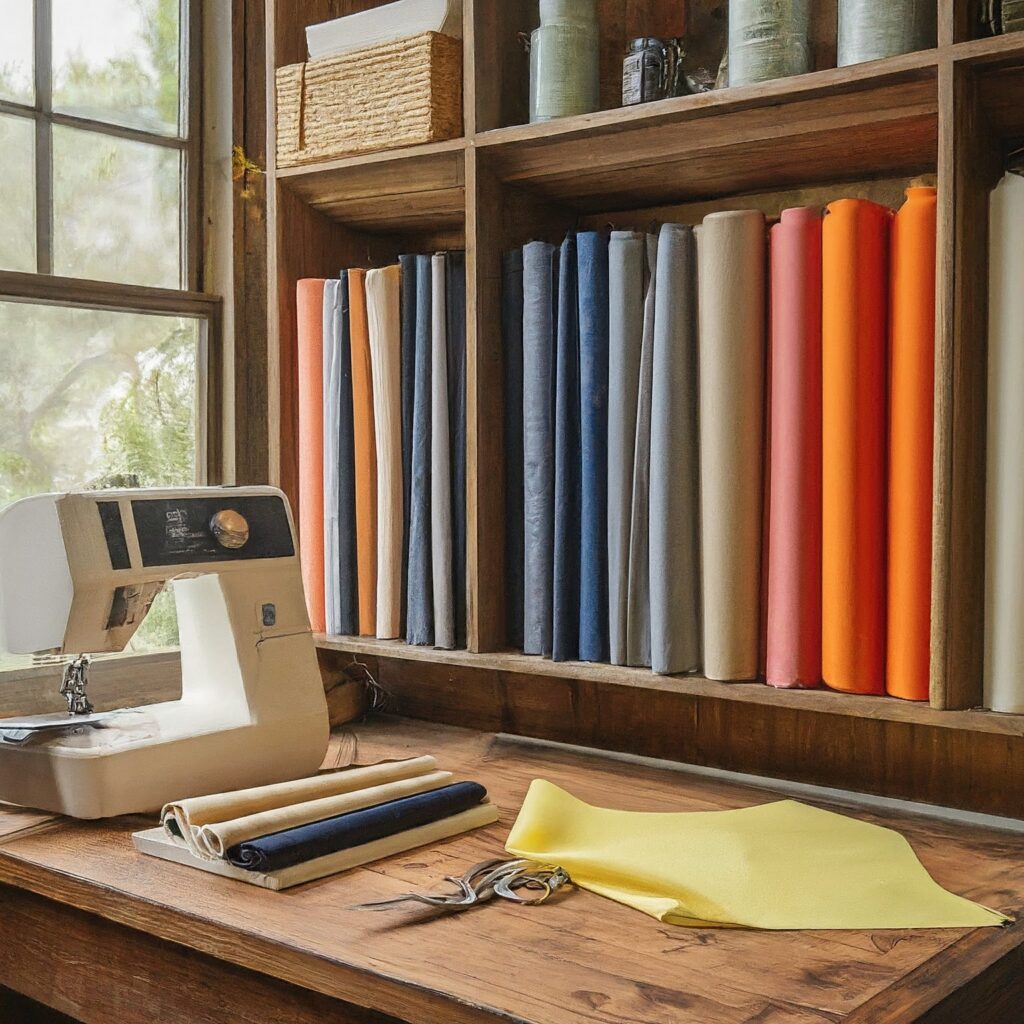
  • Attaching Interlining:
    • Fusible Interlining: Follow the manufacturer’s instructions for heat setting and application pressure. Use a pressing cloth for added protection against scorching your fabric.
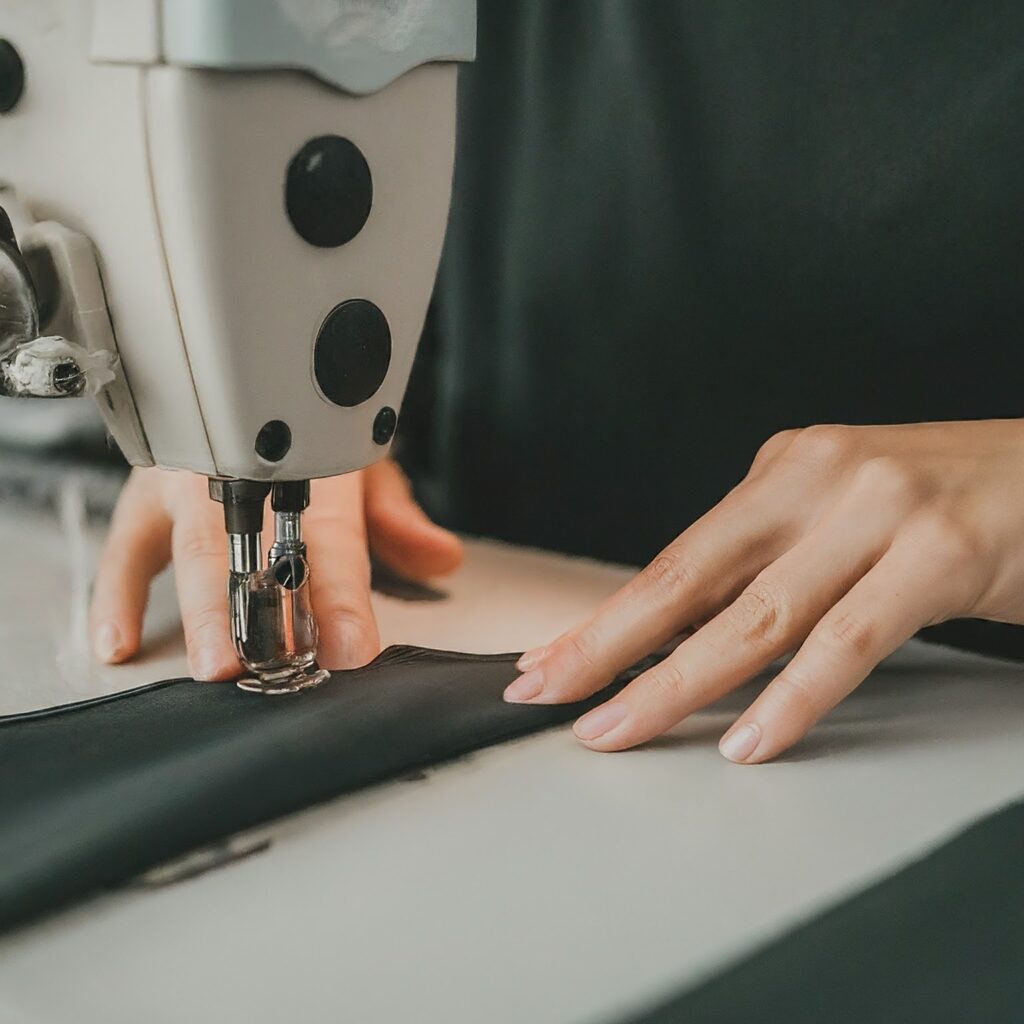
    • Sew-in Interlining: Pin the interlining to the wrong side of your bodice fabric, ensuring it lies flat and wrinkle-free. Sew around the perimeter of the interlining within your seam allowance using a straight stitch and a thread color that blends well with both fabrics. Trim any excess interlining close to the stitching line.
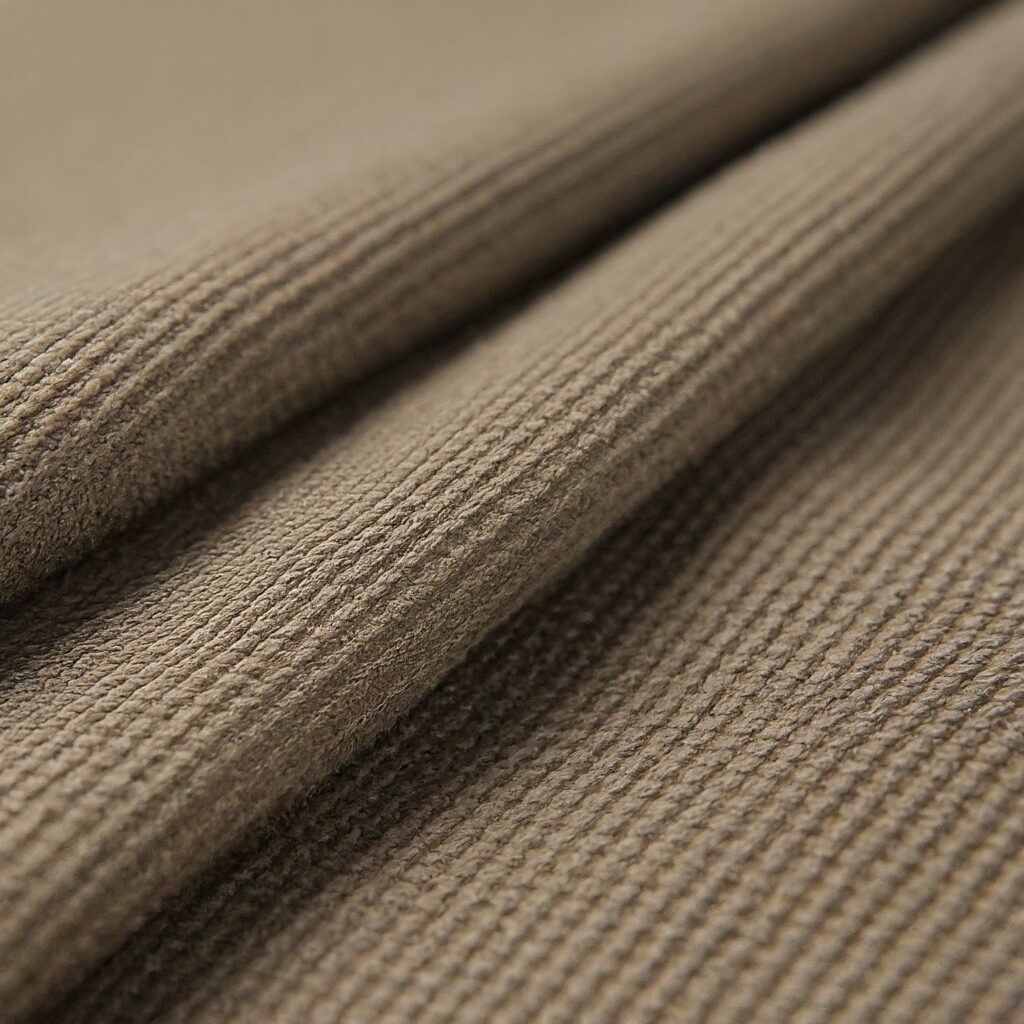
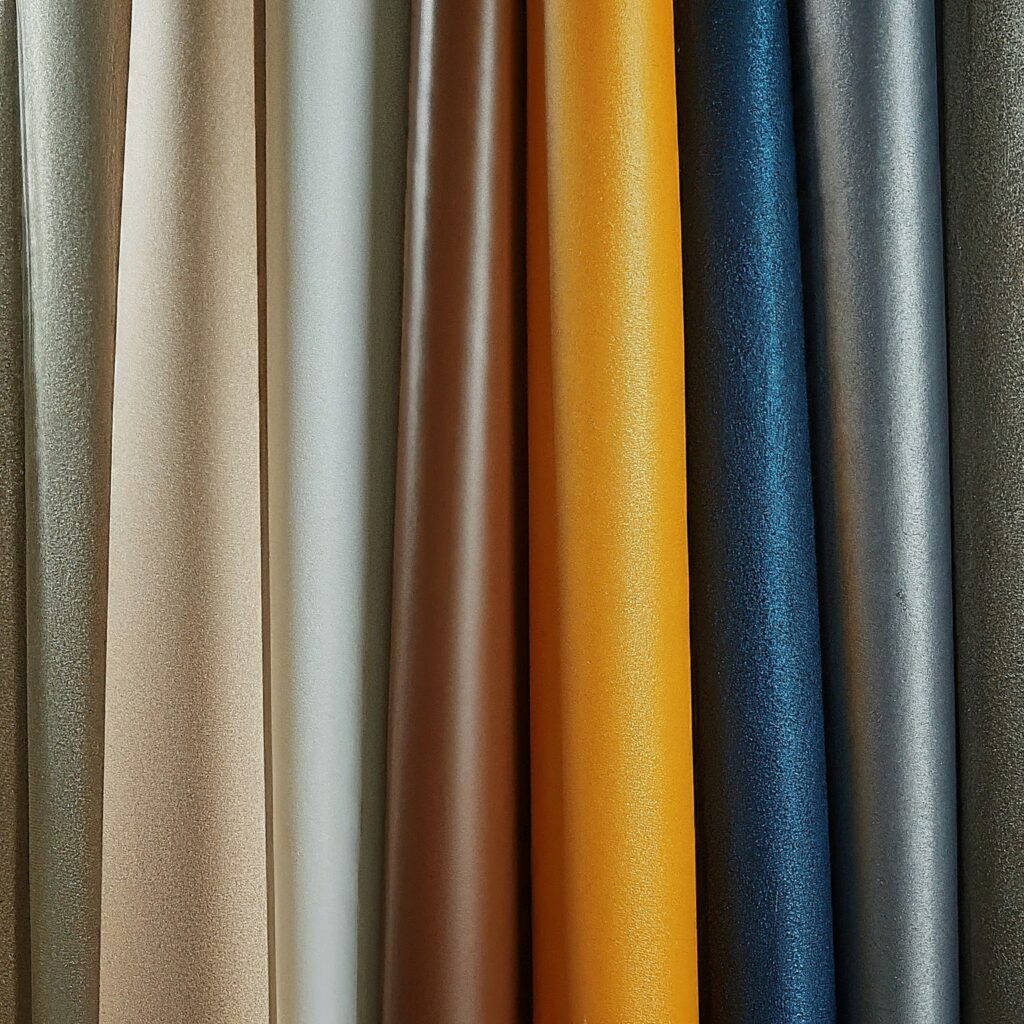
  • Clipping Curves: Carefully clip the curves of your interfacing piece to prevent bulk in your seams, especially around areas like darts and curved bodices. This helps the fabric drape smoothly over the structured areas.
  • Finishing Touches: Once the interlining is attached, press your bodice pieces according to your fabric’s care instructions. This helps the interlining and fabric bond seamlessly.
Conclusion

By incorporating the right interlining fabric, you’ll transform your simple bodice pieces into a structured masterpiece. With its added support and defined shape, your bodice will create a stunning silhouette that complements your unique style. Remember, practice makes perfect! Start with a simpler bodice design and experiment with different interlining weights and types, whether woven or non-woven, fusible or sew-in.
I hope this comprehensive guide empowers you to choose the best interlining fabric for your next structured bodice project.
Happy sewing!

Link of related Articles

shweta-textile-designer
Shweta, a textile designer with a keen eye and deep knowledge of fabrics, translates her passion into unique designs. She loves to share her expertise and ignite a love for textiles in others. Dive into the world of fabrics with Shweta!