
A fusing test is a small-scale trial that checks whether an interlining bonds properly with your actual outer fabric before you commit material to bulk production. You do it because the result depends on the combination, not on the interlining alone. A test shows you early whether to approve the pairing or adjust it.
When you work with non woven fusible interlining, the logic is simple: outer fabric + interlining + fusing conditions → bonded result → production decision. In this guide, we show you what a fusing test is, what to check, how to run one, which problems it can reveal, and when to repeat it. Details about our own range come from our official product page. Everything else is general industry guidance.
What Is a Fusing Test in Non-Woven Interlining?
A fusing test is a trial run in which you fuse the selected interlining to the actual, or a representative, outer fabric under your intended production setup, then inspect the result.
In garment production, you aren’t testing the interlining in isolation. You’re testing how it behaves with your fabric, on your equipment, for your garment. Results can differ with:
- Outer fabric: fibre, weave or knit, finish, and weight all affect how it takes the bond.
- Interlining construction: the base structure influences how the fused part feels and behaves.
- Coating: the adhesive type and pattern affect how the bond forms.
- Fabric surface: smooth, textured, or finished surfaces can respond differently.
- Fusing conditions: temperature, pressure, and time all play a role.
- Garment application: a collar, cuff, and placket each ask for something different.
A small trial costs you a few pieces of fabric. Discovering a mismatch after cutting a full production lot can cost far more. That’s why we encourage you to test first.
No single fusing setting suits every fabric and interlining pair. The test is how you find out what works for yours.
What Does a Fusing Test Check Before Production?
It checks whether the bond forms, whether it’s consistent, and whether the fused fabric still looks and feels the way your garment needs.
| What you check | What you’re looking for |
| Bonding | Does the interlining adhere across the whole piece? |
| Consistency | Is adhesion even from edge to edge and between samples? |
| Appearance | Has the outer fabric’s surface changed, such as shine, marks, or shade? |
| Bubbling, lifting, separation | Do any areas blister, lift at the edges, or separate? |
| Hand feel | Does the fused area feel stiffer or different from what the garment calls for? |
| Overall behaviour | Does the combined material hold up when handled, shaped, and finished as expected? |
The exact checks vary with your fabric, interlining, garment, and process. A shirt collar and a placket may need different things from the same trial.
A fusing test also has limits. It won’t reveal every issue that could appear in production. It gives you early, practical evidence about compatibility, and that’s what you use to decide.
How to Perform a Fusing Test on Non-Woven Interlining
Fuse a sample of your actual fabric with your selected interlining, using your intended process, then inspect and record the result. These are general industry steps. Always follow the technical recommendation for the specific interlining and equipment you use.
- Select a representative piece of outer fabric. Use fabric from the actual lot, or one that closely matches it.
- Select the intended interlining. Use the exact grade you plan to order.
- Prepare the pieces. Cut both to the size and shape your production setup uses, such as a collar or cuff piece.
- Apply your intended fusing conditions. Place the coated side against the wrong side of your fabric, then fuse using your planned equipment and settings. When testing non woven interlining on our grades, our page states a flatbed press with a temperature of up to 120°C. Confirm the remaining conditions for your own equipment.
- Let the sample settle. Allow it to cool before handling, as appropriate for your process.
- Inspect the bond. Check for bubbles, lifting, uneven adhesion, and surface changes.
- Compare against your required finish. Judge hand feel, appearance, and shape against what your garment needs.
- Record the result. Note the fabric, interlining, settings, equipment, and outcome, so you can repeat or adjust.
Then decide: approve for production, or adjust one variable and test again. Change one thing at a time so you know what made the difference.
What Problems Can a Fusing Test Help Identify?
It can reveal bonding and appearance problems early, while you can still adjust, instead of after bulk production has begun. It doesn’t guarantee that every production issue will be avoided.
Problems a test may bring to light:
- Incomplete bonding: parts of the interlining don’t adhere.
- Lifting or peeling: edges or areas separate.
- Bubbling: the bond forms blisters across the surface.
- Uneven bonding: adhesion varies across the piece.
- Appearance changes: the outer fabric’s surface looks different after fusing.
- Excessive stiffness: the fused area feels firmer than the garment should.
- Undesirable hand feel: the fabric loses the feel you want.
- Fabric distortion: the fused piece changes shape.
- Incompatibility: the fabric and interlining don’t work well together.
These are general possibilities, not diagnoses. If one appears, possible causes include the fusing conditions, the fabric itself, or the interlining choice. The test tells you where to look.
Treat a test as early evidence. It lets your production team adjust the process or the materials before the problem multiplies.
When Should Garment Manufacturers Repeat a Fusing Test?
Repeat it whenever something that affects the bond changes. A past result applies only to the combination and conditions you tested.
Consider a new test when:
- The outer fabric changes: a new fabric, finish, or lot may behave differently.
- The interlining specification changes: a different GSM, coating, or construction is a new pairing.
- The material batch or supplier changes: where relevant, confirm the new material behaves like the old.
- The production process changes: new settings or workflow need checking.
- The fusing equipment changes: a different press may deliver heat and pressure differently.
- The garment construction changes significantly: a new design may ask more of the bond.
- A previous result missed the required finish: adjust and retest.
Don’t assume one approved test covers every future fabric or interlining combination. Each pairing is its own question. Keeping a simple test log makes it quick to see what you’ve already verified and what’s new.
Non-Woven Fusible Interlining Options From Double Ghoda
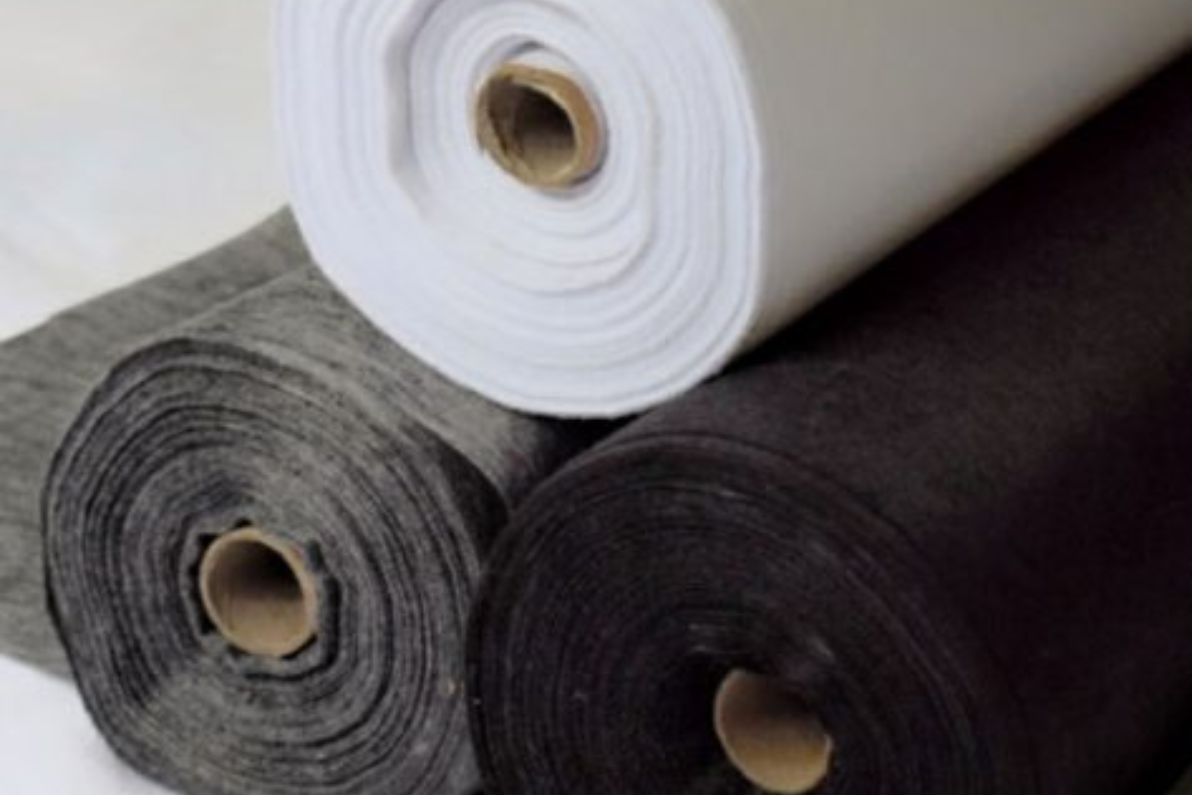
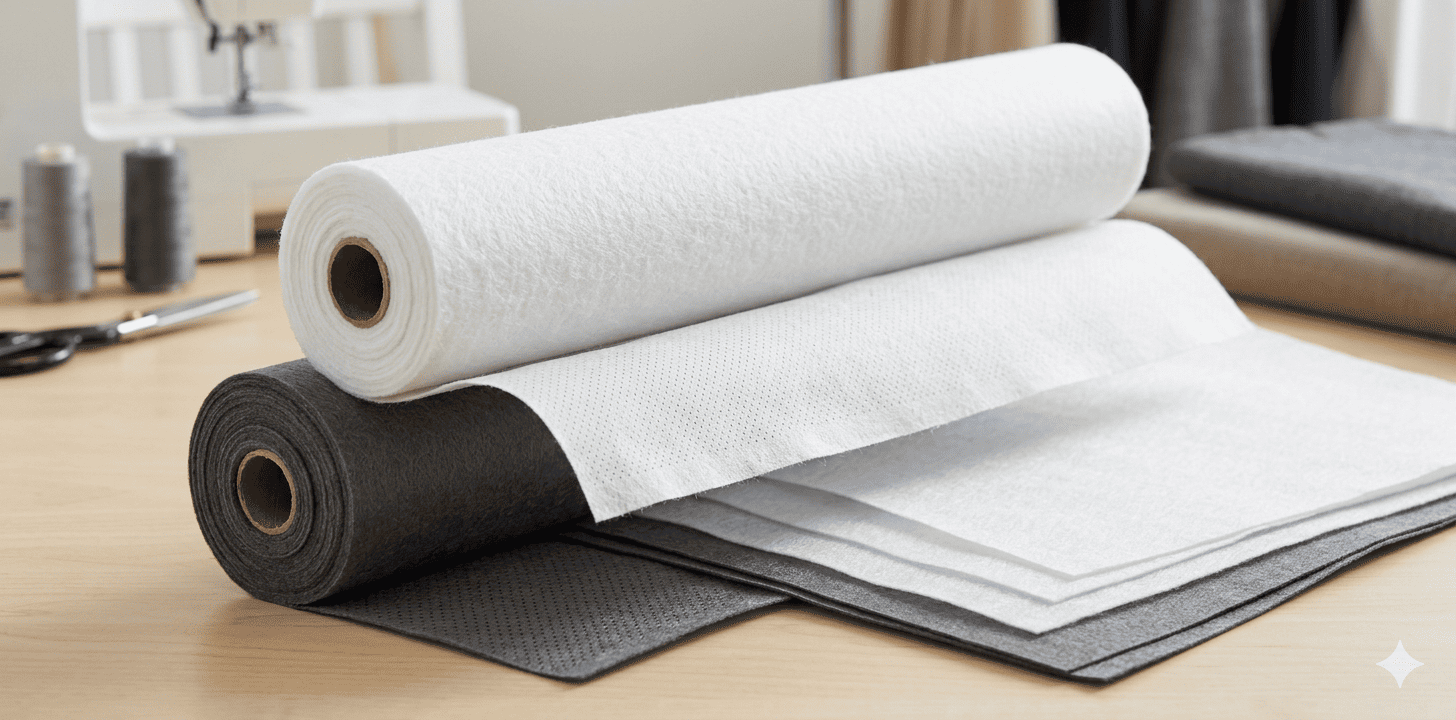
Our non-woven grades are made of bonded polyester fibres with a PES coating, in 30 to 82 GSM. You should still test your chosen grade on your own fabric before bulk production.
Our non woven interlining fabric is 100% polyester (pure and blended). These are the specifications from our product page:
| Specification | Details |
| Structure | Bonded polyester fibres |
| Coating | PES (polyester thermoplastic adhesive) |
| GSM range | 30–82 |
| Width | 100 cm (40 inches) |
| Roll length | 90 metres |
| Colours | White, black |
| Fusing temperature | Up to 120°C |
| Fusing machine | Flatbed pressing machine |
| Care | Machine wash at 40°C, dry clean safe |
| Certification | OEKO-TEX® Standard 100 |
Our page lists these garment applications:
- Shirt collars and cuffs: 40–60 GSM.
- Plackets: 40–55 GSM.
- Jacket small parts such as pockets and flaps: 50–70 GSM.
- Women’s formal wear: 30–55 GSM.
Here is how this connects to your fusing test. Our grades are used for smaller garment parts, so test on the part you’re making: a collar piece, a cuff, or a placket. Match the GSM and application to your garment, then check the bond on your actual fabric. Our page gives the maximum temperature and equipment, but your fabric and your press decide the rest.
We don’t claim any grade will bond successfully with every fabric. Fabrics differ, and that’s the reason a fusing test exists. Run it, record it, and approve the pairing only when the result meets your finish.
Frequently Asked Questions
What is a fusing test for interlining?
It’s a small trial in which you fuse the interlining to your actual or representative fabric using your intended process, then inspect the bond and finish before production.
Why should interlining be tested before bulk production?
Bonding depends on the fabric, interlining, and fusing conditions together. A test shows early whether the pairing works, so you can approve or adjust it before a large run.
How do you perform a fusing test?
Select representative fabric and your intended interlining, prepare the pieces, fuse them under your planned conditions, let the sample settle, inspect the bond, compare it with your required finish, and record the result.
What problems can a fusing test identify?
It can reveal incomplete or uneven bonding, lifting, bubbling, appearance changes, excessive stiffness, an undesirable hand feel, distortion, or incompatibility. It doesn’t guarantee that every issue will be found.
Should a fusing test be repeated when the fabric changes?
Yes. A new fabric, finish, or lot is a new combination, so confirm it with a fresh test.
What non-woven grades do we offer?
We offer bonded polyester non-woven grades from 30 to 82 GSM with PES coating, a 100 cm width, and 90 m rolls, in white and black.
Your framework: test your actual fabric with your selected interlining, apply your intended process, inspect the result, then approve or adjust before bulk production. Record what you tested, and repeat the test whenever the fabric, interlining, equipment, or construction changes.
Link of related Articles
- Lightweight Interlining vs. Heavyweight Interlining
- A Beginner’s Guide to Interlining
- Choosing the Right Interlining