Categories
Interlining

Lightweight Interlining vs. Heavyweight Interlining

When it comes to sewing and textile projects, choosing the right interlining fabric can make a huge difference in the outcome. Interlining is a crucial component that adds structure, support, and durability to fabrics, helping to shape and reinforce garments and other items. But with so many options available, especially when it comes to lightweight versus heavyweight interlining, it can be challenging to know which one to choose.

Table of Content

  • Introduction to Interlining
  • What is Lightweight Interlining?
  • What is Heavyweight Interlining?
  • Differences Between Lightweight and Heavyweight Interlining
  • Applications of Lightweight and Heavyweight Interlining
  • How to Choose the Right Interlining for Your Project
  • Conclusion

Introduction to Interlining

Interlining refers to a layer of fabric placed between the outer fabric and the lining in a garment. Its primary function is to provide additional support and shape, making your clothes look more polished and professionally finished. Interlining plays a crucial role in garment construction and other textile projects, providing the necessary support and structure to your fabric.

What is Lightweight Interlining?

Lightweight interlining is a thin, flexible material used to give subtle support and structure to delicate fabrics. It’s often made from non-woven interlining materials, but you can also find lightweight woven interlining.

Features of Lightweight Interlining

  • Thin and flexible: Perfect for maintaining the softness and drape of lightweight fabrics.
  • Breathable: Does not add bulk or stiffness.
  • Easy to work with: Ideal for projects where you need a light touch.

Common Uses

What is Heavyweight Interlining?

Heavyweight interlining is a thicker, sturdier material used to provide strong support and structure. It can be made from non-woven interlining fabrics or woven interlining fabrics and is designed to handle heavier fabrics and more demanding applications.

Features of Heavyweight Interlining

  • Thick and sturdy: Offers substantial support and durability.
  • Adds structure: Perfect for maintaining the shape of heavyweight fabrics.
  • Long-lasting: Ensures the durability of the finished product.

Common Uses

  • Coats and jackets: Provides the necessary structure for outerwear, often using woven fusible interlining.
  • Bags and accessories: Adds firmness and durability, typically with fusible interlining.
  • Home décor: Ideal for items like curtains, upholstery, and cushions, using lining and interlining fabric for added weight and stability.

Differences Between Lightweight and Heavyweight Interlining

Understanding the differences between lightweight and heavyweight interlining can help you choose the right one for your project.

Weight and Thickness

  • Lightweight interlining: Thin and flexible, barely noticeable in the final product.
  • Heavyweight interlining: Thick and sturdy, significantly alters the fabric’s feel and structure.

Support and Structure

  • Lightweight interlining: Provides gentle support without adding bulk.
  • Heavyweight interlining: Offers strong support, ideal for maintaining shape and durability.

Applications

  • Lightweight interlining: Best for delicate and lightweight fabrics, such as silk, chiffon, and lightweight cotton. For example, collar interlining might use a lightweight option for a softer feel.
  • Heavyweight interlining: Suitable for heavy fabrics like denim, canvas, and thick wool. Heavyweight interlining is often used in outerwear and home décor items.

Ease of Use

  • Lightweight interlining: Easier to handle, especially for beginners.
  • Heavyweight interlining: Requires more skill and care to work with, due to its thickness and rigidity.

Applications of Lightweight and Heavyweight Interlining

Knowing where to use lightweight versus heavyweight interlining can make a big difference in your projects.

Lightweight Interlining Applications

  • Blouses and Dresses: Lightweight interlining is perfect for adding a bit of structure to delicate garments without making them stiff. It keeps the fabric’s natural drape and flow.
  • Lingerie: It provides the necessary support for lingerie while keeping it soft and comfortable against the skin.
  • Sheer Fabrics: For fabrics like chiffon and organza, lightweight interlining adds just enough body to prevent flimsiness without being visible.

Heavyweight Interlining Applications

  • Coats and Jackets: Heavyweight interlining is essential for outerwear. It gives structure and support, helping the garment hold its shape, often with woven fusible interlining.
  • Bags and Accessories: For items that need to be durable and sturdy, heavyweight interlining provides the required firmness.
  • Home Décor: It’s ideal for curtains, upholstery, and cushions, adding the necessary weight and structure with lining and interlining fabric.

How to Choose the Right Interlining for Your Project

Choosing between lightweight and heavyweight interlining depends on your project’s specific needs. Here are some tips to help you decide:

Consider the Fabric

  • Fabric weight: Match the interlining weight to the fabric weight. Use lightweight interlining for lightweight fabrics and heavyweight interlining for heavyweight fabrics.
  • Fabric type: Think about the fabric’s texture and drape. Delicate fabrics need gentle support, while sturdy fabrics require strong support.

Think About the Project

  • Garment type: For structured garments like jackets and coats, heavyweight interlining is the way to go. For softer garments like blouses and dresses, lightweight interlining is better.
  • Functionality: Consider the purpose of the item. For example, bags and home décor items often need more structure, so heavyweight interlining is suitable.

Test Before You Commit

  • Sample test: Always test a small piece of interlining with your Interlining fabric before starting your project. This helps you see how the interlining affects the fabric and ensures compatibility.
  • Adjust as needed: Based on your test, you can adjust the type or weight of the interlining to better suit your needs.

Conclusion

Choosing between lightweight interlining and heavyweight interlining fabric  doesn’t have to be confusing. By understanding their differences and knowing how to match them to your fabric and project needs, you can make informed decisions that enhance the quality and durability of your work. Remember to consider the fabric, think about the project’s purpose, and always test before you commit. 

Happy sewing!

Link of related Articles

shweta-textile-designer
Shweta, a textile designer with a keen eye and deep knowledge of fabrics, translates her passion into unique designs. She loves to share her expertise and ignite a love for textiles in others. Dive into the world of fabrics with Shweta!

Categories
Interlining

Troubleshooting Collar Interlining

Have you ever found yourself frustrated with your shirt collars? You’re not alone. Collar interlining can be a bit tricky to get right, but don’t worry. This Guide will help you troubleshoot common collar interlining issues and make your shirts look crisp and sharp again.

Table of Content

  • Understanding Interlining Types
  • What is Collar Interlining?
  • Common Issues with Collar Interlining
  • Step-by-Step Guide to Troubleshooting Collar Interlining Problems
  • Pro Tips for Maintaining Collar Interlining
  • Conclusion

Understanding Interlining Types

Interlining fabrics come in various weights, textures, and compositions. Here’s a breakdown of common types:

  • Fusible interlining: This type bonds to the fabric with heat. It’s convenient but can sometimes cause issues if not used correctly.
  • Sew-in interlining: This requires stitching to attach to the fabric. It offers more control but can be time-consuming.
  • Horsehair interlining: Known for its stiffness and ability to hold shape, it’s ideal for structured collars.
  • Woven interlining: Provides support without excessive stiffness.
  • Non-woven interlining: A versatile option with various weights and textures.

What is Collar Interlining ?

Collar interlining is the hidden layer inside your shirt collars that gives them structure and shape. This layer can be made from various interlining fabrics like woven interlining or non woven interlining. When it doesn’t behave as expected, it can ruin the look of your entire outfit.

fusible interlining

Common Issues with Collar Interlining

You might be wondering, “What can go wrong with collar interlining?” Quite a bit, actually. Here are some of the most common issues you might face with different interlining types:

Step-by-Step Guide to Troubleshooting Collar Interlining Problems

1. Wrinkling and Bunching

Wrinkling and bunching can be a real nuisance. Here’s how you can tackle it:

  • Iron Carefully: Use a steam iron on a low heat setting. Iron the collar flat, working from the points towards the center. This works well for both woven interlining and non woven interlining.
  • Use a Press Cloth: Place a thin, damp cloth over the collar before ironing to protect the fabric and interlining.
  • Proper Storage: Hang your shirts on padded hangers to prevent wrinkling and bunching.

2. Loss of Stiffness

If your collar feels floppy, try these tips:

  • Starch Spray: Apply a light mist of starch spray before ironing to add stiffness. This can help rejuvenate interlining in garments.
  • Replace Interlining: If the stiffness doesn’t return, it might be time to replace the interlining. You can do this yourself if you’re handy with a needle and thread or take it to a tailor who understands the nuances of interlining fabric.
Collar interlining

3. Separation

Separation can make your collar look unsightly. Here’s what to do:

  • Re-adhere the Interlining: Use a fabric adhesive to glue the interlining back in place. Be sure to follow the manufacturer’s instructions for both woven fusible interlining and non woven fusible interlining.
  • Sewing: If glue doesn’t work, consider sewing the interlining back into place. A few well-placed stitches can make a big difference.

4. Discoloration

Discoloration can make your shirt look old and worn out. Here’s how to fix it:

  • Spot Clean: Use a gentle fabric cleaner to spot clean the affected areas.
  • Bleach Solution: For white shirts, a diluted bleach solution can help remove discoloration. Be cautious and test on a small area first.
  • Replace the Collar: If the discoloration is severe, replacing the collar might be the best option, especially if it’s affecting the lining and interlining fabric.

5. Shrinking

Shrinking can be tricky, but here’s what you can do:

  • Gentle Wash: Wash your shirts in cold water and avoid high heat in the dryer. This applies to both interlining woven and interlining non woven.
  • Stretch the Collar: While the shirt is still damp, gently stretch the collar back to its original shape.
  • Professional Help: If shrinking is a recurring issue, consider taking your shirts to a professional cleaner who can handle them with care.

Pro Tips for Maintaining Collar Interlining

To keep your collar interlining in top shape, follow these pro tips:

  • Regular Maintenance: Regularly check your collars for any signs of wear and tear. Early intervention can prevent bigger problems with your collar interlining.
  • Proper Laundering: Always follow the care instructions on your shirts. Use gentle detergents and avoid excessive heat.
  • Storage Solutions: Store your shirts properly to avoid unnecessary stress on the collars. Use padded hangers and avoid overcrowding your closet.
  • Use Collar Stays: Collar stays can help maintain the shape and stiffness of your collars. Invest in a good set and use them regularly.

Conclusion

Troubleshooting collar interlining doesn’t have to be a headache. By following these tips and tricks, you can keep your shirts looking sharp and well-maintained, regardless of the type of interlining fabric used. Remember, a well-kept collar can make a huge difference in your overall appearance.

Happy sewing!

Link of related Articles

shweta-textile-designer
Shweta, a textile designer with a keen eye and deep knowledge of fabrics, translates her passion into unique designs. She loves to share her expertise and ignite a love for textiles in others. Dive into the world of fabrics with Shweta!

Categories
Interlining

Choosing the Right Interlining
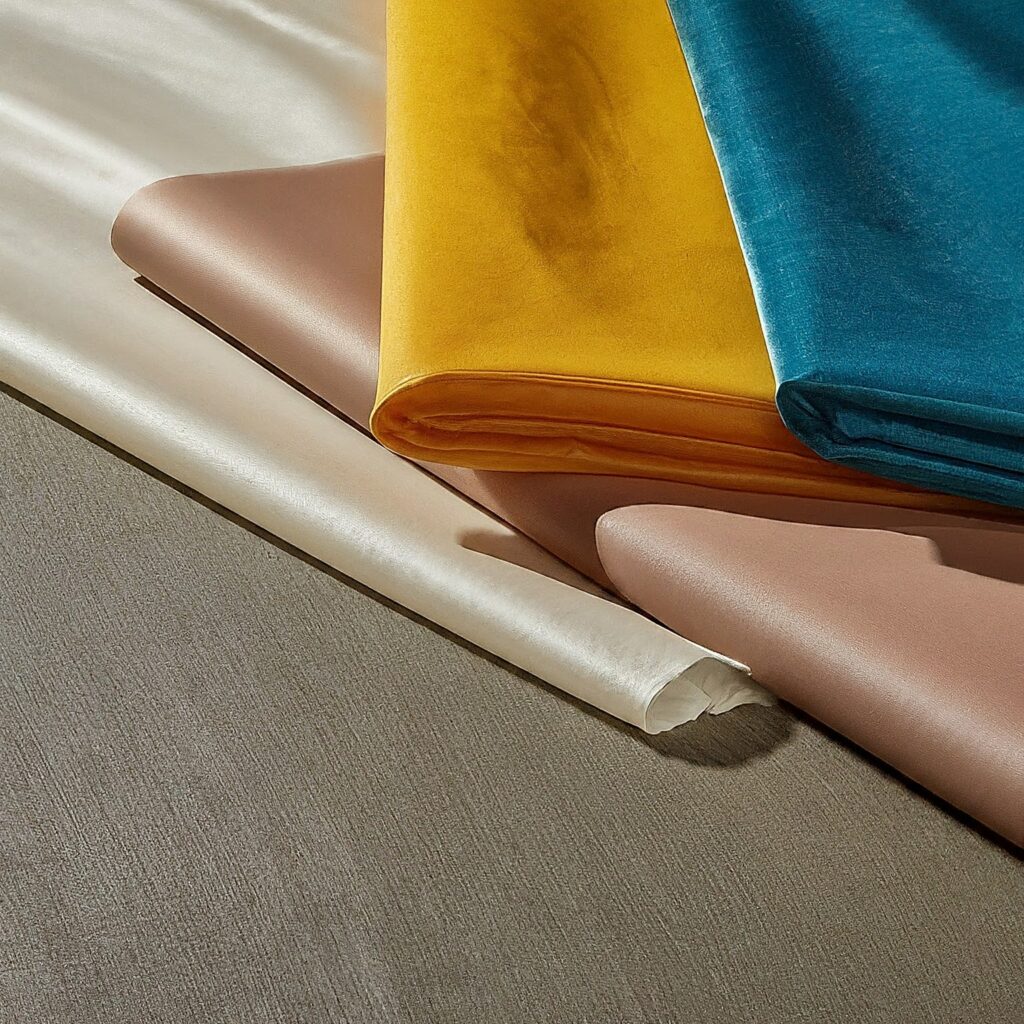
Have you ever wondered what gives your favorite jacket its crisp structure or your blouse its beautiful drape? The secret lies in a hidden hero – interlining! This fabric layer, sandwiched between your main fabric and lining, plays a crucial role in shaping, stabilizing, and supporting your garments. But with so many interlining options available, choosing the right one can feel overwhelming. Fear not, sewing enthusiasts! This guide will equip you with the knowledge to pick the perfect interlining for your next project.


The Two Main Contenders: Woven Fusible vs. Non-Woven Fusible

The world of interlining primarily focuses on two main types: woven fusible and non-woven fusible. Both offer a convenient heat-activated application process using an iron, but their characteristics differ significantly:

Woven Fusible Interlining
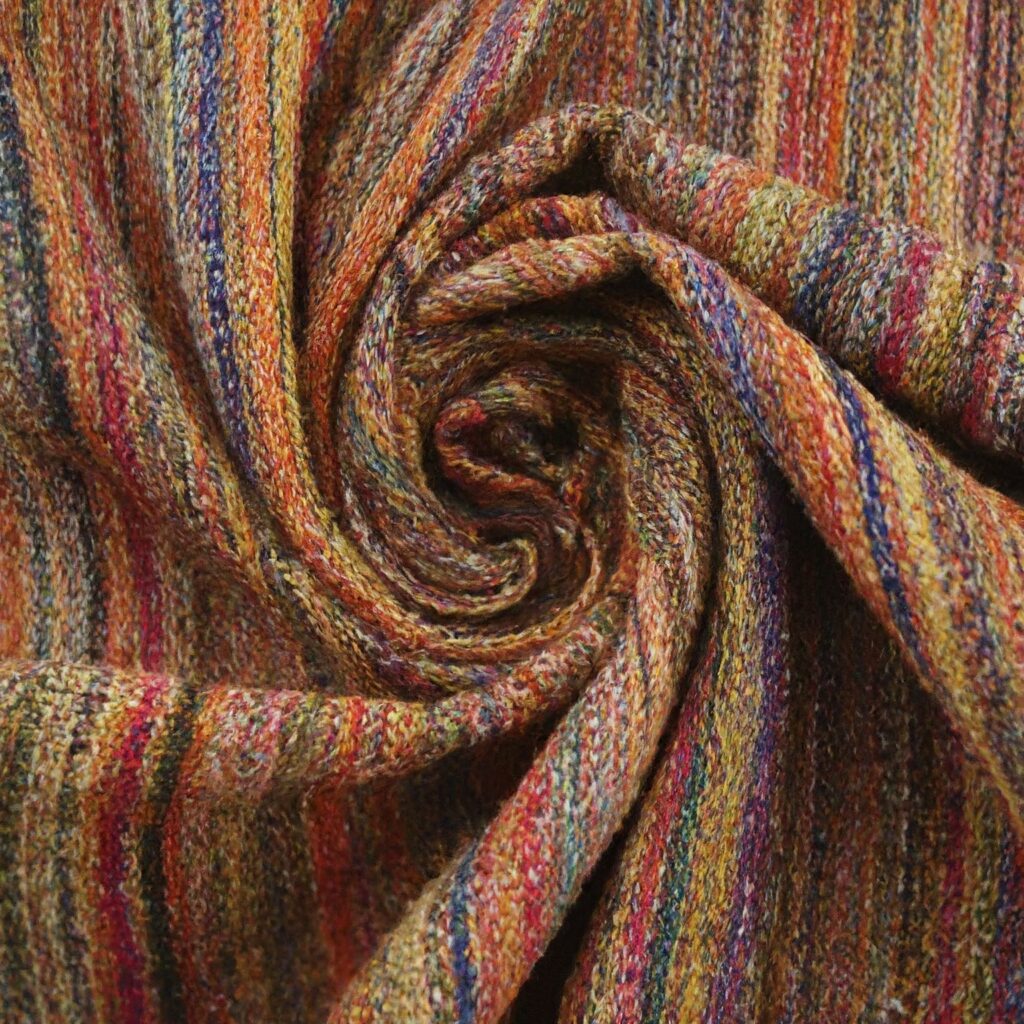
  • Structure & Strength: This classic choice provides excellent support and stability, making it ideal for areas like collars, cuffs, waistbands, and structured bodices. Jackets, coats, and tailored garments benefit greatly from woven fusible interlining.
  • Drape: Woven interlining comes in various weaves, affecting drape. Tight weaves offer less drape, while looser weaves provide more fluidity. Choose based on your desired silhouette.
  • Applications: Ideal for collars, cuffs, waistbands, pockets, buttonholes, and structured garment areas.
Fusible Interlining
Non-Woven Fusible Interlining
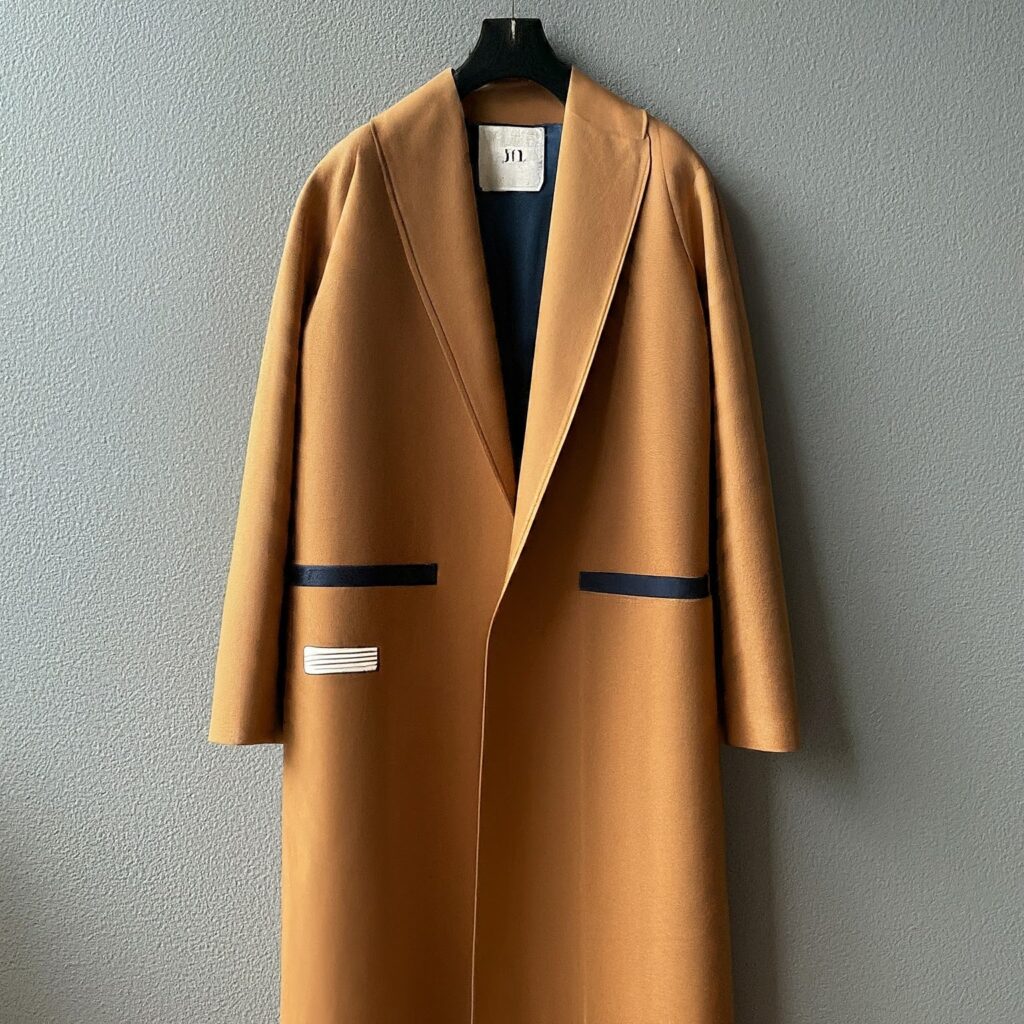
  • Softness & Drape: This interlining is known for its comfortable feel and natural drape, making it perfect for flowy dresses, blouses, and lightweight garments.
  • Lightweight & Breathable: The non-woven construction adds minimal bulk, ideal for summer clothes or projects where a breezy feel is desired.
  • Applications: Excellent for collars, necklines, facings, yokes, and garments requiring a softer structure.

Making the Right Choice: Consider Your Project Needs

Here are some key factors to consider when choosing your interlining:


  • Fabric Weight: Match the weight of your interlining to the weight of your main fabric. A lightweight interlining on a heavy fabric won’t provide enough support, and vice versa.
  • Desired Structure: How much shape and support does your project require? Woven fusible offers more structure, while non-woven provides a softer touch.
  • Drape: Do you want a crisp look or a more fluid silhouette? Woven interlining with a looser weave can offer a flowy drape.
  • Washability: Some interlinings are more washable than others. Consider care instructions for your chosen fabric.

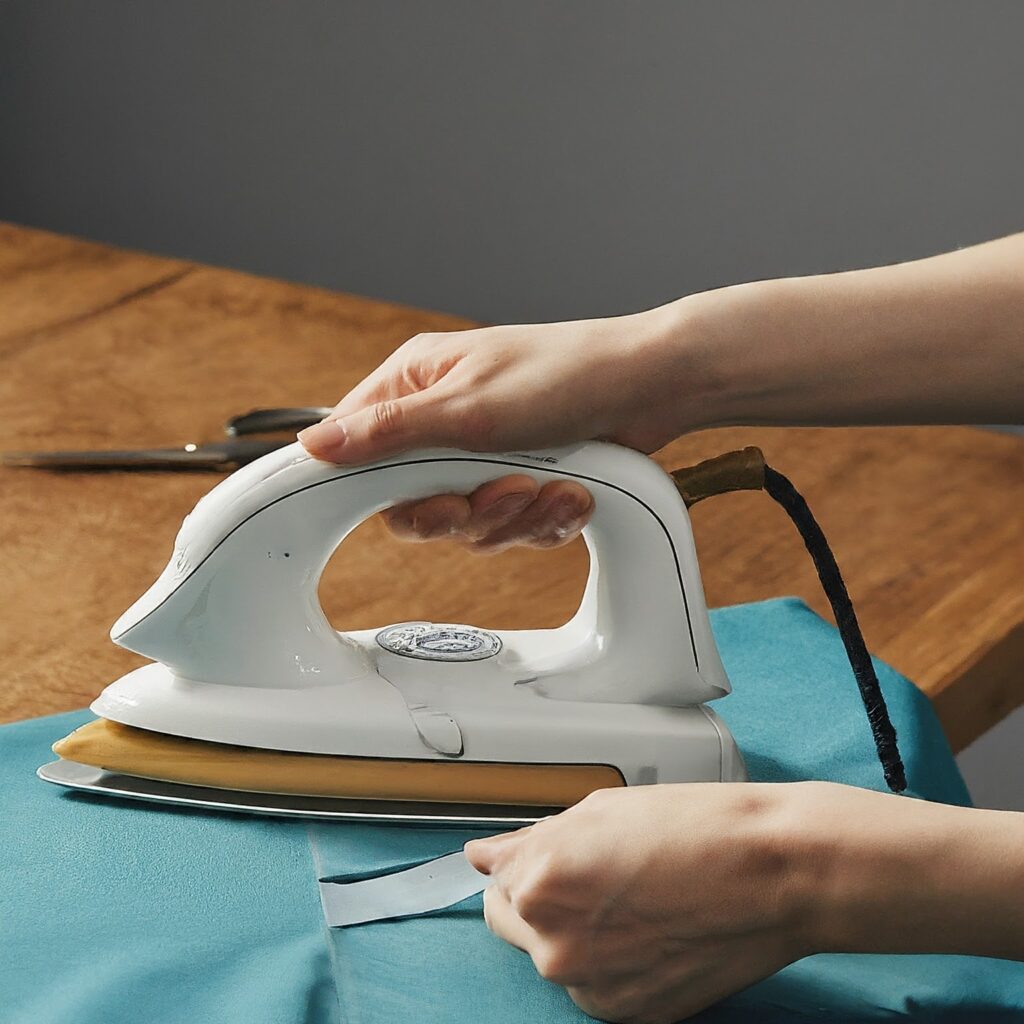
How to Use Fusible Interlining:


  1. Prepare your fabric and interlining: Cut both to the desired size, ensuring they align precisely.
  2. Place the interlining on the wrong side of your main fabric: Ensure the fusible side of the interlining faces the fabric.
  3. Apply heat with an iron: Follow the manufacturer’s instructions for temperature and pressing time. Use a pressing cloth for even heat distribution.
  4. Test the bond: Let the fabric cool completely. Gently lift a corner of the interlining to ensure proper adhesion. If needed, repeat the pressing process.

With this knowledge and the handy guide above, you’re well on your way to selecting the perfect interlining for your next sewing project! Remember, the right interlining acts as a silent partner, ensuring your garments look and feel their absolute best.


CTA

Ready to take your sewing projects to the next level? Explore the world of interlining fabrics with DoubleGhoda! From woven fusible interlining for crisp collars and structured garments to non-woven fusible interlining for soft, flowy dresses, the right interlining makes all the difference.

Discover the perfect interlining type for your needs at DoubleGhoda, whether it’s non-woven interlining fabric for breathable summer clothes or woven interlining fabric for added structure. Learn about fusing interlining techniques with DoubleGhoda’s resources and unlock a world of creative possibilities!

No matter if you’re searching for collar interlining, lining and interlining fabric, or simply want to understand interlining in garments, DoubleGhoda has the resources to guide you. Start exploring interlining options today and see the difference it can make in your sewing journey! Visit DoubleGhoda.com to discover a wide variety of high-quality interlining fabrics for all your sewing needs.

shweta-textile-designer

Shweta, a textile designer with a keen eye and deep knowledge of fabrics, translates her passion into unique designs. She loves to share her expertise and ignite a love for textiles in others. Dive into the world of fabrics with Shweta!

Categories
Fusible Interlining Interlining

A Beginner’s Guide to Interlining

You know that feeling when you put on a perfectly tailored jacket? The shoulders hug you just right, the collar stays crisp all day, and the whole thing just looks sharp. It’s like wearing a suit of armor for your confidence! But have you ever wondered what gives a jacket that kind of structure? It’s not magic (although it sometimes feels that way), it’s all thanks to a hidden hero called interlining.

I recently got into sewing my own clothes, and let me tell you, it’s a humbling experience. I thought collars and cuffs were just, well, collars and cuffs. But then I learned about interlining, and it completely changed the game. It’s like adding a secret layer of support that takes your garments from floppy to fabulous.

So, today I wanted to demystify this whole interlining thing. It’s actually pretty simple, and once you understand it, you’ll appreciate the craftsmanship that goes into your favorite well-made pieces.

Table of Contents

  • Interlining Explained for Beginners
  • Benefits of Adding Interlining to Garments
  • Where Do You Find Interlining?
  • Types of interlining
    • Sew-in / Non Fusible Interlining
    • Fusible Interlining
  • Fusible Interlining: A Breakdown by Resin
  • Sew-in or Fusible?


Interlining Explained for Beginners

Imagine a secret layer sandwiched between your garment’s main fabric and lining. That’s interlining! It’s a hidden gem that adds body, structure, and support to various parts of your clothes.

Benefits of Adding Interlining to Garments

Interlining is a game-changer for garments in a few ways:

Sharpens Shapes: It helps collars, cuffs, waistbands, and other areas maintain their desired form.

Boosts Durability: By reinforcing specific areas, it prevents rips and tears during wear and tear.

Elevates Aesthetics: It creates a smooth, polished look and enhances the overall drape of the garment.

Improves Performance: It can add warmth, insulation, and even flame resistance in some cases.

Where Do You Find Interlining?

Interlining plays a key role in various garment components, including:

  • Collars
  • Cuffs
  • Waistbands
  • Plackets (openings for buttons or zippers)
  • Facings (fabric layers that finish edges)
  • Jackets and blazers

Types of interlining


Interlining

There are two main ways interlining gets attached to the fabric:

  1. Sewn (Non-Fusible): This method involves stitching the interlining to the main fabric. It’s often used for specific applications like flame-retardant garments.
  2. Fusible: This is the most common method. Fusible interlining has a heat-activated resin coating that bonds to the fabric with heat and pressure. It’s faster, easier, and offers a wider variety of options.

Sew-in / Non Fusible Interlining

Think of a tailor meticulously stitching an extra layer of fabric between your jacket’s main material and the lining. That’s Non fusible interlining in action!

The Process: Starch stiffens the interlining before it’s sewn onto the fabric.

Best for: Special needs like flame-resistant firefighter jackets or heavy-duty workwear. It’s also sometimes used in embroidery.

Pros: Simple, doesn’t require fancy tools, perfect for unique projects or repairs.

Cons: Time-consuming, less consistent quality than fusible, and finding materials might be tricky.

Fusible Interlining

Fusible interlining is the go-to interlining for most garments today. Here’s why it’s so popular:

The Process: Fusible interlining has a heat-activated resin coating on one side. Ironing it with pressure bonds it to the fabric.

Benefits: Creates a smooth, professional finish that elevates the look of your clothes. It also reinforces areas like collars and cuffs, keeping them sharp.

Fast & Easy: Compared to sew-in, fusible interlining is a breeze, perfect for home sewing and mass production.

Heads Up: Be careful with the heat! Always test a scrap of fabric first to avoid scorching.


Fusible Interlining: A Breakdown by Resin:

Fusible interlining comes in various flavors, each with its own properties based on the resin coating:

Polyethylene: Great for collars and cuffs of shirts, offering good dry cleaning resistance and washability.

Polyamide: Ideal for dry-cleanable garments that can withstand higher wash temperatures.

PVC: A versatile option for both dry cleanable and washable garments, commonly used in coats.

Polyester: The all-rounder, suitable for most garments, offering excellent performance but at a slightly higher cost.

Polypropylene: Similar to polyethylene but requires higher fusing temperatures and is washable.

PVA: Limited use in garments due to its poor dry cleanability and washability.

Link of related Articles

shweta-textile-designer

Shweta, a textile designer with a keen eye and deep knowledge of fabrics, translates her passion into unique designs. She loves to share her expertise and ignite a love for textiles in others. Dive into the world of fabrics with Shweta!

Categories
Interlining

Different Types of Interlining and Interlining Selection Procedure

Interlining

What is interlining?

Interlining is a layer of textile used between two outer layers of shell fabric to impart strength, support, stability and shape retention to the outer shell fabric against any distortion due to stress exerted at various stages of production, during wearing/use or aftercare treatments. The interlining is also called as interfacing.

Difference between interlining and lining

The lining is a layer of textile used under the garment as cover to the raw edges and smooth surface to support outer shell for good drape. It can be woven or knits as needed for a particular application/use. For an example, in the girl’s frock, you will find white lining fabrics under the shell fabric.

As said above interlining is used between two outer fabric layers. For an example, fusible interlining used in collar and cuff in men’s formal shirts for stiffening the said components.

Why use interlining?

Followings are the primary objective of using interlining in garments.

  • Interlinings are primarily used for imparting strength/support, stability and shape retention.
  • When fused to the outer shell fabric it acts as a composite and stabilizes the outer shell against any distortion under stress
  • Helps improve aesthetic and hand feel of fused laminate
  • Helps retain the shape of the fused part during use and after care treatment
  • Improves longevity of fused part
Different types of interlining available/in use

Interlining can be classified into different types based on:

a) Based on the base fabric structure interlinings are categorized into 3 types

  • woven interlining, 
  • knits interlining and
  • nonwoven interlining

b) Based on its application point, interlinings are categorized as

  • non-fusible or
  • fusible

#1. Woven interlining
Primarily woven interlinings were first used 100 years ago to strengthen/support coats, cloaks and gowns or hat. It was mainly 100% cotton fabrics made stiff by starch application and was non-fusible. However, the unpleasant hard touch and irregular characteristics during washing led to the development of fusible interlinings.

Interlining

Normal cotton sheeting fabrics were applied with a layer of adhesive that can be fixed to the shell fabric by application of heat or pressure. This formed a composite part of the fused shell part and supported the outer shell for better drape and look.

Woven interlinings are majorly 100% cotton based with a thread density of variable count as required for the weight or stiffness needed for a particular use. Now poly-cotton blends are also available to overcome the problems of shrinkage faced in cotton fabrics together with a variety of warp and weft combination like rayon, texturized poly and wool etc.

Advantages of woven interlining
The main advantage of woven fabrics is its strength and stability, hence used for all such applications where strength and stability are needed like the waistband.

However, this could be a disadvantage at times where flexibility and soft hand feel is required.

Woven is majorly plain weaves, sometimes crepe, herringbone or twill weaves are also offered according to the application need.

In such cases, texturized poly yarns are used for voluminous body, soft and natural hand feel or drape of the fused composite at the same time strength, flexibility and lightweight of the fused laminate is achieved without much altering the natural drape or texture of shell fabric.

However, woven is expensive and not suitable for less expensive casual garments hence, it was replaced by knitted fabrics that used a combination of synthetic yarns with rayon and wool for body and volume according to different application intended for.

#2. Knitted interlinings

The major disadvantage of woven in its flexibility, lightweight and soft handle was duly addressed by knitted fabrics. Knitted fabrics have a large number of variation in terms of loop structures to impart flexibility/stretch together with the body (volume) and strength/stability.

They are kept lightweight and soft hand feel of the laminate by using fine bulked (texturized) filaments. It is expensive and hence used in high value garments like blazers and high fashion blouses.

#3. Non-woven interlinings

As the name implies there is no involvement of any yarn for interlacement to make the fabric.

It is made directly from fiber to fabric stage in the process reducing the cost of base fabric. As there is no yarn used in making nonwovens, it lacks in strength needed for apparel use and there are many techniques applied to impart required strength to nonwoven textiles, called Bonding. They are the most versatile product available from 10gsm to 200gsm and above, offering light, soft, flexible or strong for any application one can think of. The basic manufacturing technique is using mostly synthetic fibers to form a layer, which are imparted strength by bonding.

Let us understand the different layering and bonding methods, their use and their advantages and disadvantages.

Layering Method:
Different types of layering methods (spun laid, wet laid, dry/random laid, cross laid, and linear laying) are showing in the following images.


Bonding Method


Advantages and Disadvantages

HD-PE-ADHESIVE 

AdvantagesDisadvantages
Good bond-strength on a wide range of fabicsNo steam fusing capability
No reaction to steam no steam included strike-backNo high-frequency fusing capability
Good dry cleanability (A)* Requires high fusing conditions 
Excellent washability (950C), suitable for garment dyeing, etc.  Heavy contamination of taflon belts


HD-PE-ADHESIVE 

Advantages Disadvantages 
Adequate bond-strength for small-area fusing Hardening of the handle due to surface scatter coating
Low reaction to steam, low level of steam-included strike-backNo high-frequency fusing capability
Easy to fuse with hard-iresAdhesive strike-through passible as this, lightweight outer fabrics
Adhesive weakened during dry cleaning can be reactivated by re-pressing No dirt on roller/thread
Very good washabilityHeavy contamination of taflon belts.


PA-ADHESIVE

AdvantagesDisadvantages
Good bond-strength on a wide range of outer
fabrics
Bond-strength sometimes inferior on sythetic outer fabrics and fabrics with special finishes
Melting point lowered by steamStrong reaction to steam, possibly disadvantageous with low melt adhesives
Good dry cleanability to all solvents Fendency to steam-included strike-back
Good washability (30-60 Degree C)Washable only to 40C with MV adhesives
No contamination of teflon belts on continuous presses 


How to select the right interlining for my use?

To help decide on the type of interlining suitable for an application, one has to evaluate exact need, purpose, the material area of application, the care instruction and processing details of the garment.

The following FORMAT is suggested to be filled in and one may consult an interlining supplier to conduct a fusing test on the material, preferably on self-owned equipment in the factory and submit a test report for 5, 10 or 20 washes depending upon the brand value and price point of the garment.

Fusing Test Request

Factory 
Address 
Production Head 
Quality Head 
Buyer/Country 
Style/Art 
MaterialContent (100% polyester, georgette 50gsm, provide 1-2mtr original finished fabric)
ItemLadies Blouse
Care Instruction 
Application areaCollar, neckband, placket, cuff
FusingPress model
Test MethodIS-1259


Fabric Sample

Based on the above information, the interlining manufacturer will submit the test results showing:

  • Samples after fusing and after 5, 10 or 20 washes for appearance, hand feel reference
  • Bond strength values after fusing and after washes. The buyer can decide if the results and looks are acceptable or not.

If left to choose, then one can decide based on:

  • Appearance: no bubble or any surface unevenness after wash.
  • No change in hand feel making it too hard.
  • No change in visual looks: wavy moiré effect or colour change (please refer to picture NW 10). This is due to woven interlining or linear dot print pattern used in light open texture fabrics (see picture NW).
  • No shiny dots of glue visible on another side.
  • Normally for very light, transparent and flimsy fabric like georgette/chiffon colour of interlining must match the base colour and not use white/black/charcoal in general.
  • For small area usage as mentioned which are close stitched from all sides the bond value of 5-7 N per 5cm strip is enough and safe.
Do’sDon’ts
Cut interlining in the same direction as shellDon’t cut beyond pattern-5mm lesser
Put fusing on top of the shell facing downNever shell on top of the shell
Ensure no folds in shell/fusingNo folds at output end in hot state
Check glue line temp by temp. StripNever lower /higher than given temperature.
Check the speed of machine before useNever faster than the set speed-poor fuse
Check roller impression by carbon paperNo dirt on roller/thread
Check bonding before startDon’t start feed w/o temp check


About the Author: Rajkumar Rai is a Textile Graduate from Calcutta University and alumni of Indian Institute of Foreign Trade. He has over 36 years of work experience spanning in textile processing, apparel buying house, and other areas. He was India head of Freudenberg. He was heading a buying house over 25 years and worked with German buyers.

Image source: fusibleinterfacing.com