Categories
Non Woven Interlining

What is Non-Woven Interlining Used For?

If you’re into sewing or making home textiles, you may have heard about non-woven interlining. But what is it, and how can it be used? In this article, I’ll explain what non-woven interlining is, where it’s used, and how it can make your projects better. Whether you’re working on clothes, home items, or craft projects, knowing about non-woven interlining can help you get great results.

Table of Contents

  • Understanding Non-Woven Interlining
  • Key Benefits of Non-Woven Interlining
  • Key Uses of Non-Woven Interlining
  • Common Uses of Non-Woven Interlining
  • Choosing the Right Non-Woven Interlining
  • Conclusion

Understanding Non-Woven Interlining

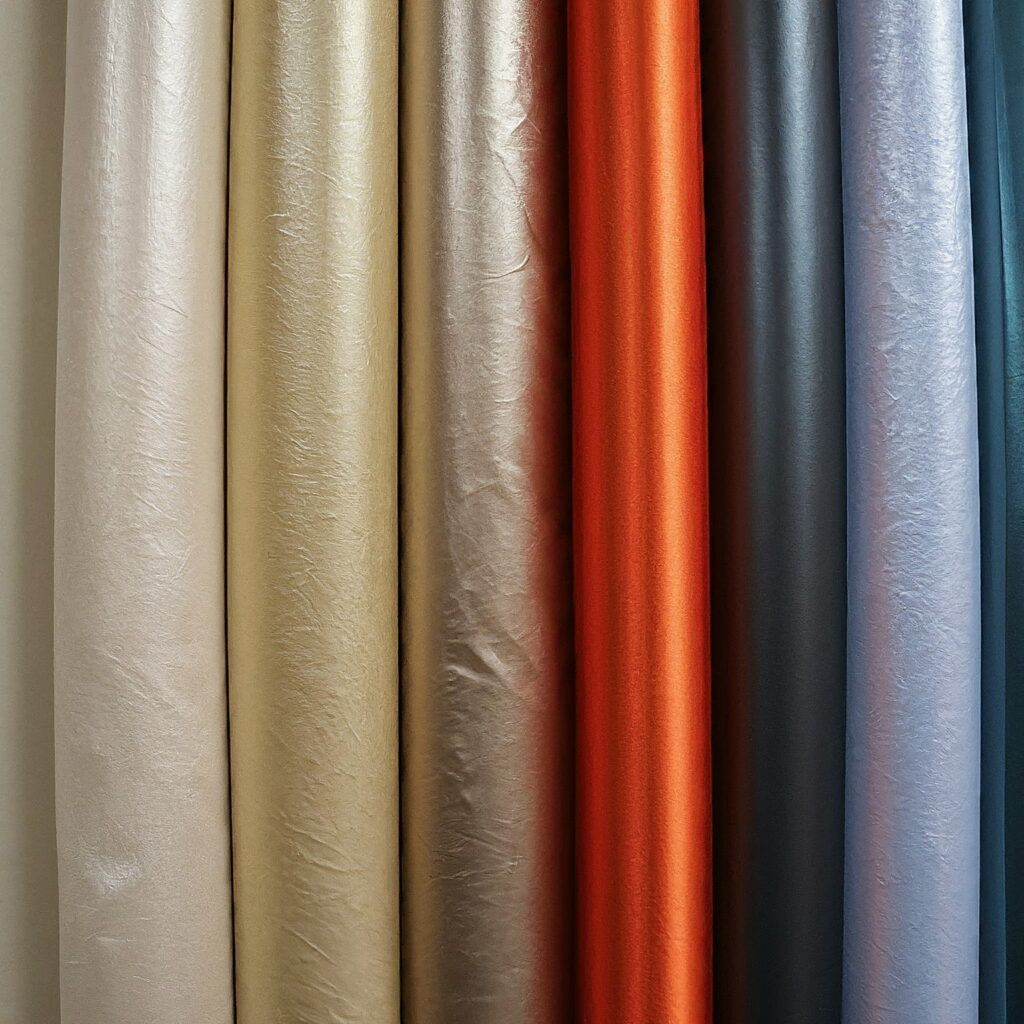
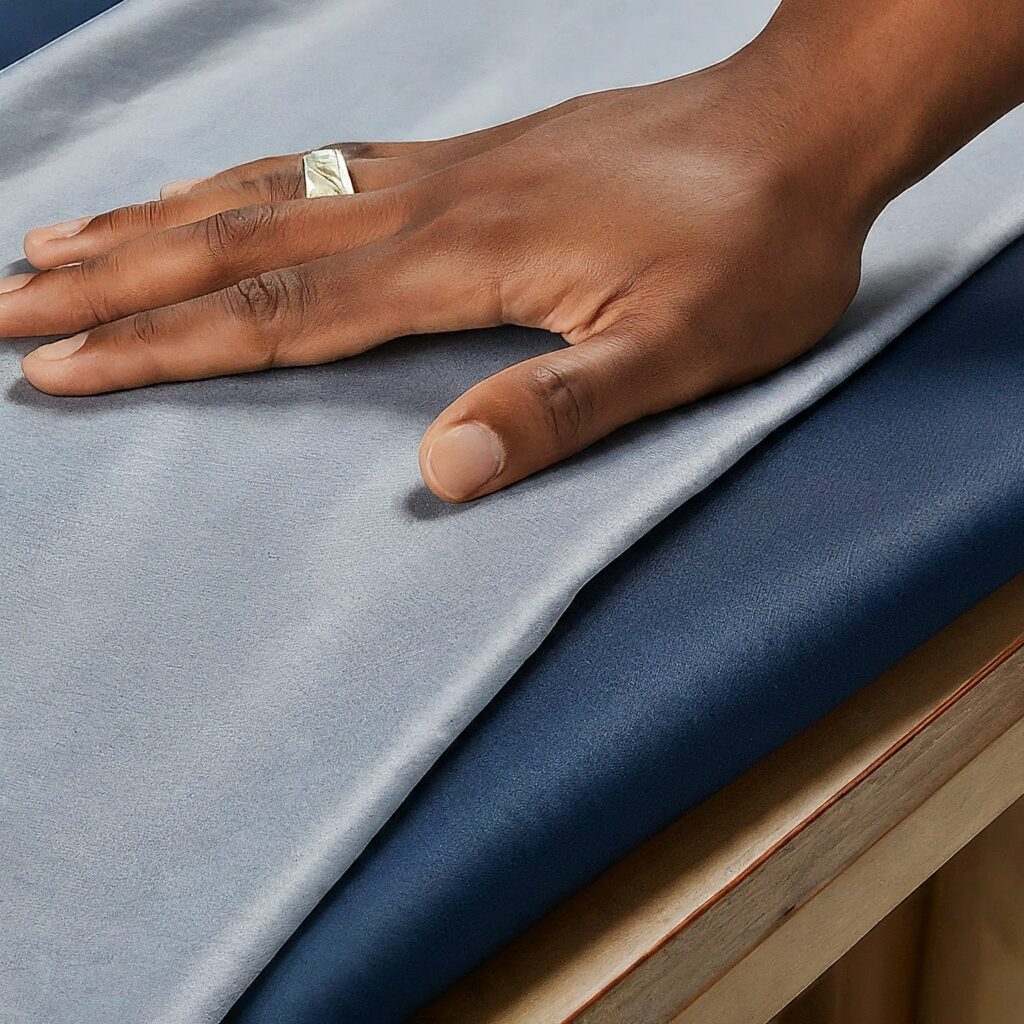
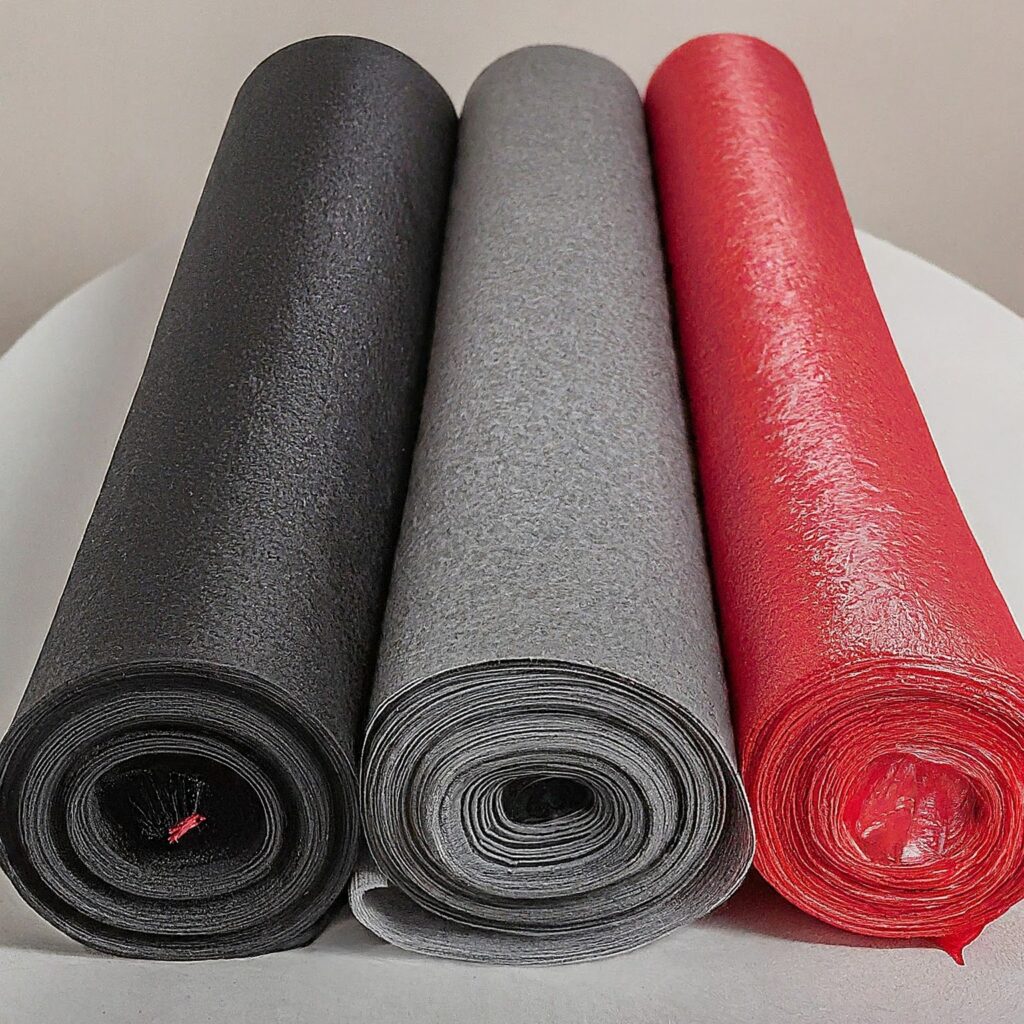
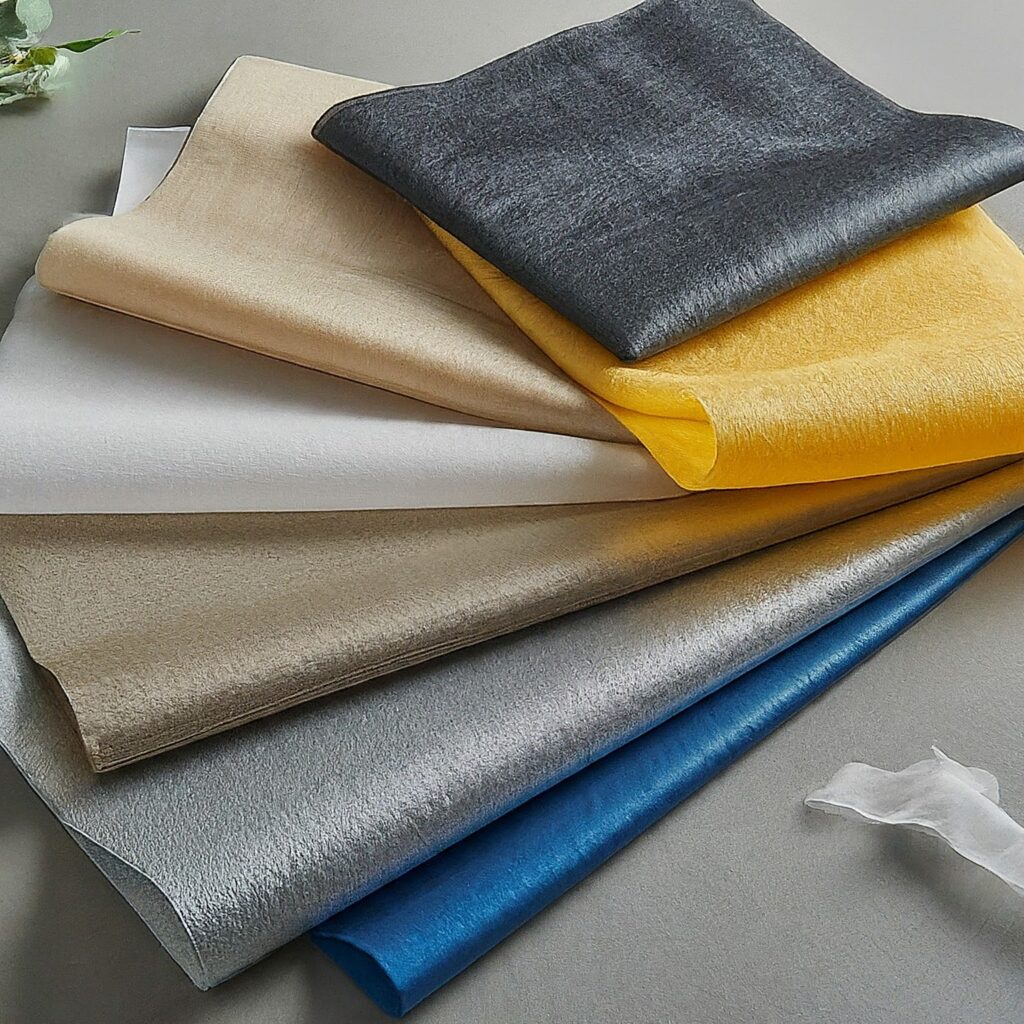
Non-woven interlining is a fabric-like material made by bonding fibers together rather than weaving or knitting them. It’s a versatile product with a wide range of applications in the garment industry and beyond.

Key Benefits of Non-Woven Interlining

  • Versatility: It can be used in a variety of garments and products.
  • Lightweight: Non-woven interlining often adds minimal weight to the final product.
  • Cost-effective: It’s generally more affordable than woven interlining.
  • Easy to work with: It’s flexible and easy to cut and sew.
  • Environmentally friendly: Many non-woven interlinings are made from recycled materials.

Key Uses of Non-Woven Interlining

1. Apparel Manufacturing

In making clothes, non-woven interlining is used for:

  • Collars and Cuffs: It helps them keep their shape.
  • Jackets and Coats: It adds support and helps them fit better.
  • Dress Linings: It makes the inside of dresses smooth and supportive.

Using non-woven interlining in clothing helps create a polished look and improves how the garment feels. It’s a type of interlining in garments that’s especially useful for adding structure.

2. Home Textiles

For home items, non-woven interlining is useful for:

  • Curtains and Drapes: It helps them hang better and can also provide some insulation.
  • Bed Linens: It makes bedspreads and pillowcases more durable.
  • Tablecloths: It gives them a smooth finish and extra weight.

In home textiles, non-woven interlining makes items look nicer and last longer. It’s a key component of lining and interlining fabric used in these products.

3. Upholstery

In furniture, non-woven interlining is used for:

  • Furniture Covers: It makes them sturdier.
  • Cushions and Pillows: It helps them keep their shape.
  • Headboards: It provides a smooth finish and adds padding.

For upholstery, non-woven interlining helps create strong and attractive furniture pieces. It’s often used in place of woven interlining fabric.

4. Crafts and DIY Projects

In crafts, non-woven interlining can be used for:

  • Quilting: It adds stability to quilt blocks.
  • Bag Making: It gives bags and totes their shape.
  • Home Décor: It improves the look and durability of decorative items.

For crafting, non-woven interlining is versatile and easy to use. It’s a great choice for various crafts and DIY projects.

Common Uses of Non-Woven Interlining

  • Garments: Non-woven interlining is commonly used in jackets, coats, vests, and other outerwear to provide structure and warmth. It’s also used in shirts, blouses, and dresses for body and shape.
  • Home furnishings: Upholstery, curtains, and blankets often incorporate non-woven interlining for support and insulation.
  • Automotive industry: Car interiors, seat covers, and headliners can benefit from the properties of non-woven interlining.
  • Medical and hygiene products: Non-woven interlining is used in disposable garments, masks, and other healthcare products.
  • Industrial applications: Filters, insulation, and geotextiles often utilize non-woven interlining.

Choosing the Right Non-Woven Interlining

Selecting the correct non-woven interlining depends on several factors:

  • Garment or product type: The intended use will determine the required weight, thickness, and stiffness.
  • Fabric weight: The outer fabric’s weight should be considered when choosing interlining fabric.
  • Desired properties: Whether you need warmth, structure, or breathability, different interlinings offer varying characteristics.
  • Cost: Non-woven interlinings come in a range of price points.

Conclusion

Non-woven interlining is a flexible and useful material for many different projects. Knowing how and where to use it can help you make better clothing, home items, and craft projects. Whether you’re sewing a new jacket, updating your home décor, or working on a craft project, non-woven interlining can make your work look and feel great.

Link of related Articles

shweta-textile-designer
 
Shweta, a textile designer with a keen eye and deep knowledge of fabrics, translates her passion into unique designs. She loves to share her expertise and ignite a love for textiles in others. Dive into the world of fabrics with Shweta!

Categories
Woven Interlinings

Advantages of Fusible Interlinings: Benefits, Application & Tips

Hello there! If you’re into making clothes or doing your own sewing, you might have come across the term fusible interlining. It’s a key player in textiles and can make a huge difference in your projects. In this article, I’m going to explain the advantages of using fusible interlinings and how they can elevate your sewing game. Let’s dive in!

Table of Contents

  • How Fusible Interlining Works
  • Top Benefits of Using Fusible Interlining
  • How to Choose the Right Fusible Interlining
  • Conclusion

How Fusible Interlining Works

Fusible interlining is a type of interlining fabric with an adhesive coating on one side. This adhesive bonds to your main fabric when heat is applied, providing additional structure and support. It’s widely used to reinforce areas that need extra stability, like collars, cuffs, and waistbands.

Top Benefits of Using Fusible Interlining

1. Easy Application

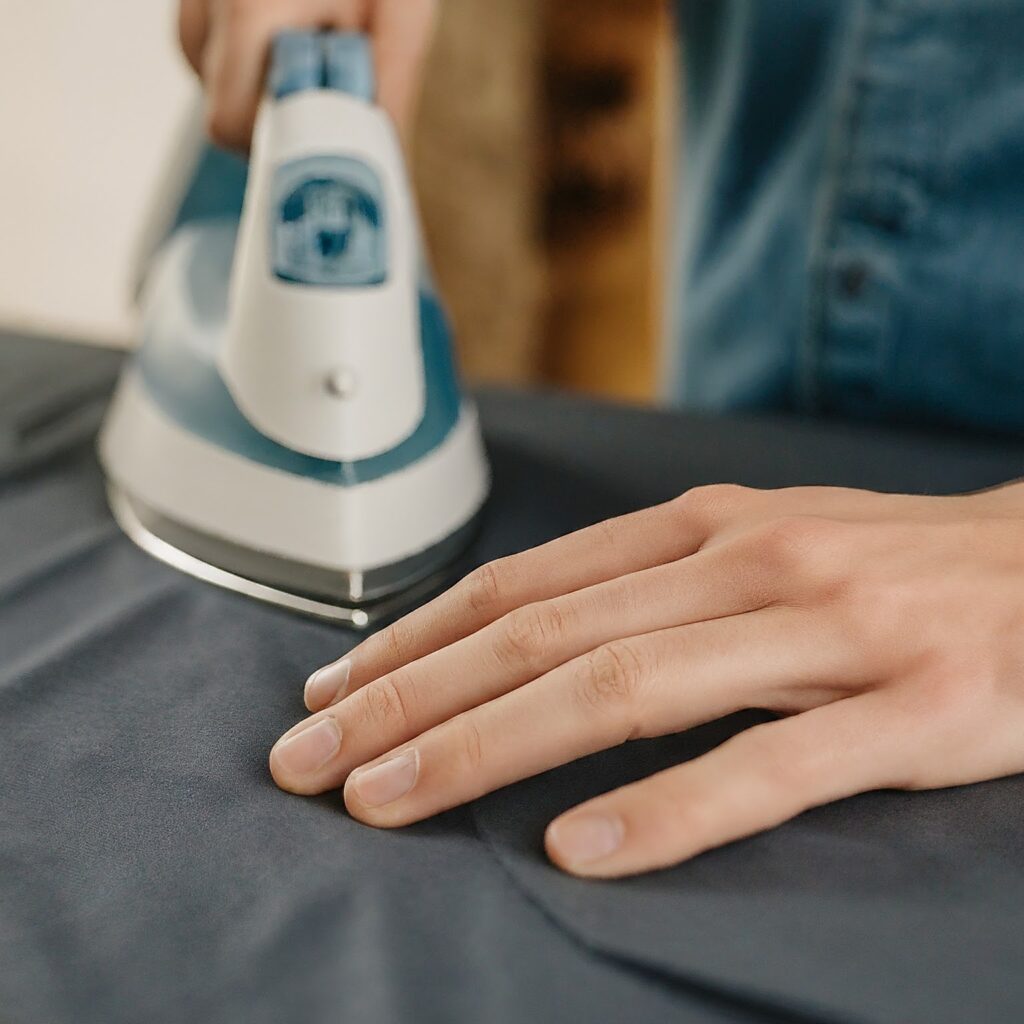
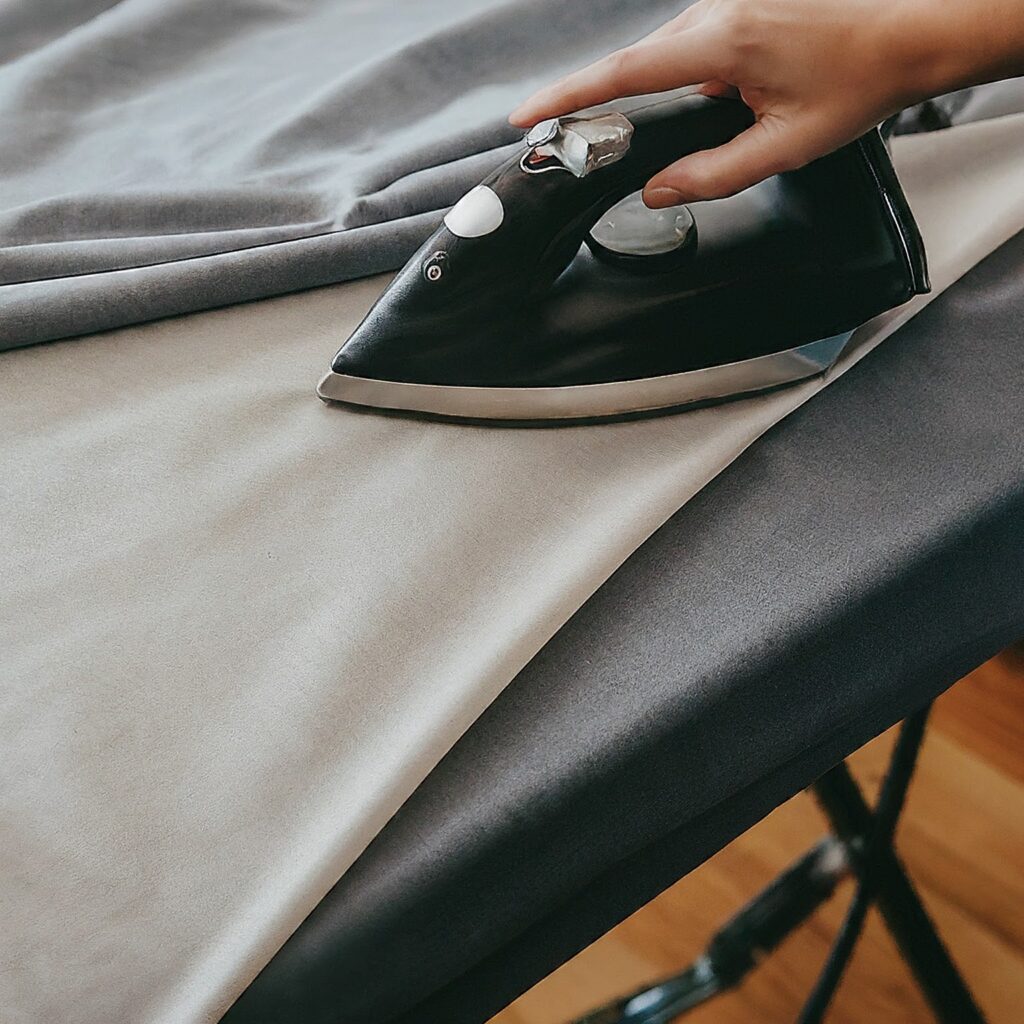
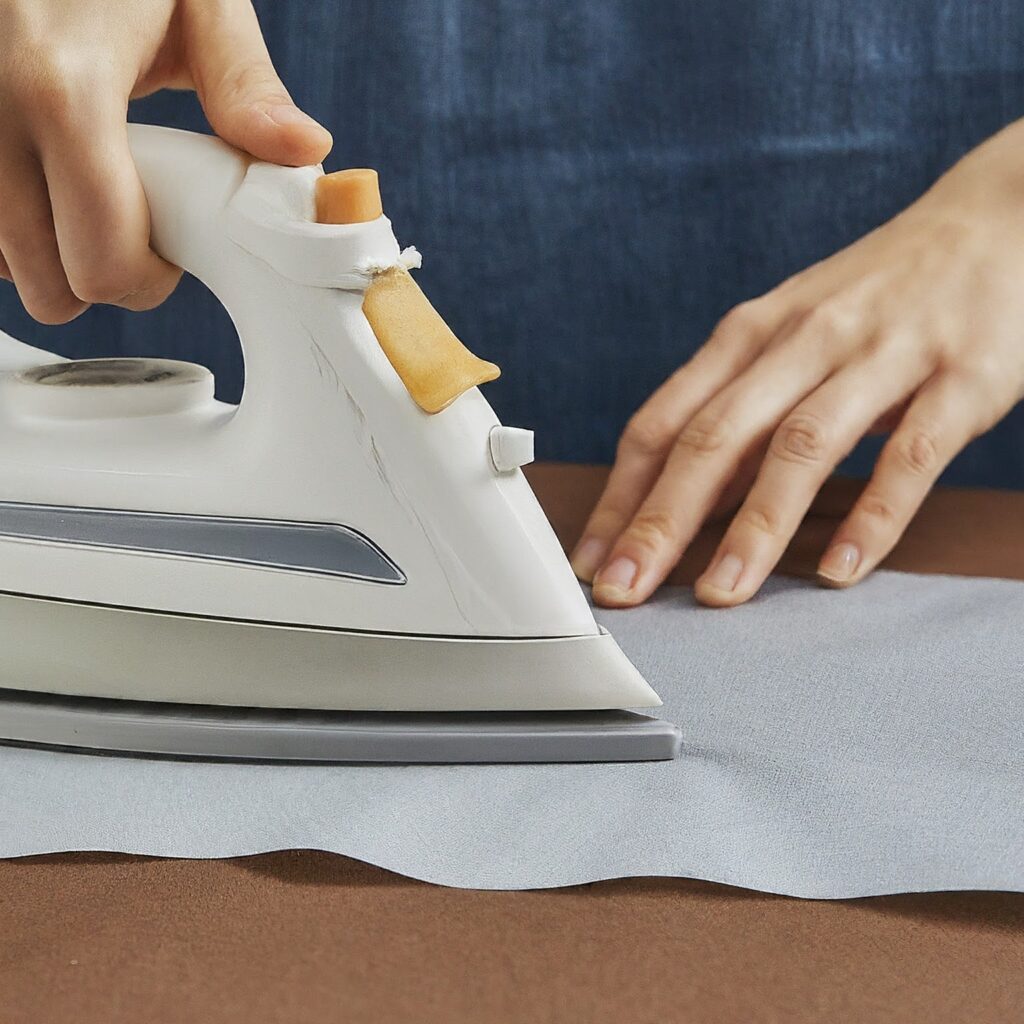
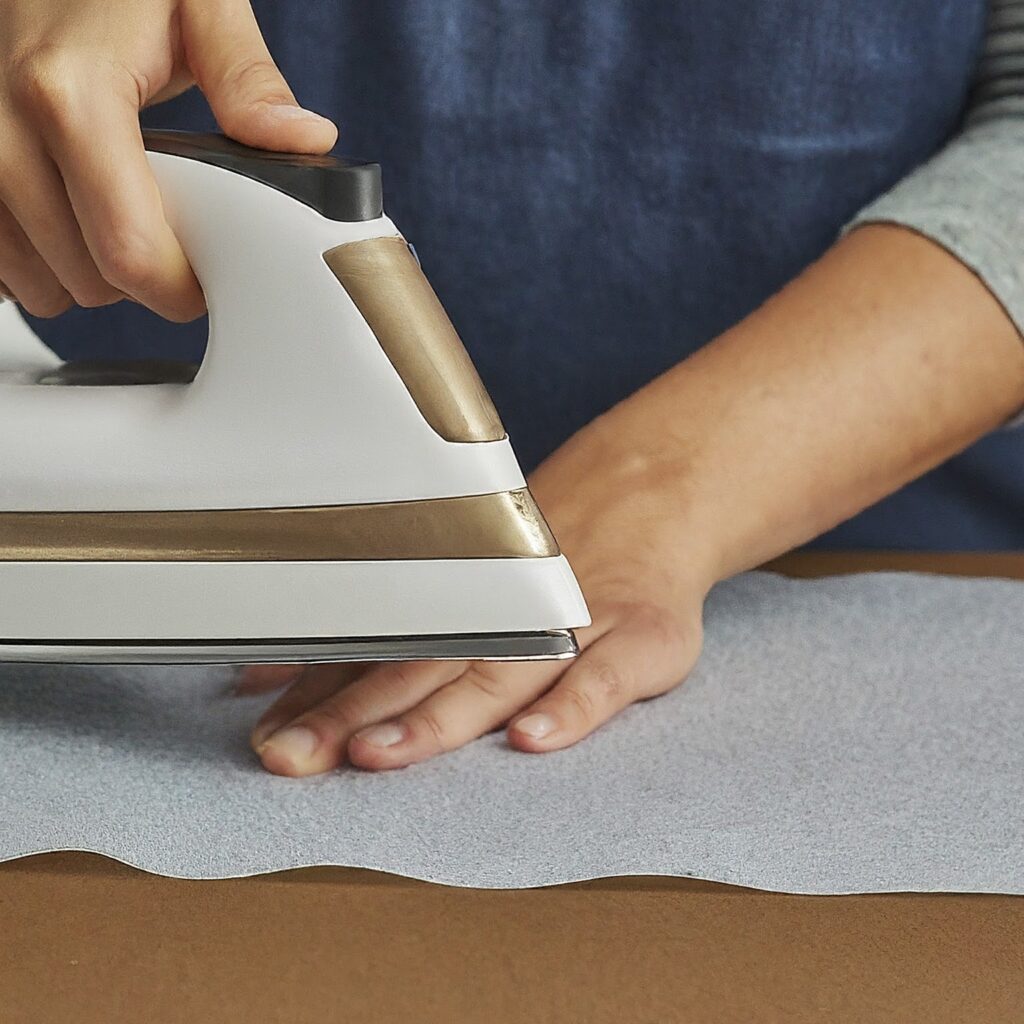
  • Simplified Process: Applying fusible interlining is straightforward. You simply place the adhesive side against the fabric and press with an iron. The heat activates the adhesive, bonding the interlining to your fabric without the need for sewing.
  • No Sew Option: This method is perfect if you want to avoid extra stitching, saving you time and effort.

2. Enhanced Structure and Support

  • Firmness: Fusible interlining adds a firm structure to garments. Whether you’re working on a blazer or a shirt, it helps maintain the shape and prevents sagging or wrinkling.
  • Professional Finish: By using fusible interlining, you can achieve a clean, crisp finish that looks professionally tailored.
dg-banner

3. Improved Durability

  • Increased Longevity: Fusible interlining helps strengthen the fabric, making it more durable and resistant to wear and tear.
  • Long-Lasting Quality: Garments with fusible interlining typically last longer because the interlining reinforces key areas, preventing damage from regular use.

4. Versatility in Fabric Types

  • Compatible with Various Fabrics: You can use fusible interlining with a wide range of fabrics, from lightweight cotton to heavy wool. This versatility makes it a go-to choice for many different sewing projects.
  • Customizable Options: There are different types of fusible interlining, including lightweight and heavyweight options, so you can choose the one that best suits your fabric and project needs.

5. Time Efficiency

  • Quick Application: Because fusible interlining adheres quickly with heat, it saves you time compared to traditional sewing or basting methods.
  • Streamlined Process: The ease of application allows you to focus more on other aspects of your project, speeding up the overall sewing process.

6. Versatile and Adaptable

  • Wide range of weights: Fusible interlinings come in various weights, allowing you to choose the perfect one for your project.
  • Suitable for different fabrics: Whether you’re working with delicate silk or sturdy denim, there’s a fusible interlining for you.

How to Choose the Right Fusible Interlining

Selecting the right fusible interlining depends on several factors:

  • Fabric Type: Consider the type of fabric you’re working with. Lightweight fabrics may require a lighter interlining fabric, while heavier fabrics might need a more robust option.
  • Purpose: Think about the purpose of your garment. For a structured blazer, a heavyweight fusible interlining is ideal. For a casual shirt, a lighter option will suffice.
  • Adhesive Quality: Ensure the adhesive quality matches your project needs. Some fusible interlinings have stronger adhesives for heavier fabrics, while others are designed for delicate materials.

Conclusion

Fusible interlinings offer numerous advantages that can enhance your sewing projects. From the ease of application to the added structure and durability, they are a valuable addition to any sewing toolkit. By choosing the right interlining fabric for your project, you can achieve professional-looking results with less effort.

Link of related Articles

shweta-textile-designer
 
Shweta, a textile designer with a keen eye and deep knowledge of fabrics, translates her passion into unique designs. She loves to share her expertise and ignite a love for textiles in others. Dive into the world of fabrics with Shweta!

Categories
Woven Interlinings Non Woven Interlining

Which is Better: Woven Interlining or Non-Woven Interlining

When it comes to enhancing the structure and durability of garments, choosing the right interlining can make a significant difference. Two popular options are woven interlining and non-woven interlining. Both have their own set of benefits and ideal applications. In this article, you will understand the differences between woven and non-woven interlining, so you can decide which is better suited for your projects. Let’s dive in and explore which type of interlining might be the best fit for your needs.

Table of Content

  • Understanding Woven Interlining Fabric
  • Understanding Non-Woven Interlining Fabric
  • Comparing Woven and Nonwoven Interlining
  • Key Differences Between Woven Interlining and Non-Woven Interlining
  • How to Choose the Right Interlining for Your Needs
  • Conclusion

Understanding Woven Interlining Fabric

Woven interlining is created by weaving threads together in a crisscross pattern. This method results in a fabric that is structured and has a consistent pattern. Here’s what you need to know about woven interlining:

  • Structure: Made by interlacing threads on a loom.
  • Durability: Known for its strength and longevity.
  • Texture: Typically has a grid-like pattern due to the weaving process.

Woven interlining is commonly used in garments where a firm structure and durability are required, such as in suits, jackets, and coats.

Understanding Non-Woven Interlining Fabric

Non-woven interlining is produced by bonding fibers together using methods like heat, pressure, or adhesives, rather than weaving them. This results in a fabric that is usually softer and more flexible. Here’s what you need to know about non-woven interlining:

  • Structure: Made by bonding fibers together.
  • Versatility: Available in various weights and compositions.
  • Applications: Often used in products like interfacing, filters, and disposable items.

Non-woven interlining is popular for its versatility and ease of use in various applications, including garments, home textiles, and crafts.

Features of Lightweight Interlining

  • Thin and flexible: Perfect for maintaining the softness and drape of lightweight fabrics.
  • Breathable: Does not add bulk or stiffness.
  • Easy to work with: Ideal for projects where you need a light touch.

Comparing Woven and Nonwoven Interlining

FeatureWoven InterliningNonwoven Interlining
StructureStrong and rigidSofter and more flexible
WeightHeavierLighter
CostGenerally higherGenerally lower
Best forStructured garmentsLighter garments

Key Differences Between Woven Interlining and Non-Woven Interlining

1. Structure and Durability

  • Woven Interlining:
    • Structure: Features a tight weave that provides strong support.
    • Durability: Typically more durable and resistant to wear and tear.
    • Maintenance: Can be prone to fraying and may require more care.
  • Non-Woven Interlining:
    • Structure: Fibers are bonded together, offering flexibility.
    • Durability: Generally less durable but sufficient for short-term or disposable applications.
    • Maintenance: More resistant to fraying and easier to clean.

2. Application and Versatility

  • Woven Interlining:
    • Applications: Ideal for applications requiring high durability and support, such as in jackets, suits, and formal wear.
    • Versatility: Provides a structured finish, making it suitable for tailored garments.
  • Non-Woven Interlining:
    • Applications: Used in a wide range of applications, including interfacing, home textiles, and disposable products.
    • Versatility: Works well in applications where flexibility and ease of use are important.

3. Comfort and Fit

  • Woven Interlining:
    • Comfort: Offers a more rigid structure, which might be less comfortable but provides a crisp and professional look.
    • Fit: Helps garments maintain their shape and fit over time.
  • Non-Woven Interlining:
    • Comfort: Generally softer and more flexible, which can enhance comfort in certain garments.
    • Fit: May not offer the same level of structure as woven interlining, but it provides a good fit for a range of applications.

4. Cost and Production

  • Woven Interlining:
    • Cost: Usually more expensive due to the complexity of the weaving process.
    • Production Time: Takes longer to produce, which can affect turnaround times.
  • Non-Woven Interlining:
    • Cost: Typically more cost-effective due to simpler manufacturing processes.
    • Production Time: Faster to produce, making it suitable for large-scale and quick production runs.

How to Choose the Right Interlining for Your Needs

When deciding between woven interlining and non-woven interlining, consider the following:

  • Purpose: Determine if you need a rigid, durable structure (woven) or flexibility and cost-effectiveness (non-woven).
  • Application: Choose based on the specific needs of your garment or project.
  • Budget: Factor in the cost of materials and production, and choose accordingly.

Conclusion

Choosing between woven interlining and non-woven interlining depends on your specific needs and the type of project you’re working on. Woven interlining is great for high-durability applications where a structured finish is required, while non-woven interlining is ideal for more flexible, cost-effective solutions. By understanding the key differences and benefits of each, you can make the best choice for your project and ensure the best results.

Link of related Articles

shweta-textile-designer
 
Shweta, a textile designer with a keen eye and deep knowledge of fabrics, translates her passion into unique designs. She loves to share her expertise and ignite a love for textiles in others. Dive into the world of fabrics with Shweta!

Categories
Woven Interlinings

Advantages and Disadvantages of Woven Interlining

Choosing the right interfacing can significantly impact the outcome of your sewing project. Woven interlining, with its strong structure and durability, is a popular choice for many sewers. But is it the perfect fit for every garment? 
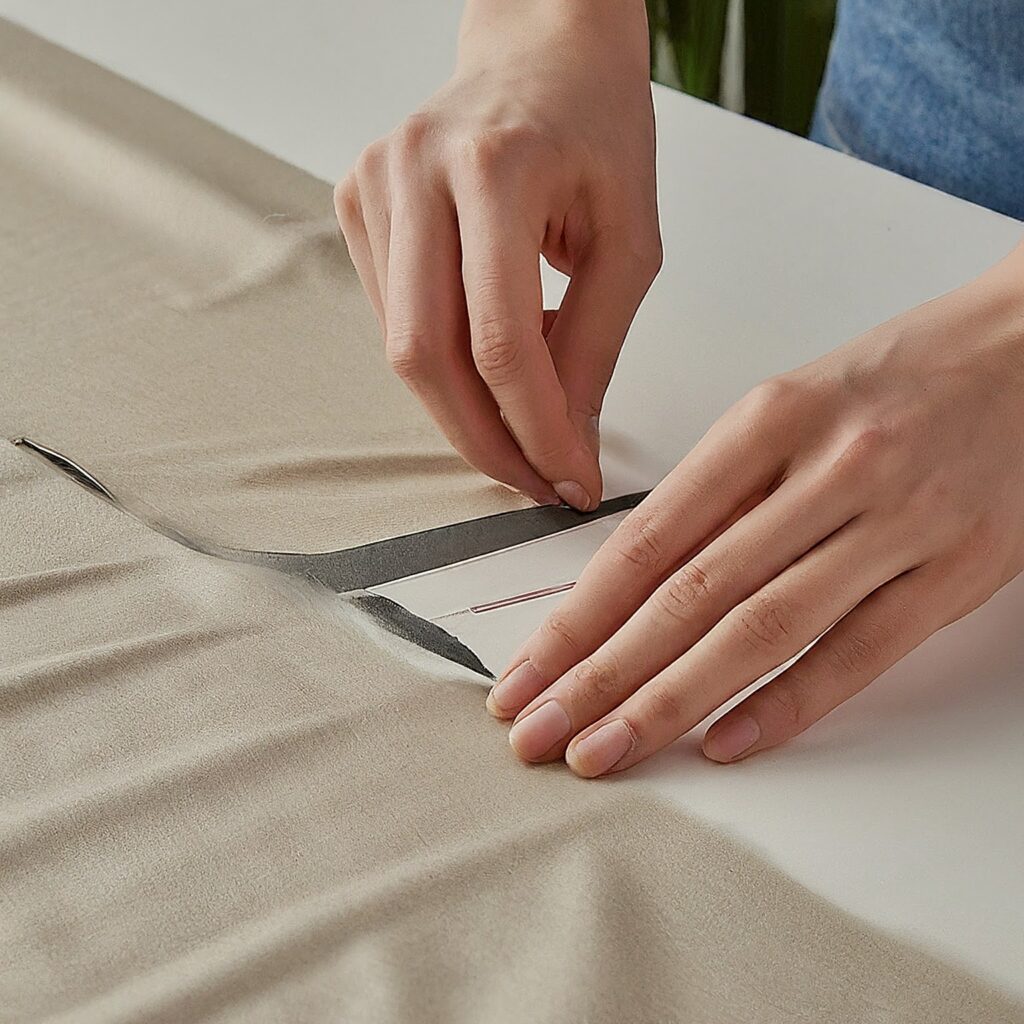
By understanding the advantages and disadvantages of woven interlining, you’ll be equipped to make informed decisions about when and how to use it in your sewing endeavors.

Table of Content

  • How Woven Interlining Works
  • Key Benefits of Woven Interlining
  • Disadvantages of Woven Interlining
  • When to Use Woven Interlining
  • How to Apply Woven Interlining
  • Conclusion

How Woven Interlining Works

Woven interlining, often referred to as woven interlining fabric, is a supportive material created by interlacing threads. It’s a type of interlining used to enhance the structure and shape of garments. Unlike woven interlining or non-woven fusible interlining, woven interlining provides a stronger and more defined support system.

Key Benefits of Woven Interlining

  • Superior structure: Woven interlining excels at providing a crisp, defined shape to your garments. It’s the ideal choice for creating structured pieces like jackets, coats, and blazers.
  • Durability: Known for its strength and longevity, woven interlining is perfect for garments that will receive regular wear and tear.
  • Versatility: Available in a range of weights and textures, you can find the perfect woven interlining for any project.
  • Shape retention: This type of interlining helps your garments maintain their original shape over time.

Disadvantages of Woven Interlining

While woven interlining offers numerous benefits, it also has some drawbacks to consider.

  • Potential bulkiness: Depending on the weight and thickness of the woven interlining, it can add bulk to your garment, especially when working with delicate fabrics.
  • Challenging to work with: Compared to the ease of use of fusible interlining, woven interlining requires more precision and care during the application process.
  • Time-consuming application: Since woven interlining is typically sewn in, it adds extra time to your sewing project.
  • Less forgiving: Mistakes made when applying woven interlining can be more difficult to correct than with non-woven interlining.

When to Use Woven Interlining

Woven interlining is the preferred choice for projects that demand:

  • Strong structure: Jackets, coats, blazers, and other structured garments benefit greatly from the support provided by woven interlining.
  • Shape retention: Garments that require a consistent shape over time, such as uniforms or formalwear, should use woven interlining.
  • Durability: Items subjected to frequent use and potential wear and tear, like outerwear, can benefit from the strength of woven interlining.

How to Apply Woven Interlining

Applying woven interlining is a straightforward process:

  1. Cut the interlining to the desired shape: Ensure it’s slightly smaller than your fabric piece to avoid bulkiness.
  2. Pin the interlining to the wrong side of your fabric: Use plenty of pins for secure placement.
  3. Stitch the interlining to the fabric: A straight stitch or zigzag stitch can be used depending on your preference.
  4. Press the seams: This final step helps to set the stitches and create a clean finish.

Conclusion

Deciding between non-woven interlining and woven interlining can be tricky. Woven interlining is strong and helps clothes keep their shape, so it’s good for jackets and coats. But it can be thick and hard to work with. Non-woven interlining is softer and easier to use, but it’s not as strong.

By understanding the advantages and disadvantages of woven interlining, you can make informed decisions about when and how to use it in your sewing projects. The best choice depends on what you’re making.

Happy sewing!

Link of related Articles

shweta-textile-designer
Shweta, a textile designer with a keen eye and deep knowledge of fabrics, translates her passion into unique designs. She loves to share her expertise and ignite a love for textiles in others. Dive into the world of fabrics with Shweta!

Categories
Woven Interlinings

How to apply interlining fabric : A Complete Guide

Do you want your clothes to look better? Interlining can help! It makes clothes look nicer and feel stronger. This guide will show you how to use interlining. You’ll learn about different kinds of interlining fabric like fusible interlining and woven interlining, and how to sew or glue them to your fabric. Get ready to make clothes that look amazing!
Table of Content

  • Understanding Interlining Fabric Before Application
  • Benefits of Applying Interlining Fabric
  • Choosing the Right Interlining
  • Preparing Your Fabrics
  • Applying Interlining: Sewn Method
  • Applying Interlining: Fusible Method
  • Tips for Successful Interlining
  • Common Mistakes to Avoid
  • Conclusion

Understanding Interlining Fabric Before Application

Interlining fabric, often referred to as non woven interlining or woven interlining, is a supportive material that adds structure and body to your garments. Whether you’re working with fusible interlining or non woven fusible interlining, understanding its role is crucial. It’s like the backbone of your project, providing the foundation for a perfectly shaped collar, a beautifully draped jacket, or a structured skirt.

Benefits of Applying Interlining Fabric

Adding an extra layer of interlining fabric might seem counterintuitive, but the benefits are undeniable. It enhances the overall look and feel of your garment, providing essential support and structure. Imagine the difference between a limp collar and a crisp, defined one – that’s the power of interlining.

Choosing the Right Interlining

Selecting the appropriate interlining is key to achieving the desired outcome. The options are vast, from lightweight non woven interlining to heavier woven interlining fabric. Consider factors like the garment type, fabric weight, and desired level of stiffness.

  • Fusible interlining: A popular choice for its ease of application. Fusible interlining bonds to the fabric with heat, making it a quick and efficient option.
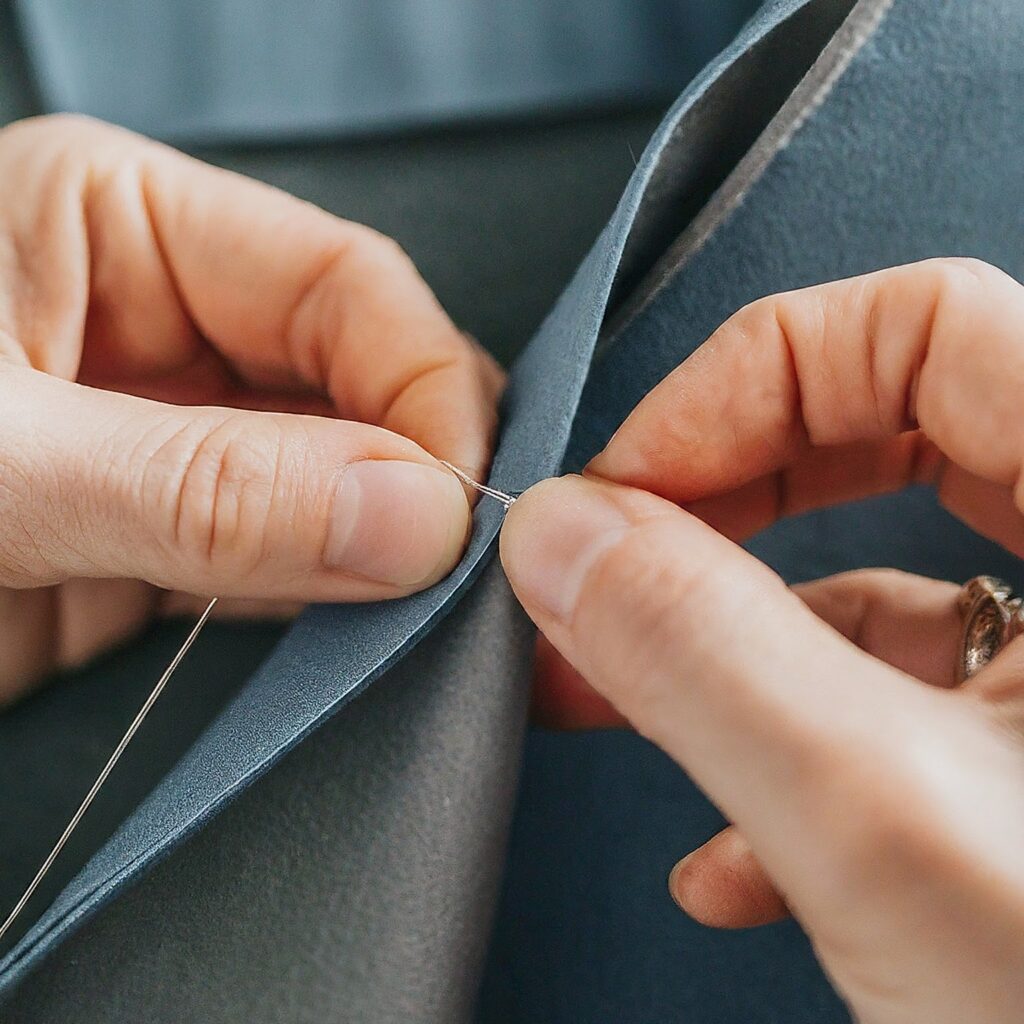
  • Sew-in interlining: Offers more control and versatility as it’s stitched into place.
  • Horsehair interlining: Known for its stiffness, perfect for structured garments like jackets.

Peltex: A heavy-duty woven interlining ideal for blazers and coats.

Preparing Your Fabrics

Before diving into the application process, ensure your fabrics are in optimal condition. Proper preparation is essential for a successful project.

  • Wash and dry your fabrics according to care instructions.
  • Press out any wrinkles for a smooth foundation.
  • Lay out your pattern pieces and accurately cut both the main fabric and interlining.

Applying Interlining: Sewn Method

For those seeking precision and control, the sewn method is ideal.

  1. Position the interlining right side down on your workspace.
  2. Place the main fabric right side up on top of the interlining.
  3. Secure the layers with pins.
  4. Stitch along the edges using a matching thread.
  5. Press the seams for a neat finish.

Applying Interlining: Fusible Method

If you prefer a quicker approach, fusing interlining is the way to go.

  1. Adhere to the care instructions on your fusible interlining.
  2. Place the interlining wrong side up on the ironing board.
  3. Position the main fabric right side down on the interlining.
  4. Protect your ironing board with a pressing cloth.
  5. Apply heat according to the interlining’s instructions.
  6. Let the fabric cool completely before handling.

Tips for Successful Interlining

Mastering the art of interlining fabric requires attention to detail.

  • Conduct a test patch before applying interlining to the entire garment.
  • Match the weight and drape of the interlining to your main fabric.
  • Consider the garment’s intended use when choosing interlining.
  • Employ a sharp needle and fine thread for sewing applications.
  • Press carefully to avoid damaging the fabric or interlining.

Common Mistakes to Avoid

By being aware of these pitfalls, you can achieve professional results.

  • Using the wrong type of interlining can lead to unexpected outcomes.
  • Excessive heat can ruin both the interlining and the fabric.
  • Impatience can cause the interlining to shift or wrinkle.
  • Skipping the pressing step can result in a less polished finish.

Conclusion

By understanding the different types of interlining, such as fusible interlining and non-woven interlining, and their applications, you can achieve professional-looking results.With practice and attention to detail, you’ll become proficient in applying interlining fabric. Remember, the right interlining can transform your garment, elevating it from ordinary to extraordinary.

Happy sewing!

Link of related Articles

shweta-textile-designer
Shweta, a textile designer with a keen eye and deep knowledge of fabrics, translates her passion into unique designs. She loves to share her expertise and ignite a love for textiles in others. Dive into the world of fabrics with Shweta!

Categories
Woven Interlinings Non Woven Interlining

Non-Woven vs Woven Interfacing

Choosing the right interfacing can make a big difference in the outcome of your sewing project. This guide will help you understand the key differences between non-woven and woven interfacing, so you can select the perfect one for your next creation.

Whether you’re a seasoned seamstress or a beginner, understanding the nuances of non-woven interlining and woven interlining is essential for achieving professional results. Let’s dive in!

Table of Content

  • What is Interfacing?
  • What is Non-Woven Interfacing?
  • What is Woven Interfacing?
  • Key Differences Between Non-Woven and Woven Interfacing
  • Choosing the Right Interfacing for Your Project
  • How to Apply Interfacing
  • Conclusion

What is Interfacing?

Interfacing, often referred to as interlining fabric, is a supportive material that enhances the structure and shape of your sewing projects. It’s the best for your garment, providing the essential support needed to prevent sagging and maintain its form. Whether you’re working with fusible interlining or non-woven fusible interlining, understanding its role is crucial.

What is Non-Woven Interfacing?

Non-woven interfacing, a type of non-woven interlining, is created by bonding fibers together rather than weaving them. This process results in a softer, more flexible material compared to its woven counterpart.

Key characteristics of non-woven interfacing:
  • Soft and flexible: Ideal for drapey garments and delicate fabrics.
  • Versatile: Available in a wide range of weights to suit different projects.
  • Easy to work with: Often fusible, making application quick and easy.

What is Woven Interfacing?

Woven interfacing, a form of woven interlining fabric, is constructed by interlacing threads in a specific pattern. This method creates a stiffer, more structured material than non-woven interfacing.

Key characteristics of woven interfacing:
  • Stiff and supportive: Perfect for structured garments, collars, and cuffs.
  • Durable: Offers excellent shape retention and longevity.
  • Precise application: Typically sewn into place for added control.

Key Differences Between Non-Woven and Woven Interfacing

Understanding the key differences between non-woven interlining and woven interlining is essential for selecting the right material for your project.

FeatureNon-Woven InterfacingWoven Interfacing
StructureSoft, flexibleStiff, supportive
DurabilityLess durableMore durable
ApplicationFusible or sewnUsually sewn
Best forDelicate fabrics, draping garmentsStructured garments, collars, cuffs

Choosing the Right Interfacing for Your Project

Selecting the appropriate interfacing type depends on the fabric, garment style, and desired outcome.

Collars and cuffs: A woven interlining is ideal for these areas due to its supportive properties.

How to Apply Interfacing

The application method varies depending on the type of interfacing.

  • Non-woven fusible interlining: Apply heat according to the manufacturer’s instructions.
  • Non-woven sewn interfacing or woven interfacing: Stitch the interfacing to the fabric using a matching thread.

Conclusion

Picking the right stuff to make your clothes look good is important. Knowing the difference between the two kinds of interfacing will help you choose the best one for your project. By understanding the nuances between non-woven interlining and woven interlining, you can make informed decisions to enhance your sewing projects.

Happy sewing!

Link of related Articles

shweta-textile-designer
Shweta, a textile designer with a keen eye and deep knowledge of fabrics, translates her passion into unique designs. She loves to share her expertise and ignite a love for textiles in others. Dive into the world of fabrics with Shweta!

Categories
Fusible Interlining

Alternatives to Fusible Interlining

Don’t like the trouble with fusible interlining? Many people feel the same way. It’s a common choice to make clothes stronger, but it can be hard to use and sometimes mess up your work. There are lots of other things you can use instead!

Interlining is a special fabric that helps clothes keep their shape. It comes in two main types: woven and non-woven. Fusible interlining is a kind of non-woven interlining that sticks with heat. It can be tricky, so let’s look at some other options.

Table of Content

  • What is Fusible Interlining and Why You Might Want Alternatives
  • Best Alternatives to Fusible Interlining
  • How to Choose the Right Alternative
  • Tips for Using Alternatives to Fusible Interlining
  • Conclusion

What is Fusible Interlining and Why You Might Want Alternatives

Fusible interlining, a type of non-woven interlining, is a fabric with a heat-sensitive adhesive on one side. It’s widely used in the garment industry for stiffening and stabilizing fabrics. However, it has its downsides:

  • Can melt or shift: Applying too much heat can ruin your project.
  • Stiffness: It can add unwanted stiffness to delicate fabrics.
  • Environmental concerns: Some prefer to avoid synthetic materials.

Best Alternatives to Fusible Interlining

Peltex: A Woven Interlining Powerhouse

Peltex is a woven interlining fabric that’s a popular choice among sewers. Known for its durability and stability, it’s an excellent alternative to fusible interlining. Made from a blend of cotton and polyester, Peltex offers a balance of strength and softness. It’s often used in tailoring and dressmaking for garments that require extra support, such as jackets, coats, and blazers.

Woven Interfacing: Versatility at Its Best

Woven interfacing is a versatile interlining fabric that comes in various weights and finishes, making it suitable for a wide range of sewing projects. Unlike fusible interlining, it doesn’t rely on heat for attachment, offering more control and precision. You can choose from lightweight options for delicate fabrics to heavier ones for structured garments. Woven interfacing provides excellent support and shape retention, making it a preferred choice for many sewers. It’s also durable and can withstand multiple washes and wears. However, it does require additional stitching to attach it to the fabric, which might be a drawback for some.

Here are some specific types of woven interlining and their uses:

  • Lightweight woven interfacing: Ideal for delicate fabrics like chiffon, voile, and organza.
  • Medium-weight woven interfacing: Suitable for most woven fabrics, including cotton, linen, and wool.
  • Heavyweight woven interfacing: Perfect for structured garments like jackets, coats, and blazers.

Knit Interfacing: Perfect for Stretchy Fabrics

Knit interfacing is a must-have for stretchy fabrics. Unlike woven interfacing, it moves with the fabric, providing support without restricting movement. This makes it ideal for garments like t-shirts, dresses, and activewear. Knit interfacing comes in different weights and thicknesses, allowing you to choose the right level of support for your project. It’s also typically softer and more flexible than woven interlining, making it comfortable to wear. While knit interfacing might not be as strong as woven interfacing for heavily structured garments, it excels at providing support and shape retention for stretchy fabrics.

Stabilizers: Temporary Support for Delicate Fabrics

Stabilizers are temporary supports that provide additional structure to delicate fabrics or intricate designs. They are crucial when working with sheer fabrics, lace, or embroidered materials, as they prevent distortion and maintain the fabric’s integrity during the sewing process of woven interlining. Stabilizers come in various types, each with its own unique properties and applications:

  • Water-soluble stabilizers: These dissolve in water, making them ideal for temporary support during embroidery or appliqué. Once the stitching is complete, simply rinse the stabilizer away to reveal the finished design.
  • Tear-away stabilizers: These can be easily torn away from the fabric after stitching, leaving a clean finish. They are commonly used for embroidery, quilting, and appliqué.
  • Cut-away stabilizers: These require cutting close to the stitches to remove them. They offer the highest level of support and are often used for heavy embroidery or intricate designs.

When choosing a stabilizer, consider the interlining fabric weight, design complexity, and desired level of support.

Other Interlining Options

While not as common, options like horsehair braid, buckram, and handmade paper can be used for specific purposes.

Choosing the Right Interlining

Selecting the best interlining fabric depends on your project, and personal preference. Consider these factors:

  • Fabric weight: Lighter fabrics need lighter interlining or stabilizer.
  • Project type: Garments require durable interlining, while crafts might need a stabilizer.
  • Desired stiffness: Determine the level of support needed.
  • Skill level: Beginners might prefer pre-cut stabilizers or fusible interlining.

Tips for Using Interlining Alternatives

  • Test first: Try a new interlining fabric on a scrap piece of fabric.
  • Use the correct needle and thread: Match them to your fabric and interlining.
  • Baste carefully: Secure your interlining with basting stitches.
  • Press gently: Avoid excessive heat when pressing.

Conclusion

There are lots of ways to make your clothes strong, not just fusible interlining. You can use woven Interlining fabric, stretchy fabric, or special helpers. The best one is up to you. Try different kinds to see what you like. Don’t worry about that sticky stuff anymore! Use these other ways to make great clothes.

Happy sewing!

Link of related Articles

shweta-textile-designer
Shweta, a textile designer with a keen eye and deep knowledge of fabrics, translates her passion into unique designs. She loves to share her expertise and ignite a love for textiles in others. Dive into the world of fabrics with Shweta!

Categories
Woven Interlinings Garment Accessories

How to Style a Button Coat

Hey there! Have you ever stood in front of your closet, staring at your button coat and wondering how to style it? Button coats are versatile and timeless, but sometimes, figuring out the best way to wear them can be a challenge. Whether you’re aiming for a casual look or something more formal, I’ve got you covered. Let’s dive into some great tips on how to style a button coat.

Table of Content

  • Choosing the Right Button Coat
  • Casual Styling Tips
  • Formal Styling Tips
  • Accessorizing Your Button Coat
  • Seasonal Styling Ideas
  • Care and Maintenance of Your Button Coat
  • Conclusion

Choosing the Right Button Coat

Before we get into styling, let’s talk about choosing the right button coat. Here are a few things to consider:

  • Material: Wool, cotton, or synthetic?
  • Length: Short, mid-length, or long?
  • Fit: Tailored, loose, or somewhere in between?
  • Color: Classic black, trendy camel, or a pop of color?

Make sure you pick a coat that suits your body type and personal style. If you’re unsure, a classic black or navy button coat is always a safe bet.

Casual Styling Tips

Styling a button coat for a casual look can be fun and easy. Here are some ideas:

  • With Jeans: You can’t go wrong with jeans. Pair your button coat with your favorite jeans and a comfy sweater. This look is perfect for a day out or a casual lunch.
  • Over a Hoodie: Layering your coat over a hoodie gives a relaxed vibe. It’s trendy and keeps you warm.
  • Sneakers: Complete your casual look with a pair of stylish sneakers. They add a cool, laid-back touch to your outfit.

Formal Styling Tips

When it comes to formal occasions, your button coat can be a game-changer. Here’s how you can style it:

  • Over a Suit: Wear your button coat over a suit for a polished look. Make sure the coat is longer than your suit jacket.
  • Dress and Heels: If you’re heading to an evening event, pair your coat with a dress and heels. This combination exudes elegance.
  • Accessories: Add a touch of sophistication with accessories like a silk scarf or a stylish hat.

Accessorizing Your Button Coat

Accessories can make or break your outfit. Here are some must-have accessories for your button coat:

  • Scarves: A chunky knit scarf for winter or a light silk scarf for spring can add flair to your look.
  • Hats: A beanie for casual outings or a fedora for a more sophisticated touch.
  • Belts: Cinch your waist with a belt to add shape and definition to your coat.

Seasonal Styling Ideas

Your button coat can be styled differently depending on the season. Let’s explore some seasonal styling ideas:

  • Winter: Layer your coat over a chunky sweater, add a knit scarf, and wear knee-high boots. This look is warm and stylish.
  • Spring: Opt for a lighter coat and pair it with a floral dress and ankle boots. Add a light scarf for those chilly mornings.
  • Fall: Layer your coat over a turtleneck and jeans. Finish the look with a pair of stylish loafers.

Care and Maintenance of Your Button Coat

Taking care of your button coat ensures it lasts longer and looks good. Here are some tips:

  • Regular Cleaning: Follow the care label instructions. Some coats require dry cleaning, while others can be machine washed.
  • Storage: Store your coat in a cool, dry place. Use a padded hanger to maintain its shape.
  • Repairs: Fix any loose buttons or small tears immediately to prevent further damage.

Conclusion

Styling a button coat doesn’t have to be complicated. With these tips, you can create versatile looks for any occasion. Remember, the key is to have fun and experiment with different styles. So next time you pull out your button coat, you’ll know exactly how to style it.

Happy sewing!

Link of related Articles

shweta-textile-designer
Shweta, a textile designer with a keen eye and deep knowledge of fabrics, translates her passion into unique designs. She loves to share her expertise and ignite a love for textiles in others. Dive into the world of fabrics with Shweta!

Categories
Interlining

Lightweight Interlining vs. Heavyweight Interlining

When it comes to sewing and textile projects, choosing the right interlining fabric can make a huge difference in the outcome. Interlining is a crucial component that adds structure, support, and durability to fabrics, helping to shape and reinforce garments and other items. But with so many options available, especially when it comes to lightweight versus heavyweight interlining, it can be challenging to know which one to choose.

Table of Content

  • Introduction to Interlining
  • What is Lightweight Interlining?
  • What is Heavyweight Interlining?
  • Differences Between Lightweight and Heavyweight Interlining
  • Applications of Lightweight and Heavyweight Interlining
  • How to Choose the Right Interlining for Your Project
  • Conclusion

Introduction to Interlining

Interlining refers to a layer of fabric placed between the outer fabric and the lining in a garment. Its primary function is to provide additional support and shape, making your clothes look more polished and professionally finished. Interlining plays a crucial role in garment construction and other textile projects, providing the necessary support and structure to your fabric.

What is Lightweight Interlining?

Lightweight interlining is a thin, flexible material used to give subtle support and structure to delicate fabrics. It’s often made from non-woven interlining materials, but you can also find lightweight woven interlining.

Features of Lightweight Interlining

  • Thin and flexible: Perfect for maintaining the softness and drape of lightweight fabrics.
  • Breathable: Does not add bulk or stiffness.
  • Easy to work with: Ideal for projects where you need a light touch.

Common Uses

What is Heavyweight Interlining?

Heavyweight interlining is a thicker, sturdier material used to provide strong support and structure. It can be made from non-woven interlining fabrics or woven interlining fabrics and is designed to handle heavier fabrics and more demanding applications.

Features of Heavyweight Interlining

  • Thick and sturdy: Offers substantial support and durability.
  • Adds structure: Perfect for maintaining the shape of heavyweight fabrics.
  • Long-lasting: Ensures the durability of the finished product.

Common Uses

  • Coats and jackets: Provides the necessary structure for outerwear, often using woven fusible interlining.
  • Bags and accessories: Adds firmness and durability, typically with fusible interlining.
  • Home décor: Ideal for items like curtains, upholstery, and cushions, using lining and interlining fabric for added weight and stability.

Differences Between Lightweight and Heavyweight Interlining

Understanding the differences between lightweight and heavyweight interlining can help you choose the right one for your project.

Weight and Thickness

  • Lightweight interlining: Thin and flexible, barely noticeable in the final product.
  • Heavyweight interlining: Thick and sturdy, significantly alters the fabric’s feel and structure.

Support and Structure

  • Lightweight interlining: Provides gentle support without adding bulk.
  • Heavyweight interlining: Offers strong support, ideal for maintaining shape and durability.

Applications

  • Lightweight interlining: Best for delicate and lightweight fabrics, such as silk, chiffon, and lightweight cotton. For example, collar interlining might use a lightweight option for a softer feel.
  • Heavyweight interlining: Suitable for heavy fabrics like denim, canvas, and thick wool. Heavyweight interlining is often used in outerwear and home décor items.

Ease of Use

  • Lightweight interlining: Easier to handle, especially for beginners.
  • Heavyweight interlining: Requires more skill and care to work with, due to its thickness and rigidity.

Applications of Lightweight and Heavyweight Interlining

Knowing where to use lightweight versus heavyweight interlining can make a big difference in your projects.

Lightweight Interlining Applications

  • Blouses and Dresses: Lightweight interlining is perfect for adding a bit of structure to delicate garments without making them stiff. It keeps the fabric’s natural drape and flow.
  • Lingerie: It provides the necessary support for lingerie while keeping it soft and comfortable against the skin.
  • Sheer Fabrics: For fabrics like chiffon and organza, lightweight interlining adds just enough body to prevent flimsiness without being visible.

Heavyweight Interlining Applications

  • Coats and Jackets: Heavyweight interlining is essential for outerwear. It gives structure and support, helping the garment hold its shape, often with woven fusible interlining.
  • Bags and Accessories: For items that need to be durable and sturdy, heavyweight interlining provides the required firmness.
  • Home Décor: It’s ideal for curtains, upholstery, and cushions, adding the necessary weight and structure with lining and interlining fabric.

How to Choose the Right Interlining for Your Project

Choosing between lightweight and heavyweight interlining depends on your project’s specific needs. Here are some tips to help you decide:

Consider the Fabric

  • Fabric weight: Match the interlining weight to the fabric weight. Use lightweight interlining for lightweight fabrics and heavyweight interlining for heavyweight fabrics.
  • Fabric type: Think about the fabric’s texture and drape. Delicate fabrics need gentle support, while sturdy fabrics require strong support.

Think About the Project

  • Garment type: For structured garments like jackets and coats, heavyweight interlining is the way to go. For softer garments like blouses and dresses, lightweight interlining is better.
  • Functionality: Consider the purpose of the item. For example, bags and home décor items often need more structure, so heavyweight interlining is suitable.

Test Before You Commit

  • Sample test: Always test a small piece of interlining with your Interlining fabric before starting your project. This helps you see how the interlining affects the fabric and ensures compatibility.
  • Adjust as needed: Based on your test, you can adjust the type or weight of the interlining to better suit your needs.

Conclusion

Choosing between lightweight interlining and heavyweight interlining fabric  doesn’t have to be confusing. By understanding their differences and knowing how to match them to your fabric and project needs, you can make informed decisions that enhance the quality and durability of your work. Remember to consider the fabric, think about the project’s purpose, and always test before you commit. 

Happy sewing!

Link of related Articles

shweta-textile-designer
Shweta, a textile designer with a keen eye and deep knowledge of fabrics, translates her passion into unique designs. She loves to share her expertise and ignite a love for textiles in others. Dive into the world of fabrics with Shweta!

Categories
Interlining

Troubleshooting Collar Interlining

Have you ever found yourself frustrated with your shirt collars? You’re not alone. Collar interlining can be a bit tricky to get right, but don’t worry. This Guide will help you troubleshoot common collar interlining issues and make your shirts look crisp and sharp again.

Table of Content

  • Understanding Interlining Types
  • What is Collar Interlining?
  • Common Issues with Collar Interlining
  • Step-by-Step Guide to Troubleshooting Collar Interlining Problems
  • Pro Tips for Maintaining Collar Interlining
  • Conclusion

Understanding Interlining Types

Interlining fabrics come in various weights, textures, and compositions. Here’s a breakdown of common types:

  • Fusible interlining: This type bonds to the fabric with heat. It’s convenient but can sometimes cause issues if not used correctly.
  • Sew-in interlining: This requires stitching to attach to the fabric. It offers more control but can be time-consuming.
  • Horsehair interlining: Known for its stiffness and ability to hold shape, it’s ideal for structured collars.
  • Woven interlining: Provides support without excessive stiffness.
  • Non-woven interlining: A versatile option with various weights and textures.

What is Collar Interlining ?

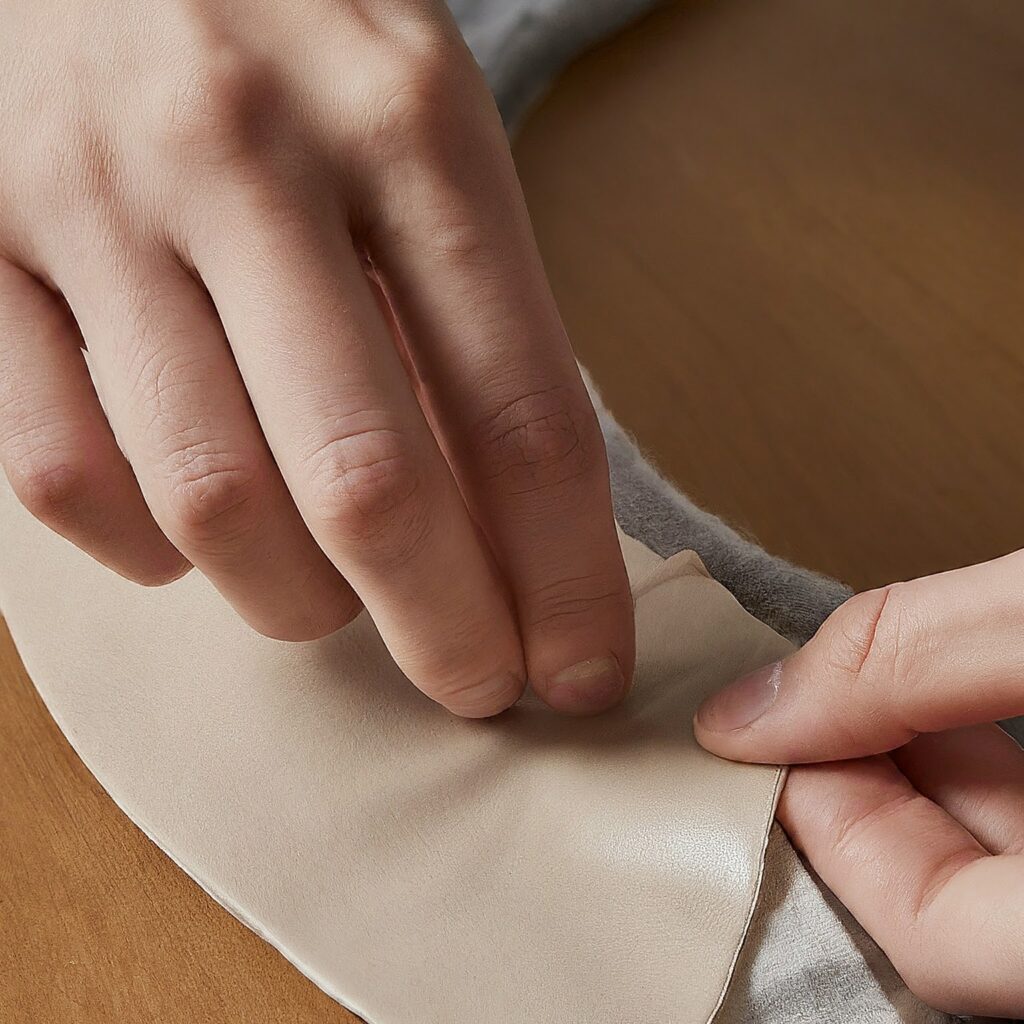
Collar interlining is the hidden layer inside your shirt collars that gives them structure and shape. This layer can be made from various interlining fabrics like woven interlining or non woven interlining. When it doesn’t behave as expected, it can ruin the look of your entire outfit.

fusible interlining

Common Issues with Collar Interlining

You might be wondering, “What can go wrong with collar interlining?” Quite a bit, actually. Here are some of the most common issues you might face with different interlining types:

Step-by-Step Guide to Troubleshooting Collar Interlining Problems

1. Wrinkling and Bunching

Wrinkling and bunching can be a real nuisance. Here’s how you can tackle it:

  • Iron Carefully: Use a steam iron on a low heat setting. Iron the collar flat, working from the points towards the center. This works well for both woven interlining and non woven interlining.
  • Use a Press Cloth: Place a thin, damp cloth over the collar before ironing to protect the fabric and interlining.
  • Proper Storage: Hang your shirts on padded hangers to prevent wrinkling and bunching.

2. Loss of Stiffness

If your collar feels floppy, try these tips:

  • Starch Spray: Apply a light mist of starch spray before ironing to add stiffness. This can help rejuvenate interlining in garments.
  • Replace Interlining: If the stiffness doesn’t return, it might be time to replace the interlining. You can do this yourself if you’re handy with a needle and thread or take it to a tailor who understands the nuances of interlining fabric.
Collar interlining

3. Separation

Separation can make your collar look unsightly. Here’s what to do:

  • Re-adhere the Interlining: Use a fabric adhesive to glue the interlining back in place. Be sure to follow the manufacturer’s instructions for both woven fusible interlining and non woven fusible interlining.
  • Sewing: If glue doesn’t work, consider sewing the interlining back into place. A few well-placed stitches can make a big difference.

4. Discoloration

Discoloration can make your shirt look old and worn out. Here’s how to fix it:

  • Spot Clean: Use a gentle fabric cleaner to spot clean the affected areas.
  • Bleach Solution: For white shirts, a diluted bleach solution can help remove discoloration. Be cautious and test on a small area first.
  • Replace the Collar: If the discoloration is severe, replacing the collar might be the best option, especially if it’s affecting the lining and interlining fabric.

5. Shrinking

Shrinking can be tricky, but here’s what you can do:

  • Gentle Wash: Wash your shirts in cold water and avoid high heat in the dryer. This applies to both interlining woven and interlining non woven.
  • Stretch the Collar: While the shirt is still damp, gently stretch the collar back to its original shape.
  • Professional Help: If shrinking is a recurring issue, consider taking your shirts to a professional cleaner who can handle them with care.

Pro Tips for Maintaining Collar Interlining

To keep your collar interlining in top shape, follow these pro tips:

  • Regular Maintenance: Regularly check your collars for any signs of wear and tear. Early intervention can prevent bigger problems with your collar interlining.
  • Proper Laundering: Always follow the care instructions on your shirts. Use gentle detergents and avoid excessive heat.
  • Storage Solutions: Store your shirts properly to avoid unnecessary stress on the collars. Use padded hangers and avoid overcrowding your closet.
  • Use Collar Stays: Collar stays can help maintain the shape and stiffness of your collars. Invest in a good set and use them regularly.

Conclusion

Troubleshooting collar interlining doesn’t have to be a headache. By following these tips and tricks, you can keep your shirts looking sharp and well-maintained, regardless of the type of interlining fabric used. Remember, a well-kept collar can make a huge difference in your overall appearance.

Happy sewing!

Link of related Articles

shweta-textile-designer
Shweta, a textile designer with a keen eye and deep knowledge of fabrics, translates her passion into unique designs. She loves to share her expertise and ignite a love for textiles in others. Dive into the world of fabrics with Shweta!